Blueberry Layer Cake

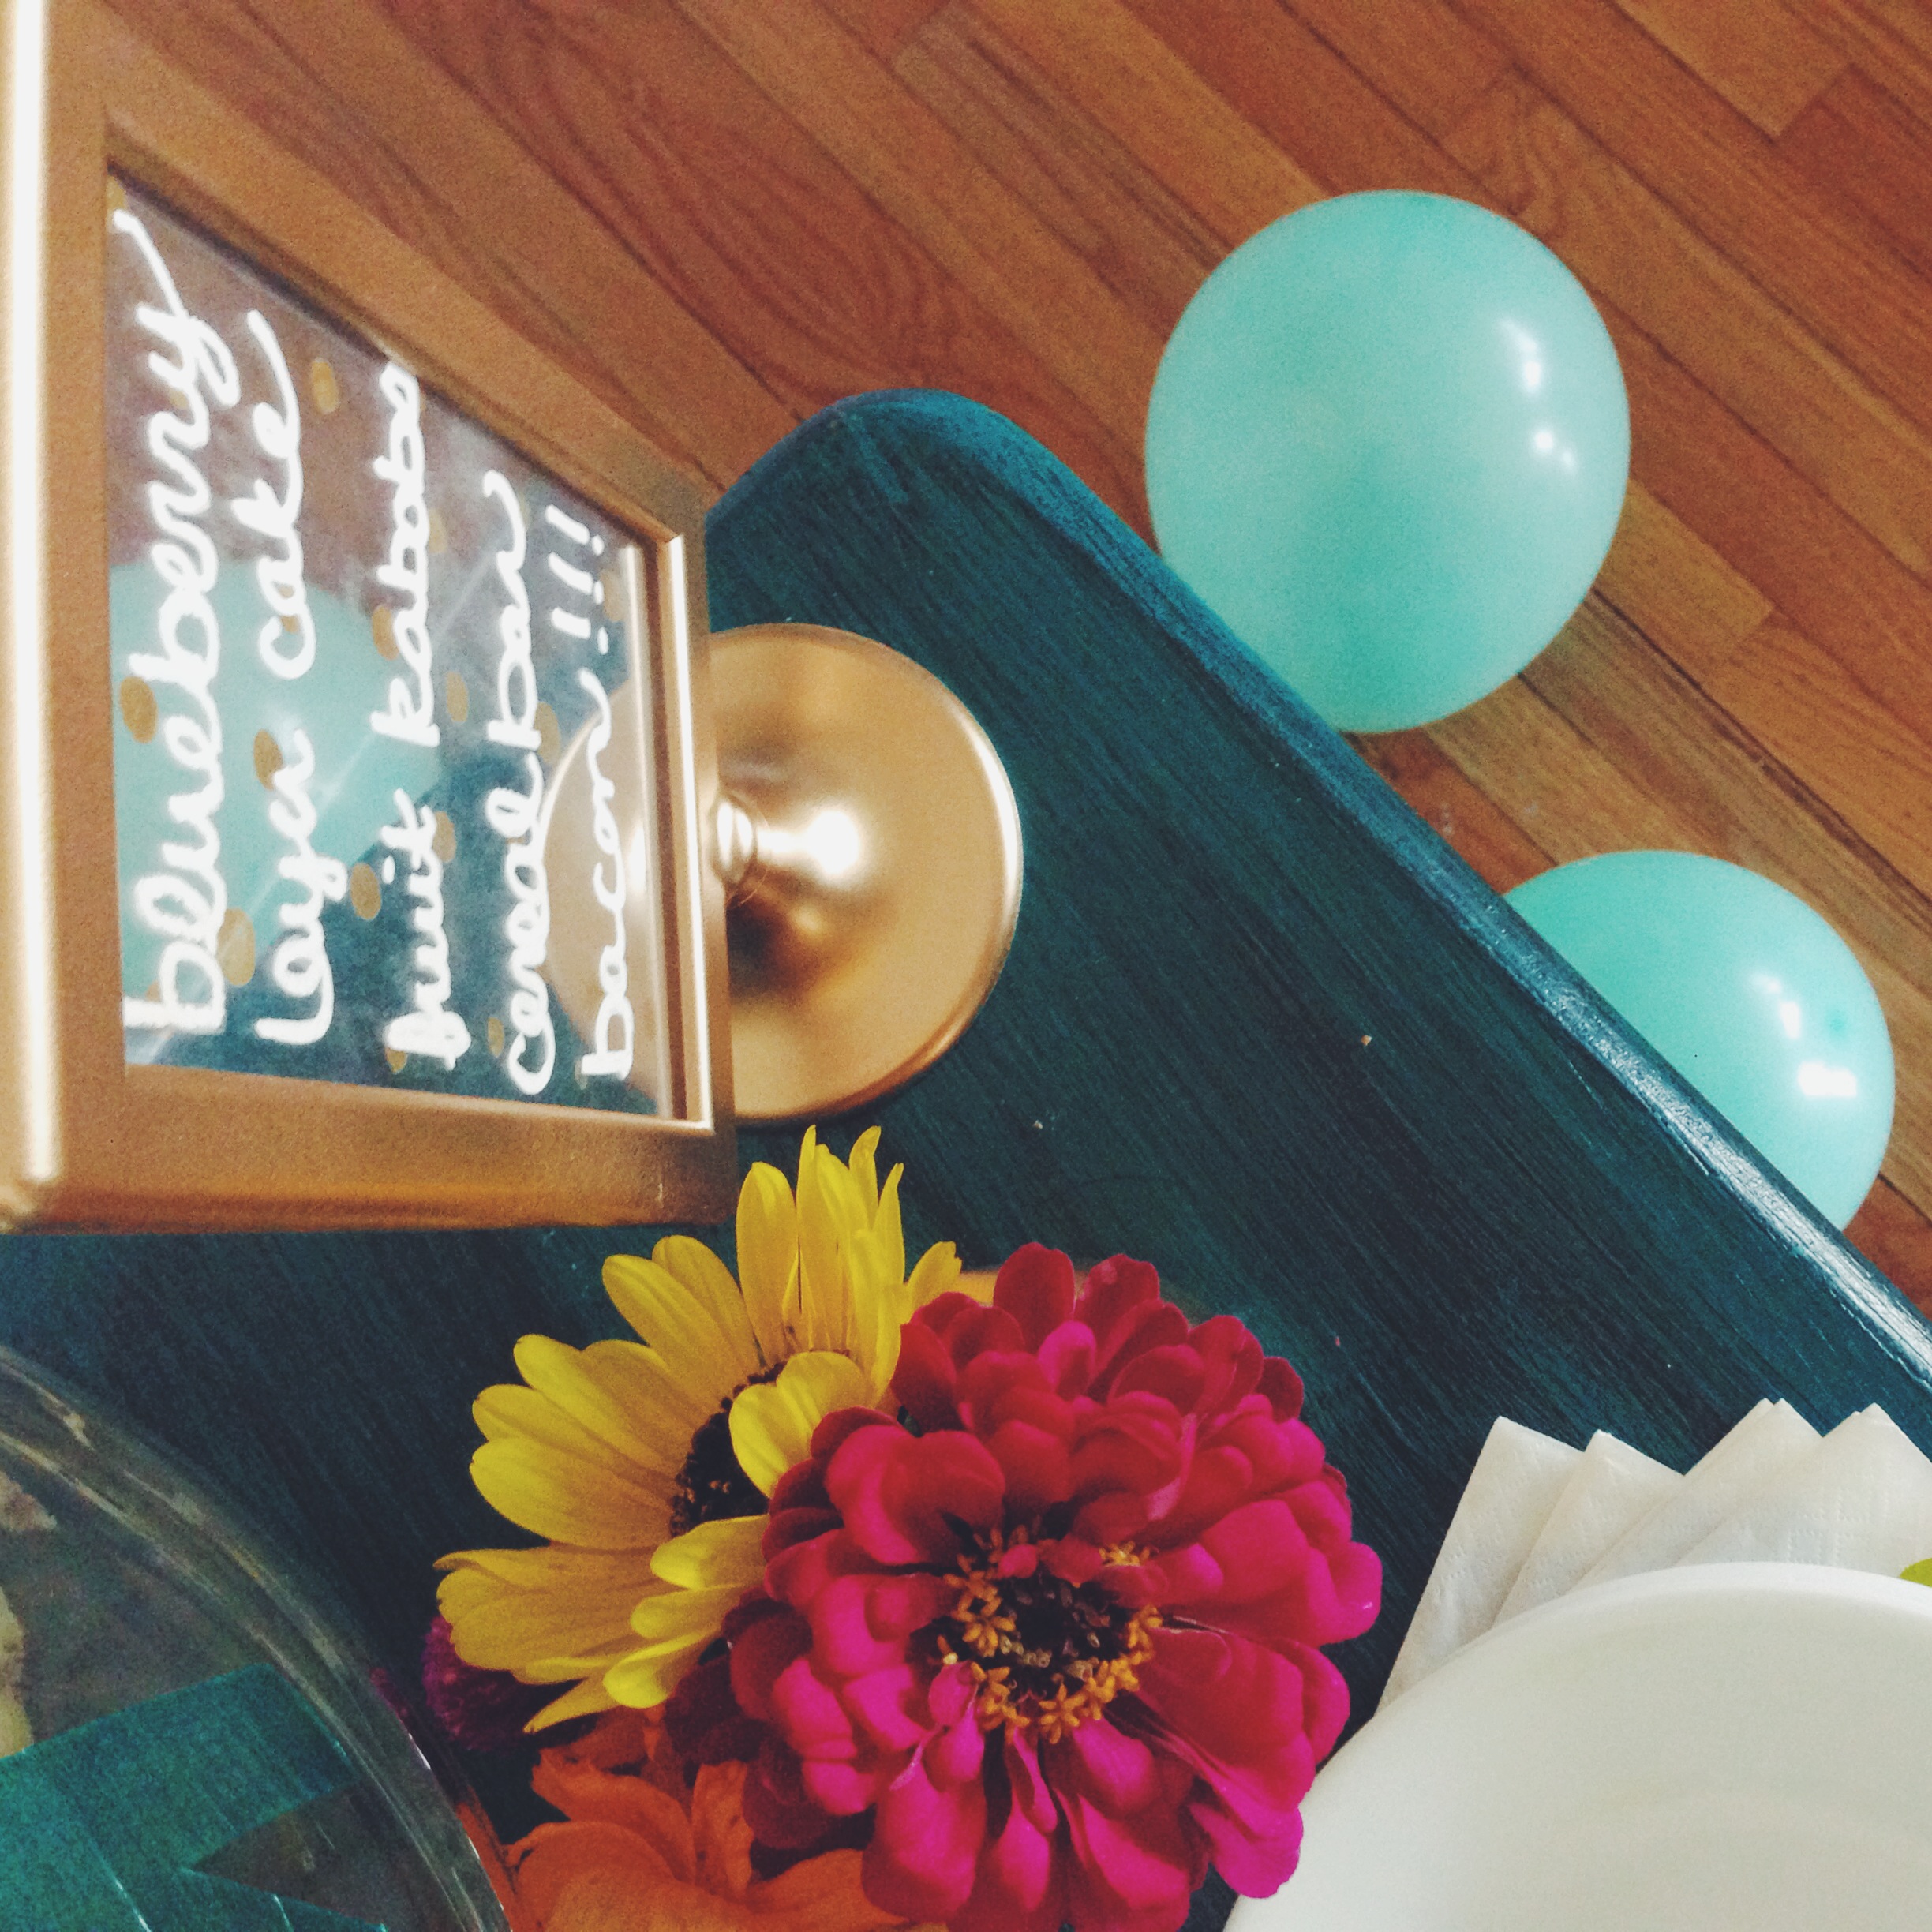
When planning the brunch, we were trying to come up with something that we could make that would be a breakfast type food, but also double as a birthday cake. What kind of birthday celebration doesn't have a cake? Huh?

yummy blueberry layer cake

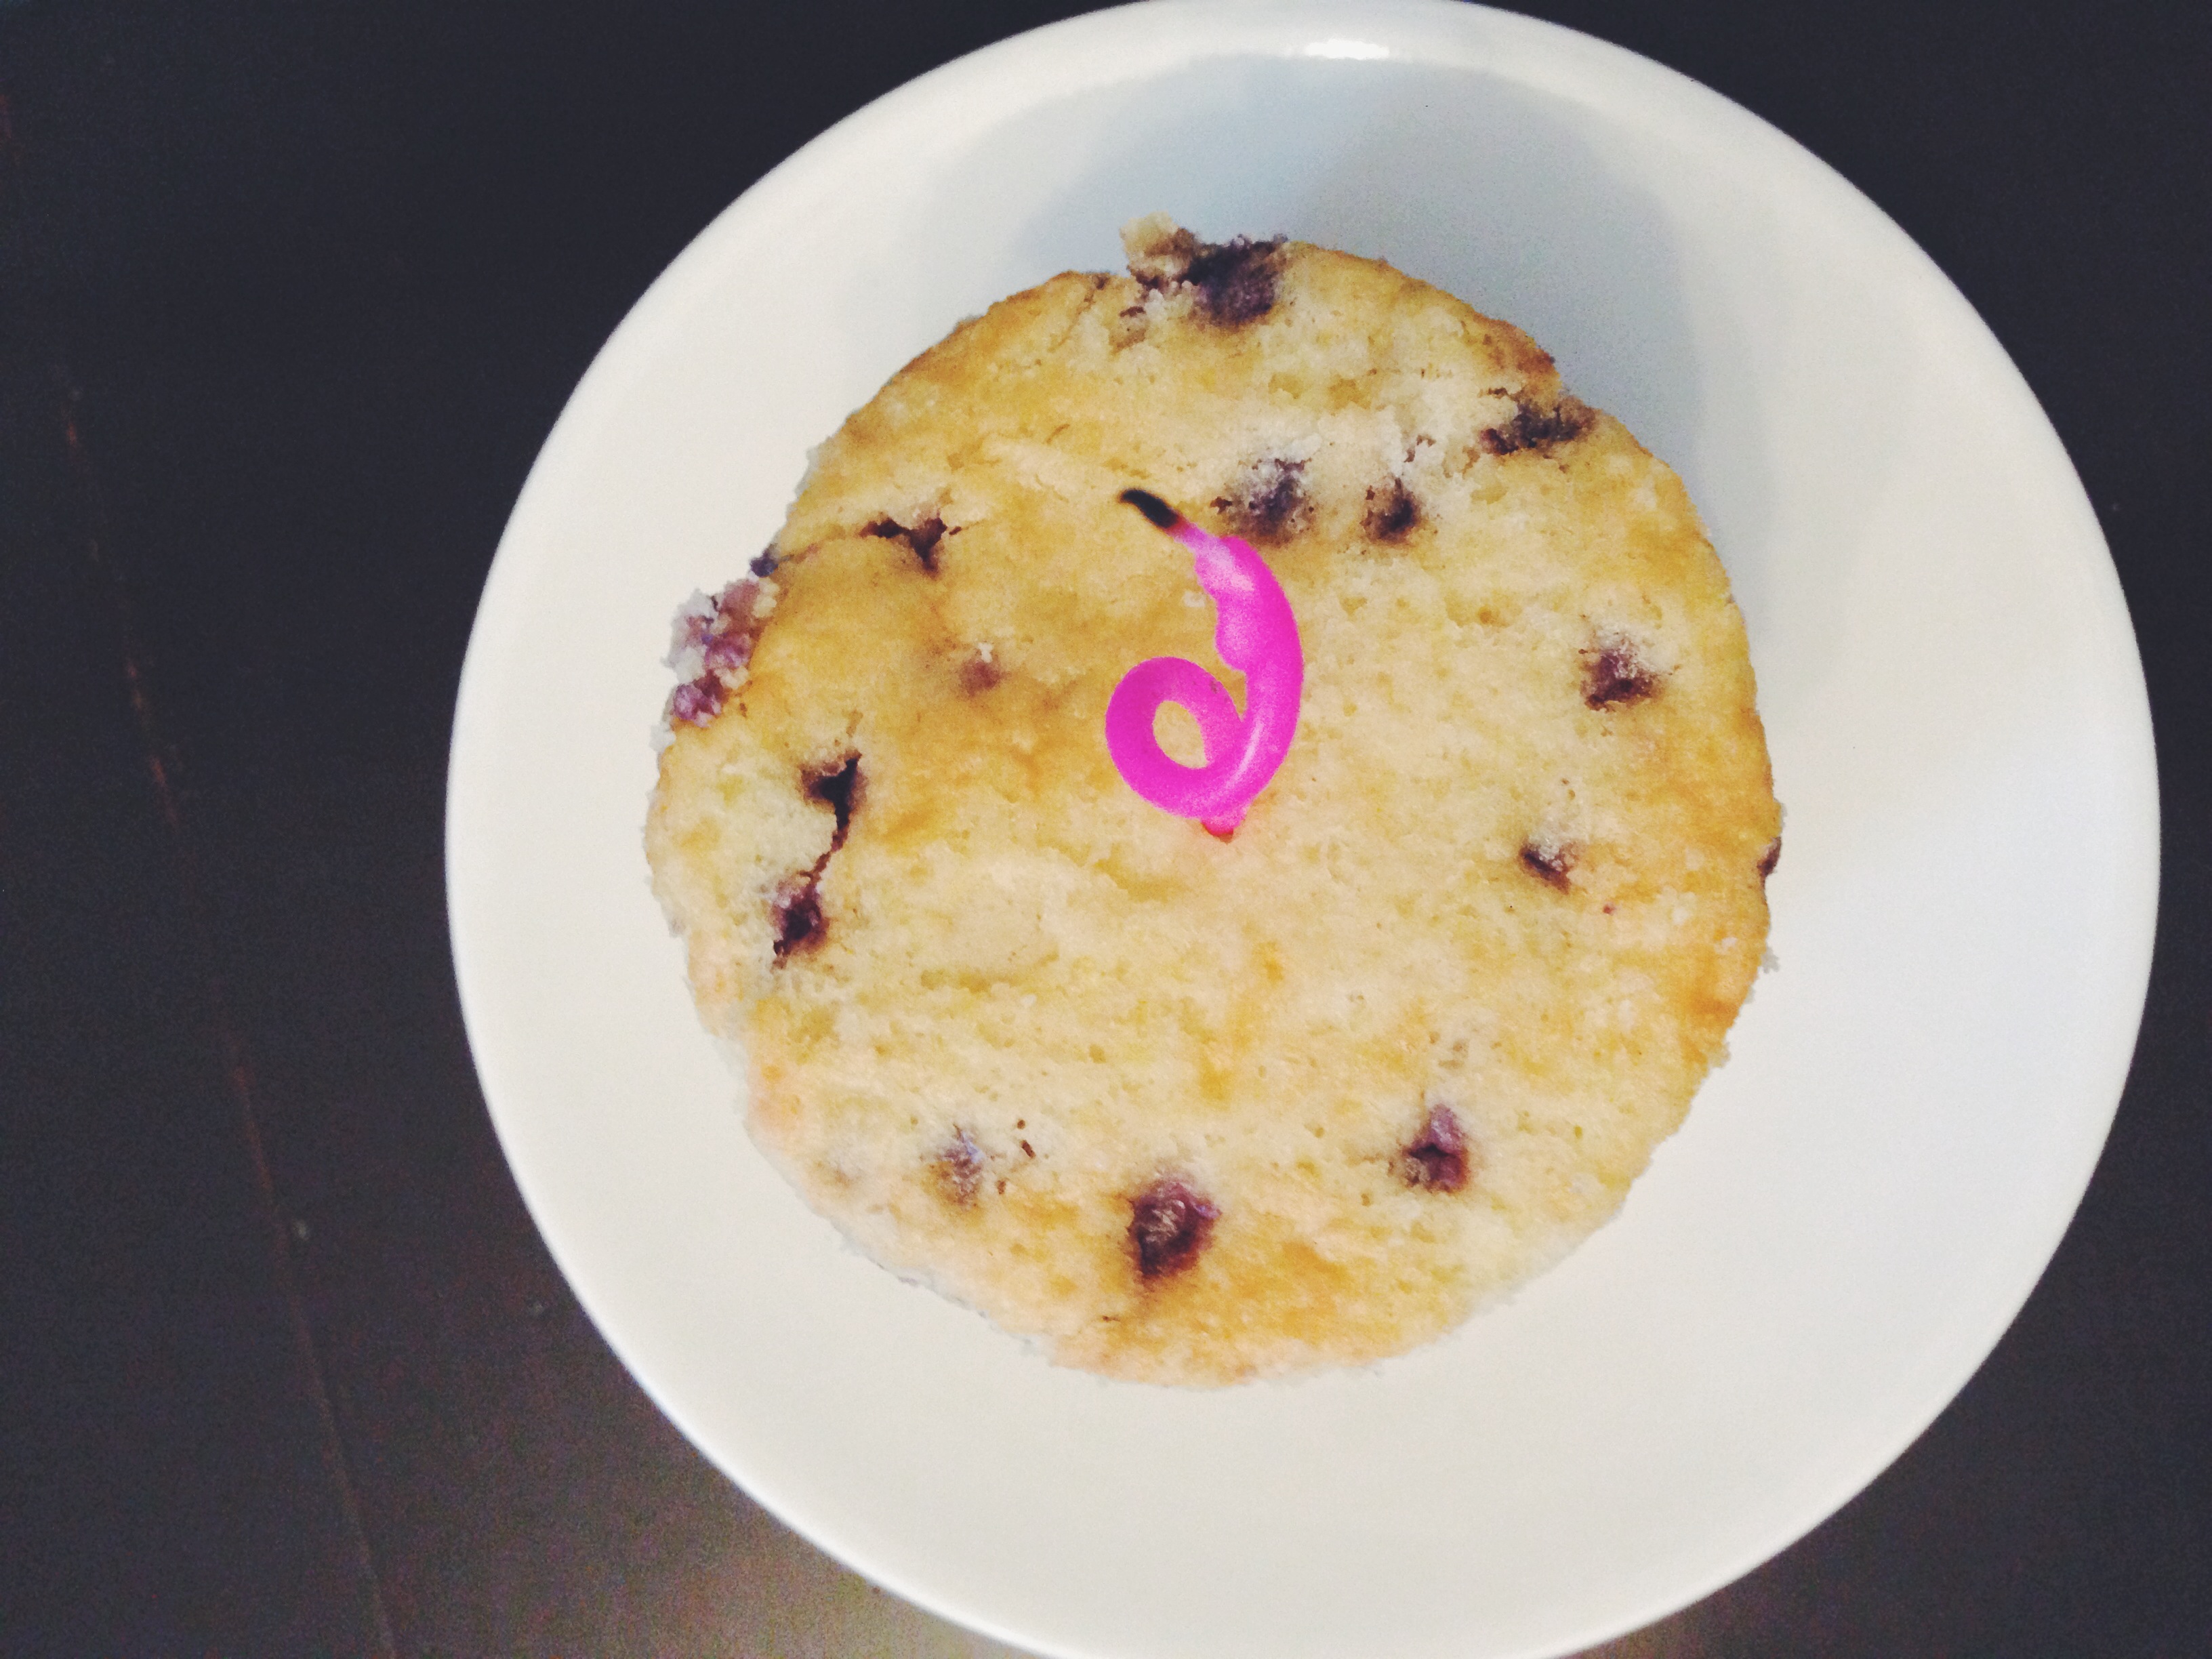
So we decided to make a naked, layered cake, using blueberry muffin batter and cream cheese frosting. Being busy girls we decided to take the easy way out and use muffin mix that we bought at the store and a can of frosting. Yes it probably taken the taste up a notch by making homemade recipes for both, but let's be honest ... ain't nobody got time for that! :)

yummy blueberry layer cake

If you go the easier route like us, here's what you need:

  • muffin mix
  • non-stick spray
  • cream cheese frosting
  • circle cutter
  • baking pan
  • knife

Here's what you do:

  1. Using the directions on your package, preheat your oven and prepare the blueberry muffins mix. 
  2. Spray your pans.
  3. Pour the mix in your pans. Let them sit for a few minutes so the mix evens out in the pan.
  4. For bake times, because you don't want to over cook, we suggest checking your muffin layer with a toothpick every 5-7 minutes.
  5. Once they are golden brown and the toothpick comes out cleanly, remove the pan from the oven and allow it to cool for about a half hour or so.
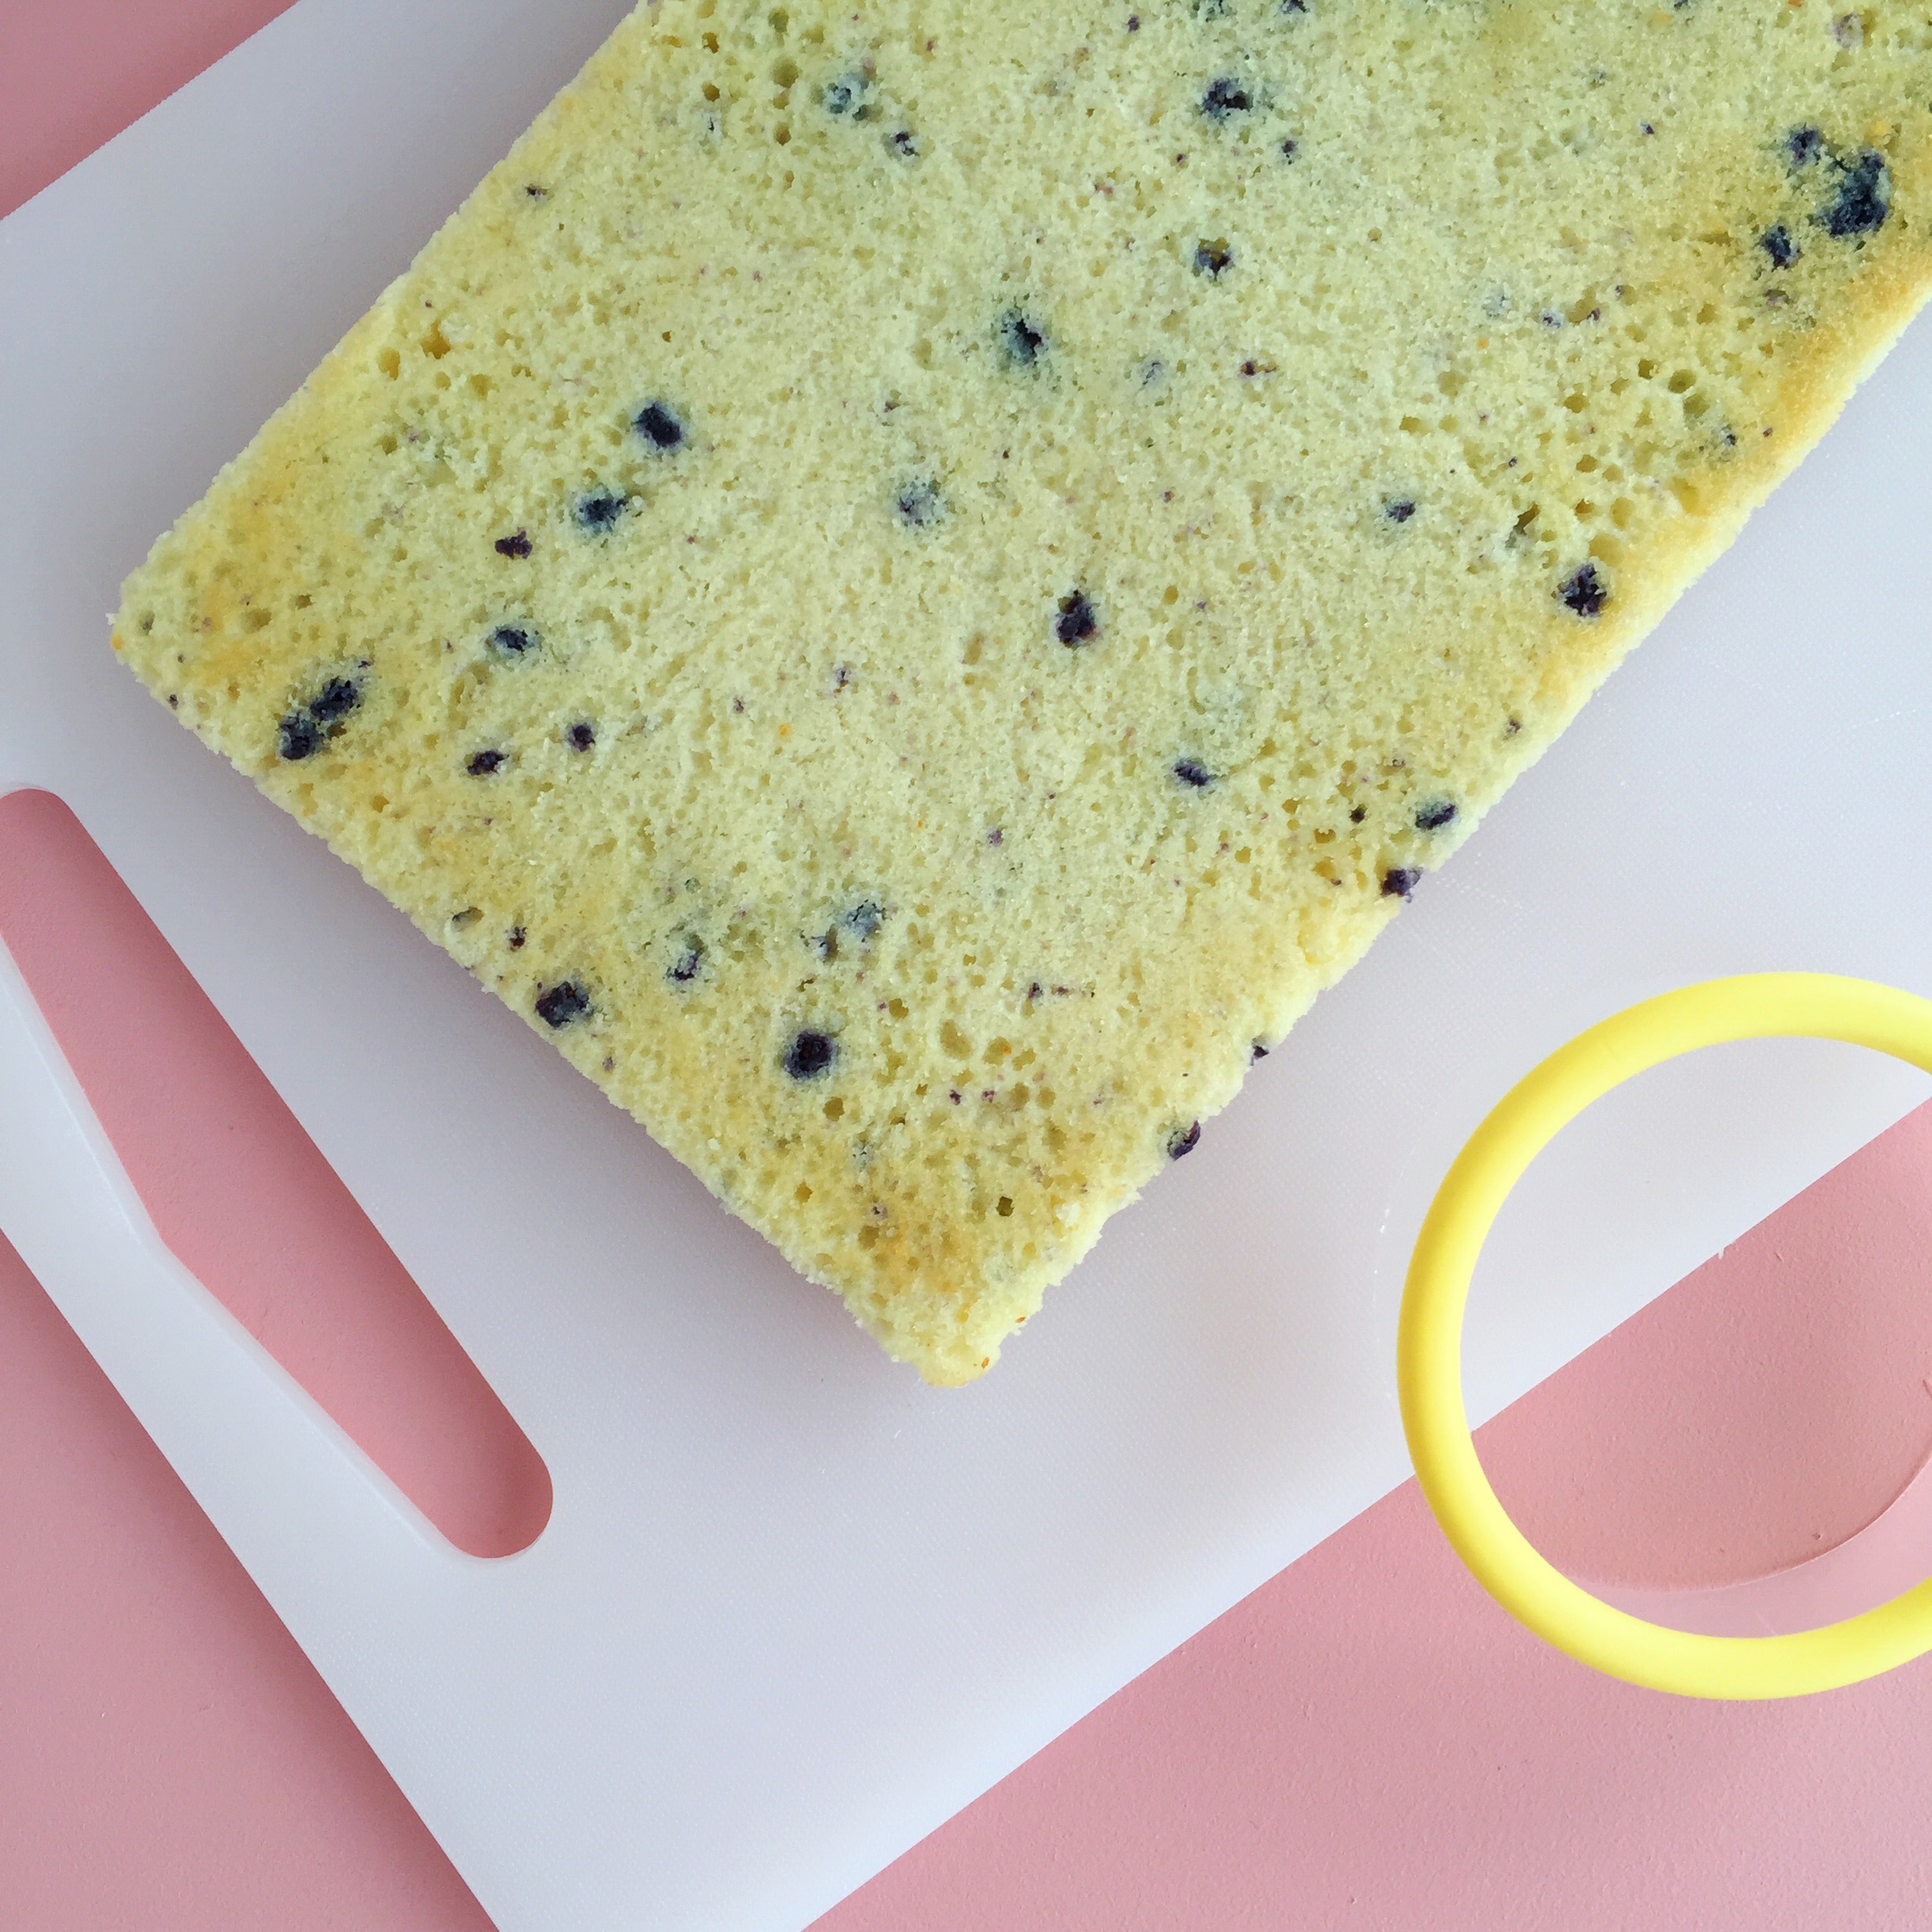
  6. Taking your circle cutter, try to cut as many circles from your pan of muffins that you can.
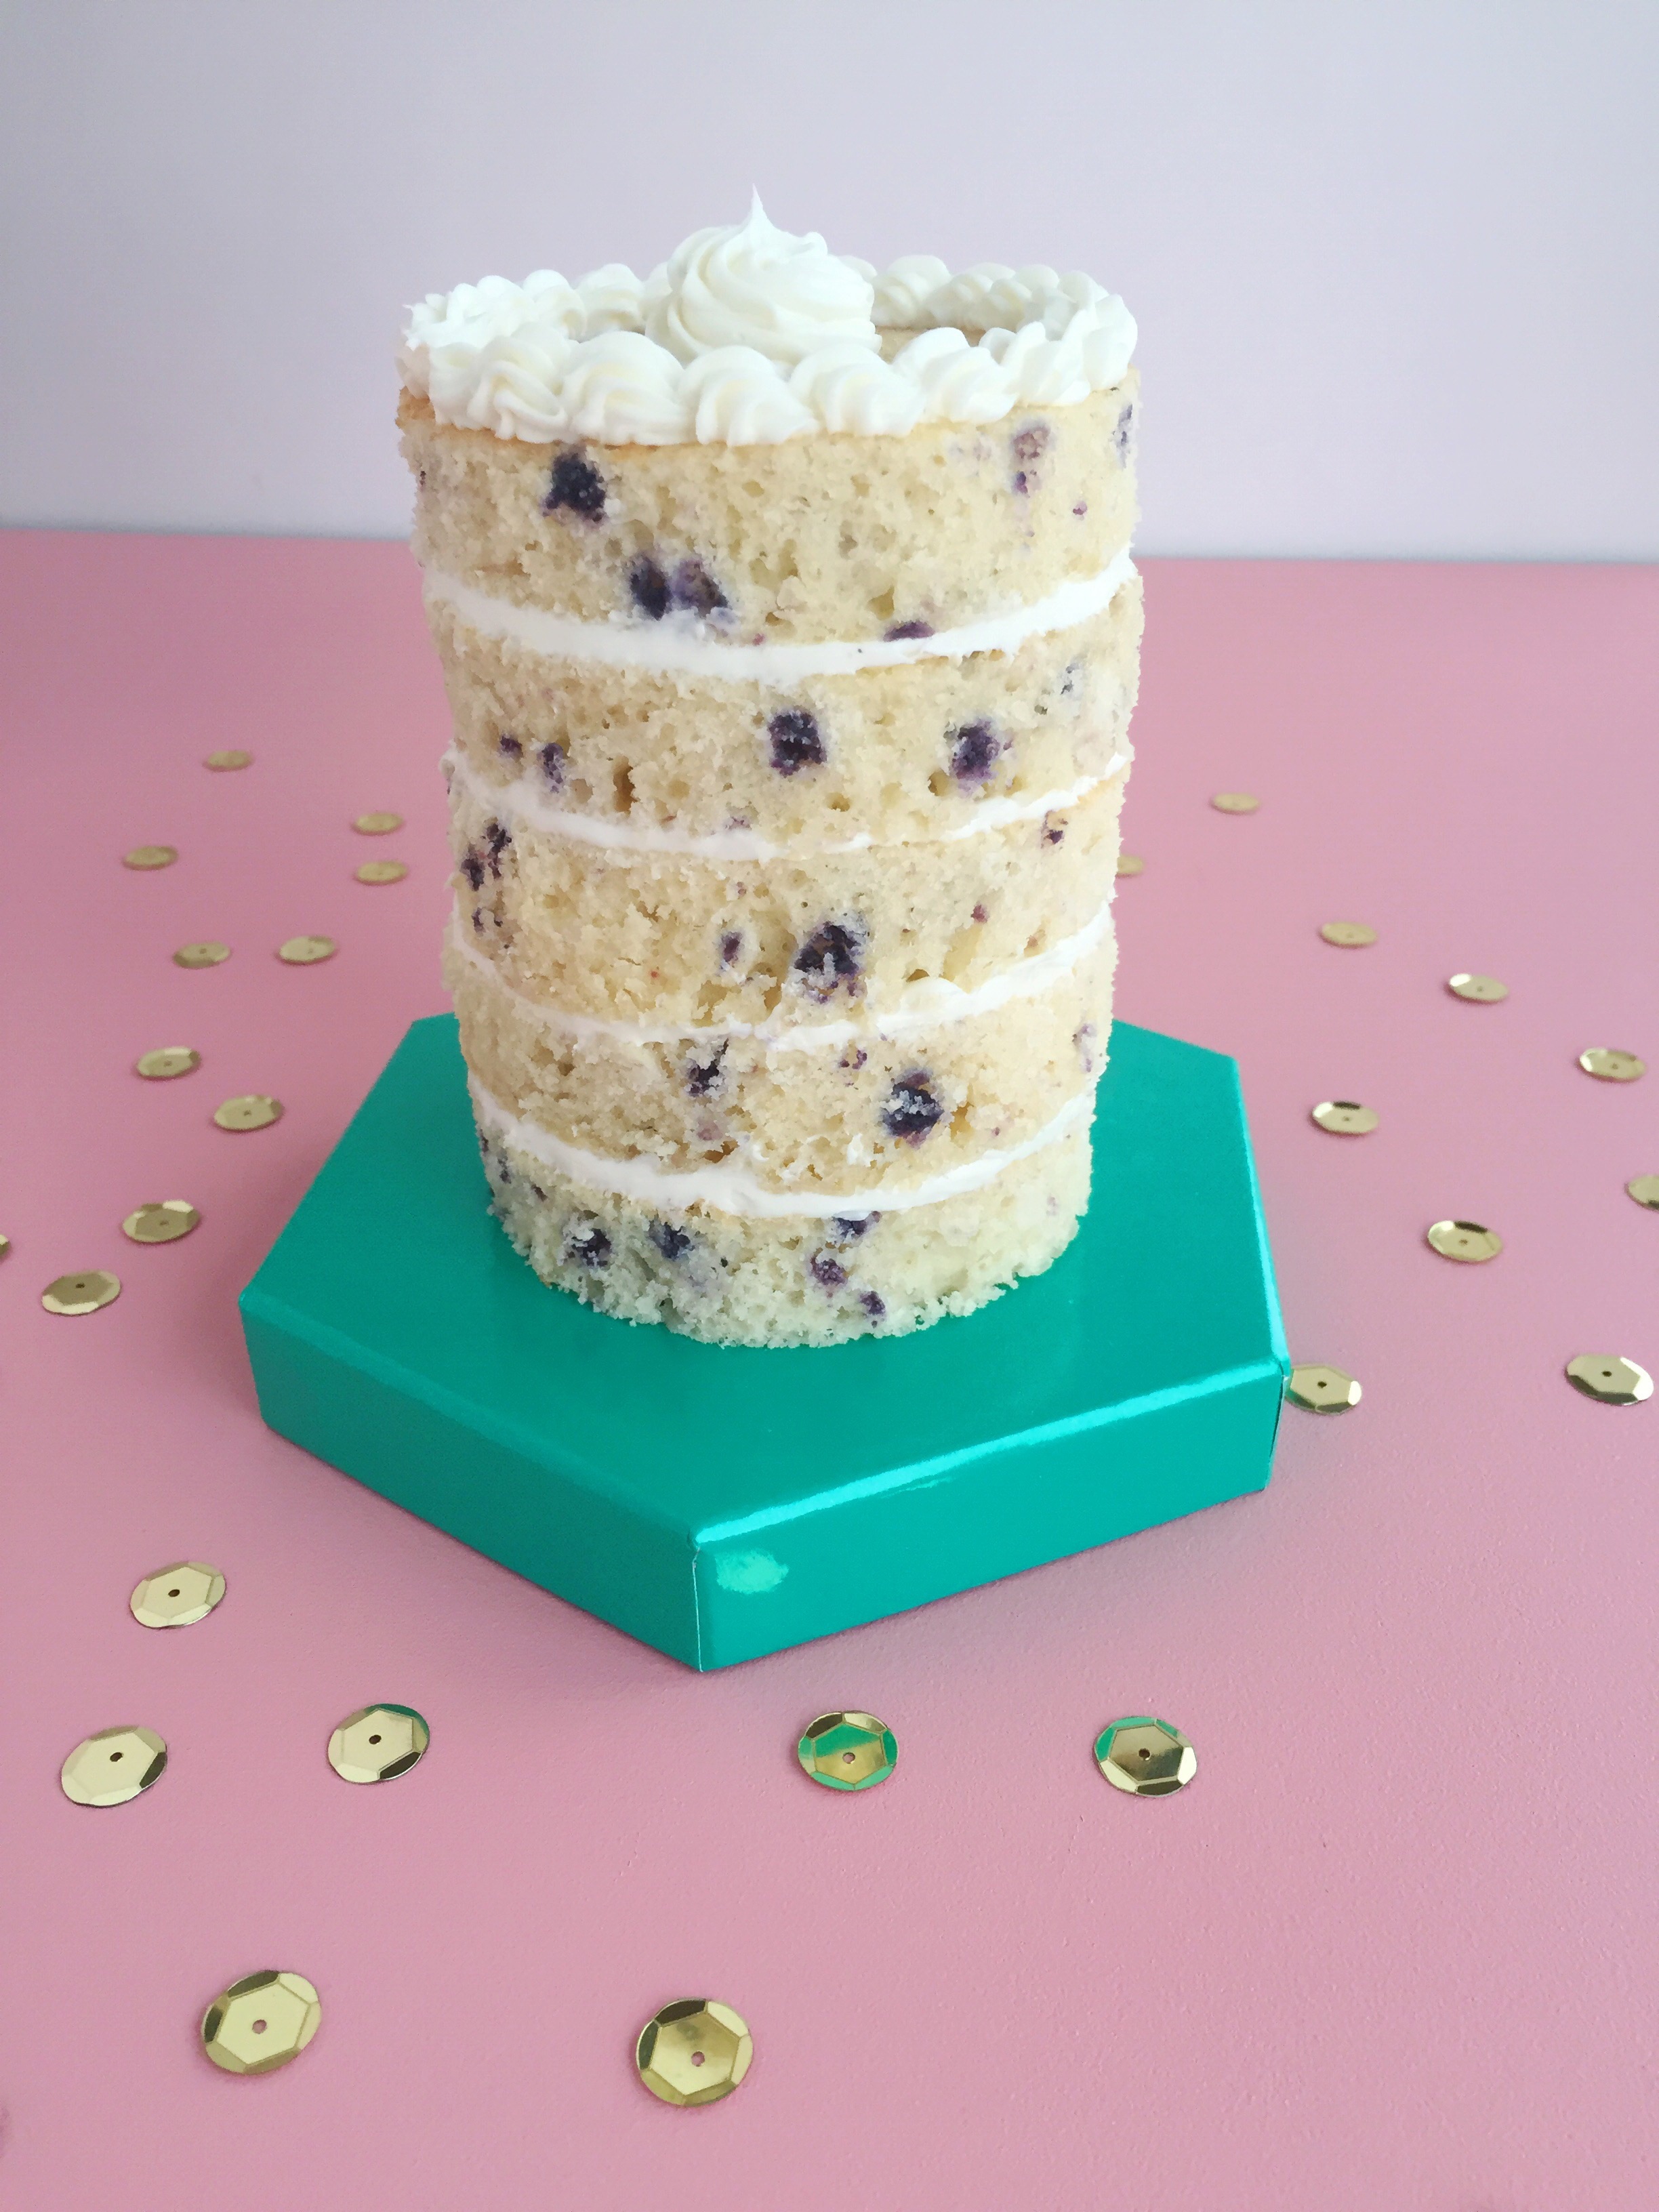
  7. Lay down your first layer of muffin.
  8. Using a knife, spread the icing on, then stack a layer of muffin on top of that.
  9. Repeat until you have as many layers as you want. 
  10. Eat up!! :)
yummy blueberry layer cake
image.jpg

Birthday Brunch: Part 2

Today we have round two of our brunch sneak peek. (And a couple cute pictures of the party guests, of course.) All of our project posted today and in Part 1 will be broken down into individual tutorials soon! So stop by daily if you want to catch the tutorials for our brunch decorations, food, or even the party favors.

My Only Sunshine || Birthday Brunch Decorations
My Only Sunshine | Birthday Brunch Decorations
My Only Sunshine | Birthday Brunch Decorations & Food
My Only Sunshine | Birthday Brunch Decorations
My Only Sunshine | Birthday Brunch Food
My Only Sunshine | Birthday Brunch Decorations & Food
My Only Sunshine | Birthday Brunch Decorations
My Only Sunshine | Birthday Brunch Guests

We hope you stop back by soon to check out our brunch tutorials and maybe even try them! They are simple, fun, and super cute for almost any party!

xoxo,

Britt & Sky

DIY Stencil Sign

Usually when you buy a stencil you use it to trace out letters or shapes. But what happens to the left over middle pieces? Most of the time you throw them away. We don't like to be wasteful so we decided to put these scraps to use!

MOS_Blog_DiyStencilSign

This diy is pretty simple. Here's what you need:

  • Stencil scraps (The middle, cut-out section of the stencil)
  • Small canvas
  • Glue
  • Paint (Optional)

Here's what you do:

  1. Choose a phrase out of your stencil scraps (we chose 'Chin up buttercup') and set the letters aside.
  2. Then, if you choose to, paint your canvas the color of your choice.
  3. Next you can paint the letters or leave them their organic color.
  4. Then simply space them out so they look appealing to you, glue them to the canvas, and viola! You now have a new sign for your home and it only took a couple minutes!
MOS_Blog_DiyStencilSign

We always love simple crafts such as this one. Although it's small and barely took any of our time, it looks great as a decoration!

image.jpg

We would love to see your spin on this diy. And don't forget to tag us! (Twitter, Facebook, and Instagram)


xoxo

Britt & Sky


Birthday Brunch: Part 1

Brittnee's birthday brunch was a HUGE success! Soon we will have tutorials and recipes for all of our party essentials. But for now we wanted to give you a sneak peak of the festivities.

Birthday Brunch Invitation
BirthdayBrunch_MyOnlySunshineBlog_Cake
BirthdayBrunch_MyOnlySunshineBlog_Decorations
1410836282_664378_IMG_5695.JPG
BirthdayBrunch_MyOnlySunshineBlog_Decorations
BirthdayBrunch_MyOnlySunshineBlog_PartyFavors
BirthdayBrunch_MyOnlySunshineBlog_Decorations

Everything we made for the brunch coordinated, with pops of gold and floral, even down to the tiny details. After a couple long nights of work and a whole lot of gold spray paint everything turned out perfect. We are excited to be able to share this with you and can't wait to post the tutorials. Be looking out for our decoration, food, and favor diys on the blog soon.

xoxo

Britt & Sky

DIY Picnic Blanket

Nothing is better on an awesome fall day than a picnic! We have been wanting to find a picnic blanket that we could take to the park for a while now, but were not wanting to pay very much. So we decided to just make one ourselves.

My Only Sunshine || DIY Picnic Blanket

Here's what you need:

  • painting canvas from the hardware store (ours is 5x5 and has a waterproof backing on it which is perfect for sitting on the ground)
  • Fabric paint
  • paint brush/sponge brush
  • Posterboard
  • Pom Poms (optional; see our tutorial here)
  • scissors

Here's what we did:

  1. We made up a pattern and using a posterboard created 2 templates. One large one and then a smaller one to add a few details. Because of the size of our template versus the canvas. We actually had to paint the template four times.
  2. We folded the canvas in half and then in half again.
  3. After taping down our template, to hold it in place, we used a sponge brush to apply the paint. We repeated this four times.
  4. Once that dried, we used our smaller template to paint gold squares throughout our pattern.
  5. Then we used our Pom Pom tutorial to add a finishing touch on our picnic blanket.


My Only Sunshine || DIY Picnic Blanket

And then of course, we had to go on a picnic to try it out...

My Only Sunshine || DIY Picnic Blanket

We will be posting later about our other fun picnic accessories, but if you have questions don't be afraid to ask. :)

We hope you are inspired by this fun DIY and even try it out yourself! And if you do, remember we want to see it. Make sure to tag us on Instagram, Twitter, or Facebook!

xoxo

Britt & Sky