Printable: Surround Yourself

One thing that I have really been trying to do is make sure that I am getting rid of the things that bring me down or hold me back. And surround myself with the people and the things that matter most. Its nice have to something to look at daily that reminds you.

Download and print your printable reminder now. There are four color options for this 8x10 printable: mustard, blue, red, + pink.   

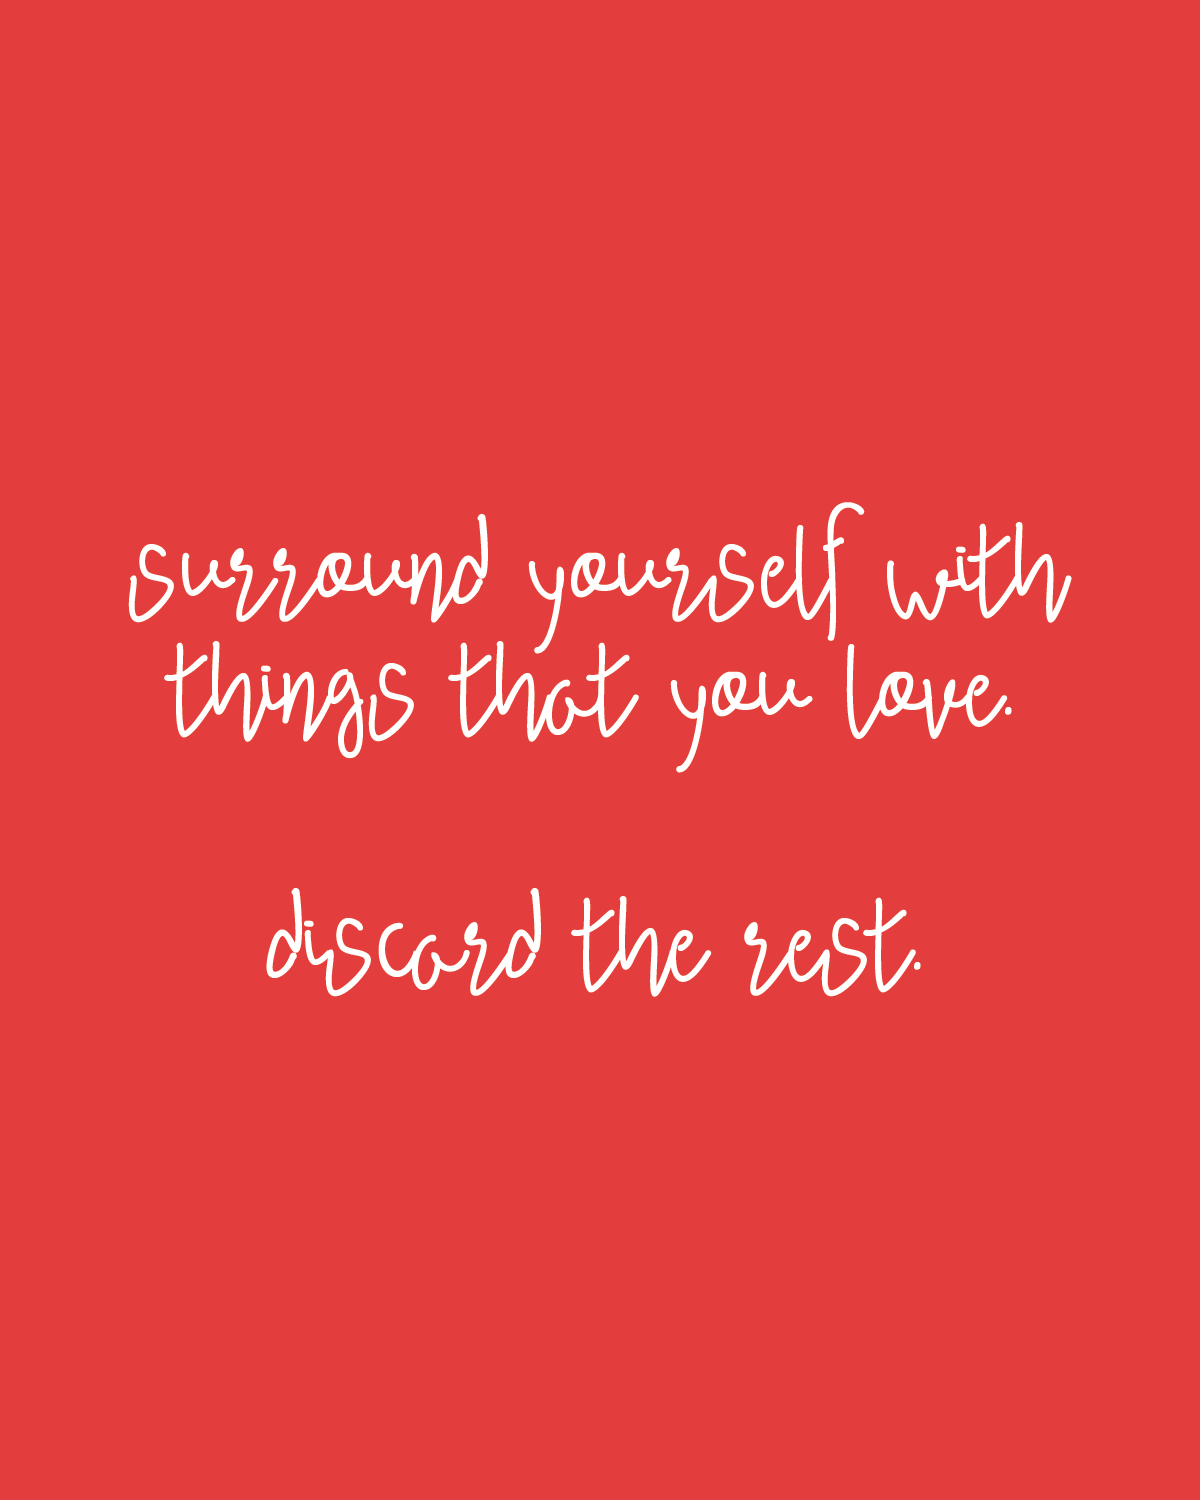
It feels good to clear things out and really prioritize and hang on to the things you love. We all need to be reminded sometimes. xo, Britt

DIY Emoji Canvas

Today we have a fun way to put the emojis you love anywhere you want. We have made an adorable canvas covered in emojis. You must try this, it's pretty simple and really awesome! :) 

Here's what you will need:

  • 24"x 18" canvas
  • ruler
  • pencil
  • paint
  • 12 of your favorite emojis (we know it's tough to narrow them down)
  • masking tape
  • computer paper

1. First, cut out 6" x 6" squares on your computer paper. Draw each emoji onto a square. This step is optional, but we suggest it to help you know how to draw the emoji and to see how big it will need to be on the canvas. 

Emoji canvas. Click through for instructions.

2. Make a mark every six inches on each side of your canvas. 

3. Using the marks you made, line a piece of masking tape across the width of your canvas to create a row. Then use a small piece of tape to line it up with the mark on the other edge to create your box. This will create a 6" x 6" box to help you accurately make your emoji. 

Emoji canvas. Click through for instructions.

4. In your box, paint a yellow circle leaving a little bit of room around it (approx. 1/2" - "1). Then add tape to your next mark to create a new box for your next emoji.

Emoji canvas. Click through for instructions.

5. Repeat steps three and four until you have filled your canvas and have twelve yellow circles. 

6. After all your circles have completely dried, draw on your faces lightly with pencil. 

Emoji canvas. Click through for instructions.

7. Then just paint on your faces. That's all! Once it completly dries, you have an adorable emoji canvas. 

Emoji canvas. Click through for instructions.

We love how ours turned out. This canvas can be customized to your liking. Pick out your favorite emojis, or use the ones we chose, it's totally up to you.

Emoji canvas. Click through for instructions.

This poster can be hung in any room to make it more fun and brighten it up a little! You really should try it. You won't regret it, we promise! :) xoxo, Britt + Sky

DIY Storage Bin

Lately we have been trying very hard to recycle as much as we can. It makes us feel better that things can be used and it takes down the amount of trash we put out each week. Another good benefit that we have found is that we have been able to come up with some really fun projects that are really affordable because we are using things that we already have. 

For instance, we have bought several large pieces of furniture from ikea lately that come in really nice large boxes. We decided that we wanted to come up with a good idea of how to make use of the boxes we had lying around. 

Plus we have been wanting to make some kind of storage bin that will fit on our shelf and hold Noah's toys for quite a while. We have found some that we liked but were worried that Noah may hurt himself on them, or they are just plain expensive. 

DIY Storage Bin (click through for tutorial)

Our storage bin that we are making today is made of cardboard and yarn. That's it. It is super inexpensive because like we said, we had the cardboard and we also had part of a roll of yarn from a previous project that we worked on.  

Here's what we used: 

  • cardboard
  • yarn
  • scissors
  • ruler  
  • pencil
  • x-acto
  • masking tape
  • hole punch/drill
DIY Storage Bin (click through for tutorial)

Here's what we did:

1. We cut 5 equal squares from our large piece of cardboard. We cut ours out at 12" x 12" because that is what fit our shelf, but you could definitely make it whatever size suites you. 

2. Then we measured and marked where we wanted to put our holes on each piece. We marked ours 1" in from the edges and then 1" apart. 4 of the pieces need holes on only 3 sides. The other piece needs holes on all 4 sides.

3. Next we used the drill and drill bit to cut all of our holes. We could have used a hole punch, but the one we have wasn't big enough for what we needed to do. Note: Once we cut one, we used it as a template. 

DIY Storage Bin (click through for tutorial)

4. We wrapped a small piece of masking tape around the end of our yarn to help make it easier to put it through the holes. 

DIY Storage Bin (click through for tutorial)

5. We used a few different pieces of yarn and weaved through the holes to connect our 5 pieces of cardboard. Once we were done with that, we tied off our loose pieces of yarn. 

6. Boom! You have a super fun storage bin!

DIY Storage Bin (click through for tutorial)

Our storage bin is so perfect for Noah's toys or even his blankets. We will definitely make more of these as we get more cardboard. And we love the way the bin looks on our shelf!

DIY Storage Bin (click through for tutorial)

We hope you love our fun diy and try it yourself! xoxo, Britt + Sky

Mini Meal Ideas

Since Noah has started eating more whole foods we have started coming up with meals that are well balanced and Noah loves. But these foods are everyday items that come from our meals so we don't have to cook twice. The best part is that we can cook extra while we make our dinner and then Noah has lunches for a few days. All these meals are simple, yummy, and healthy for your kiddos. 

First we have Noahs favorite breakfast:

-whole wheat toast

-eggs

-small bowl of cheerios

-oranges

Mini Meal Ideas. Click through for more.


Noahs favorite lunch: 

-turkey lunch meat  

-peas

-cheese

-grapes

-water 

Mini Meal Ideas. Click through for more.

Noahs favorite dinner: 

-dry Cheerios (as an appetizer) 

-roast

-mashed potatoes

-macaroni and cheese

-apples

-flavored water

Mini Meal Ideas. Click through for more.

Noahs favorite snacks: 

-Cheerios (of course!) 

-yogurt  

-cheese cubes

-grapes,bananas,apples, etc. 

Mini Meal Ideas. Click through for more.

All of these meals are incorporated with our meals or left overs from a meal. (For example: We have roast Sunday, Noah has roast for lunch Monday.) Incorporating his diet with ours makes it SO much easier. Cooking two meals ( one for you and one for the kiddos) isn't fun. So if you make meals that they can eat and plan ahead, when you cook something they can't have, you have left overs that are just as good. And of course all these meals have been Noah approved!

Mini Meal Ideas. Click through for more.

 We hope you try Noah's favorites with your kiddos, we promise they will love them! xoxo,Britt + Sky

Fun Future Happenings

Happy Monday Lovelies! 

We just thought that we would take today to give you a little sneak peek at some things that are coming up for My Only Sunshine. We have so many fun and exciting things that we will be able to share with you in the coming weeks. 

image.jpg

Noah's Birthday: A lot of our followers already know, Noah's birthday is coming up in February. We already have pretty much everything planned. Let's be honest, Brittnee has been planning since before Noah was born. We have so many fun things planned and we can't wait to show you.

Shop Updates: We have some super exciting things happening with our shop. We are currently working on and hope to be releasing several new items and designs in early February. We think you are really going to like them. :)

Partnerships: We are also so pumped to tell you that we have some really awesome partnerships that are going to be happening soon. We can't give you any details yet, but we just are so excited, we had to tell someone. :)


See you back here tomorrow! xoxo, Britt + Sky