Home Office Inspiration

We have a lot of big things in the works over here. One of which is our office redesign. We have just had a room full of stuff that we can't use for too long now. So it's time to go to work. 

We have been coming up with so many plans. We have a small budget for this redo so we plan on having lots of DIY projects and plenty of thrift store pieces.  

Our trip to IKEA really got us dreaming so we put together a board of inspiration from our favorites that we found. Being on a budget we know we can't have all of these things but we know at least a couple that will for sure be showing up in our office. Check it out! 

My Only Sunshine Blog || Home Office Inspiration

Poster || Plants || Clock || Desk || Pillow || Rug || Chair || Cork || Storage


And below are a few more inspirations that we found on Pinterest. There are links to the blogs that they can be found on. They are so lovely!

We are loving everything about this office from The Everygirl Blog.

We are loving everything about this office from The Everygirl Blog.

And these accessories we also found at The Everygirl Blog are amazing!

And these accessories we also found at The Everygirl Blog are amazing!

We are loving the stark whites with the pops of color from this In My Own Style Blog office.

We are loving the stark whites with the pops of color from this In My Own Style Blog office.

We are so ready to get this project going so we can share it with you! Have an awesome Tuesday!! xo, Britt + Sky

DIY Golden Paper Bags

If you haven’t figured this out already, there were a lot of gold things at the birthday brunch. The cereal bar was no exception. When we were deciding on food cereal was an obvious choice. We eat cereal a lot at our house. We wanted to have a set up with a few options and have it where people could scoop out the cereal they wanted, all while looking super cute on the food table. This is what we came up with.

Here’s what you need:

  • Paper lunch sacks
  • Spray paint (of course we used gold)
My Only Sunshine Blog || DIY Gold Paper Bags

Here’s what we did:

  1. We placed the lunch sack on a poster board and sprayed each side several times. Make sure to cover the entire outside of the bag.
  2. After the bag was completely dry, we folded over the edges of the bag. We made bags three different sizes, to add some variety, so we rolled each bags edges a different number of times (2, 4, + 6 times).
  3. Crinkle up your bags a bit. It adds nice texture.
My Only Sunshine Blog || DIY Gold Paper Bags

These bags could be used for so many things!! They would be awesome for a movie night party for popcorn even! What would you use them for? Let us know in the comments or show us on Instagram, Twitter, or Facebook!

xoxo

Britt & Sky

DIY Yum Cake Stand

Baking cakes is pretty much our specialty :) We've been doing it, just for fun and for family birthdays, for quite some time now. When we got this awesome cake stand and dome from our grandma we were super pumped. We loved the simple design of the stand but we thought that it needed a little something to make it look really good sitting out on the counter or for use at a party.

My Only Sunshine Blog || DIY Yum Cake Dome

Here's what you need:

  • cake stand with dome
  • masking tape
  • x-acto knife
  • printed letters (or you can hand draw them)
  • glass paint
  • paintbrush
  • cutting board (helpful but optional)
My Only Sunshine Blog || DIY Yum Cake Dome

Here's what we did:

  1. We printed out the word "YUM" on a piece of card stock.
  2. Next, on our cutting board, we overlapped several pieces of masking tape, large enough to fit our letters.
  3. We traced our letters on the masking tape and then using the x-acto knife we carefully cut out them out.
  4. Then peeled the masking tape up from the cutting board and placed it on the dome where we wanted it.
  5. Using the glass paint and paintbrush, we put several layers of the color on. (We accidentally got a transparent paint, but after putting on several layers and making the paint have a texture from our brush, we really like the results.)
My Only Sunshine Blog || DIY Yum Cake Dome

Happy Friday y'all! :)

xoxo

Britt & Sky

Succulent Favor + Place Cards

For the brunch, we knew we wanted to make a cute favor for the guests to take home, that would also double as a place card. In the weeks before the brunch, we went to target to check out the dollar section to see if there was anything that would jump out at us or spark an idea. We found these cute metal flower pots that we knew would be perfect to plant a succulent in and add a tag for a place card.

image.jpg

 Here's what you need:

  • flower pot (a small size is better)
  • spray paint
  • masking tape
  • succulents
  • dirt
  • pebbles (we used small decorative filler rocks)
  • kabob sticks
  • card stock
  • washi tape
  • pen
image.jpg
image.jpg
image.jpg

Here's what to do:

  1. Using the masking tape, tape off the flower pot to show only the part that you want painted. We had 6 flower pots so we decided to mix it up a bit. We taped off the top of a few of them, a bottom of a few, and even did one completely painted.
  2. At the same time, we put our rocks into a box lid, spreading them out as evenly as we could. And sprayed them until the layer was completely covered. As they dried, we would shake up the box and even out again and keep repeating the process until we were happy with the coverage.
  3. To get all of our painting done at the same time, we went ahead and painted our kabob sticks to have them ready for the name cards.
  4. After the paint on the flower pot dries, remove the tape.
  5. Put in your dirt. Our flower pots had small holes about 1/3 from the top so we had to just make sure that our dirt was lower than those holes.
  6. Next we planted the succulents. The ones that we picked up came in one plant from the hardware store. We took them out and split them up into our pots. If the succulent was bigger, we only put one in the pot. If they were smaller, we would put a few in to take up a little more space.
  7. Using your hands, gently place your painted rocks in around your succulents. (Note: there were a few rocks that didn't get covered completely, but we just flipped them over once we placed them in to show the painted side.)
  8. To start the place cards, we cut our small rectangles out of card stock.
  9. Using washi tape, we put a decorative edge on the bottom of the rectangle.
  10. Write the names of your guests on the rectangles. We practiced how we were going to write them on a piece of scrap paper before we wrote on our card stock. You could also print the names on the card stock before you cut out the rectangles, if you prefer that.
  11. Using a small piece of washi tape, we taped the kabob stick to the back of the rectangle.
  12. After cutting the kabob sticks, to make sure they don't stick out from the flower pot too far, stick your place card in the dirt.
image.jpg
image.jpg
image.jpg

Tada! You have a super cute place card for your guest and a great favor to send them home with!

Hope our DIY projects inspire you everyday! Remember to follow us and tag us in any fun projects that you make if we've inspired you! (Instagram, Twitter, or Facebook)

xoxo

Britt + Sky

Gold, gold, + more gold!

If you hadn't noticed already, we LOVE gold! (I mean who doesn't?) Almost anything can be brought back to life with a little gold spray paint. For Brittnee's brunch we added accents of gold here and there to bring a little fun to our decorations. Today we are going to show you some fun ways to add pops of gold to your life. :)

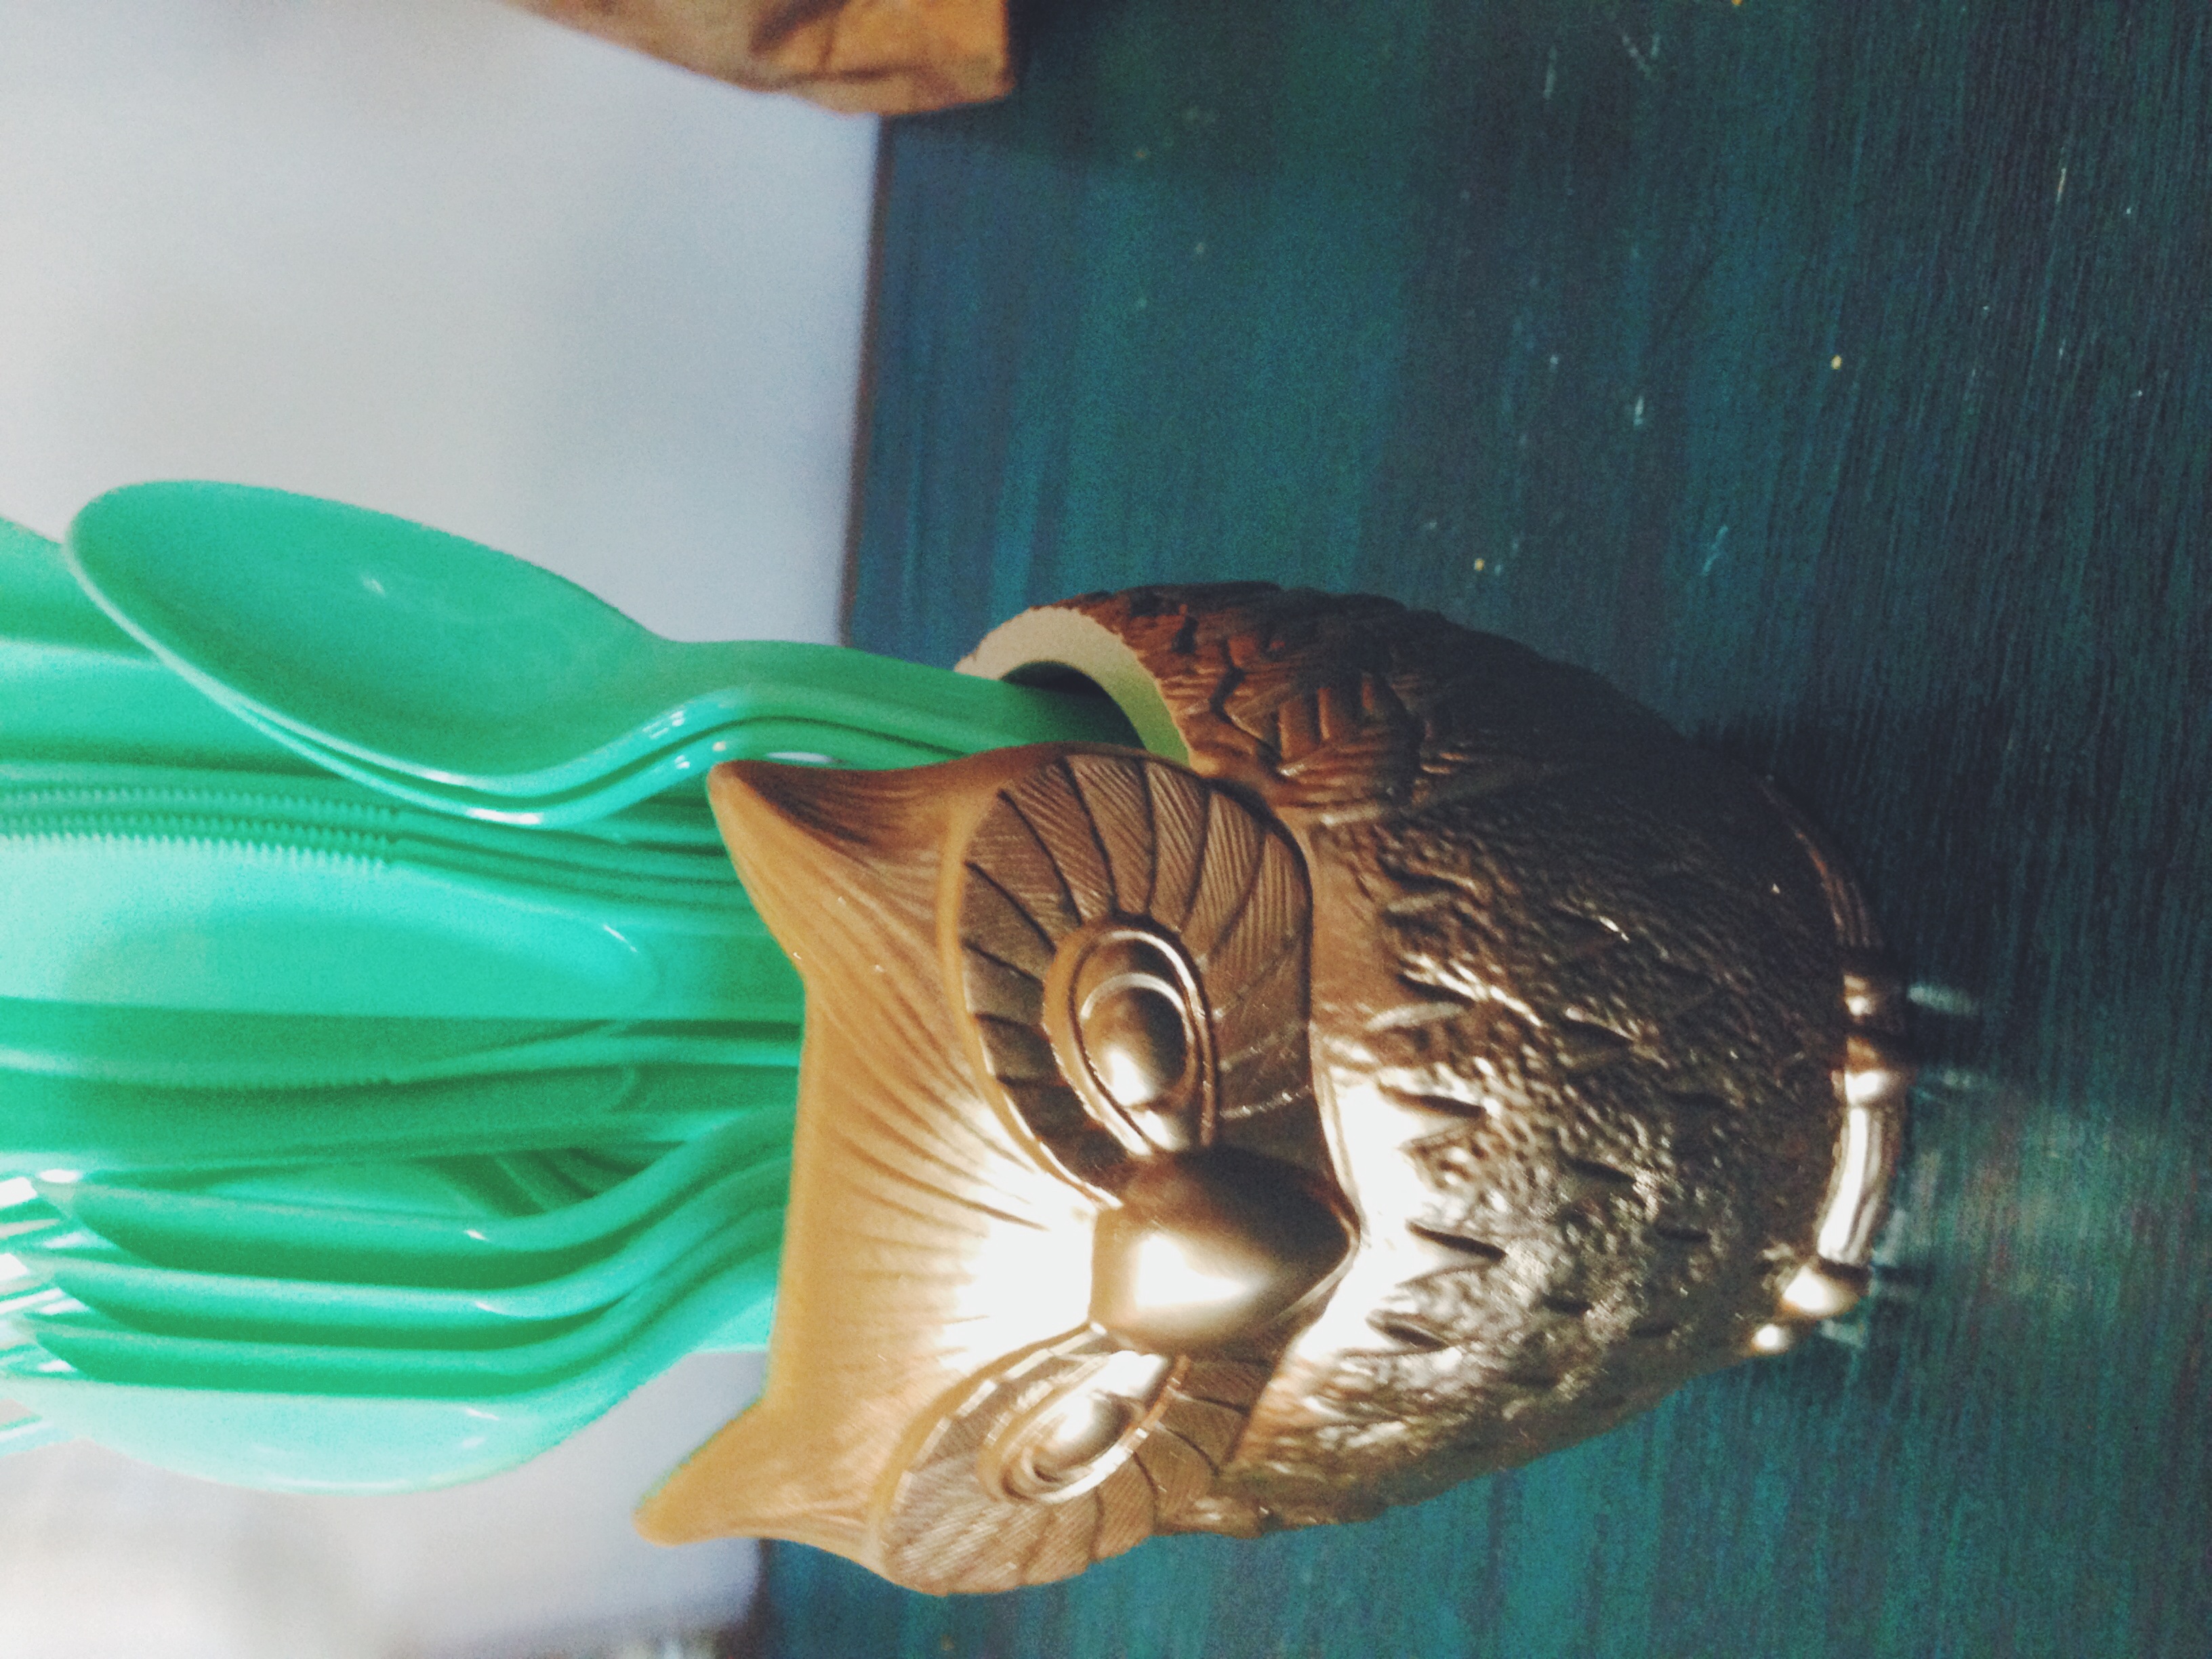
First we have the Golden Owl, the Ball Glass Jar, and the Planter. All we did was spray paint them gold, but just that can make a huge difference. We found the owl, Ball jar, and planter at one of our regular thrift stores. They were all great pieces to use for decoration, but the owl was tarnished and worn, the planter was faded, and the glass jar just seemed too "normal." Just by spray painting these pieces, we brought them back to life.

MyOnlySunshineBlog_BrunchDecorations_GoldDIYs

​Another fun, gold project we did was an gold, ombre vase. To make the vase ombre with spray paint, we first held the vase upside down with our hand in the opening. Starting from the bottom of the vase we made swift motions of spray paint towards the top of the vase, easing up as we got closer to the top. We continued this around the vase until we reached the thickness of color we were going for. (The bottom is solid gold and it fades as it reaches the top.)

MyOnlySunshineBlog_BrunchDecorations_GoldDIYs

We turned our gnome into a gnome with a cute, gold hat.:) We bought this gnome at Wal-Mart in the craft section. We took a paint brush and carefully painted on glue where his hat is. Then we sprinkled on the gold glitter, making sure to cover the entire surface and shaking of the excess. And viola! Our gnome is now accessorized!

MyOnlySunshineBlog_BrunchDecorations_GoldDIYs

What do you have that would look awesome painted gold or adorned with gold glitter? Let us know or show us on Instagram, Twitter, or Facebook!

xoxo

Britt & Sky