Tour: Skylar's Room

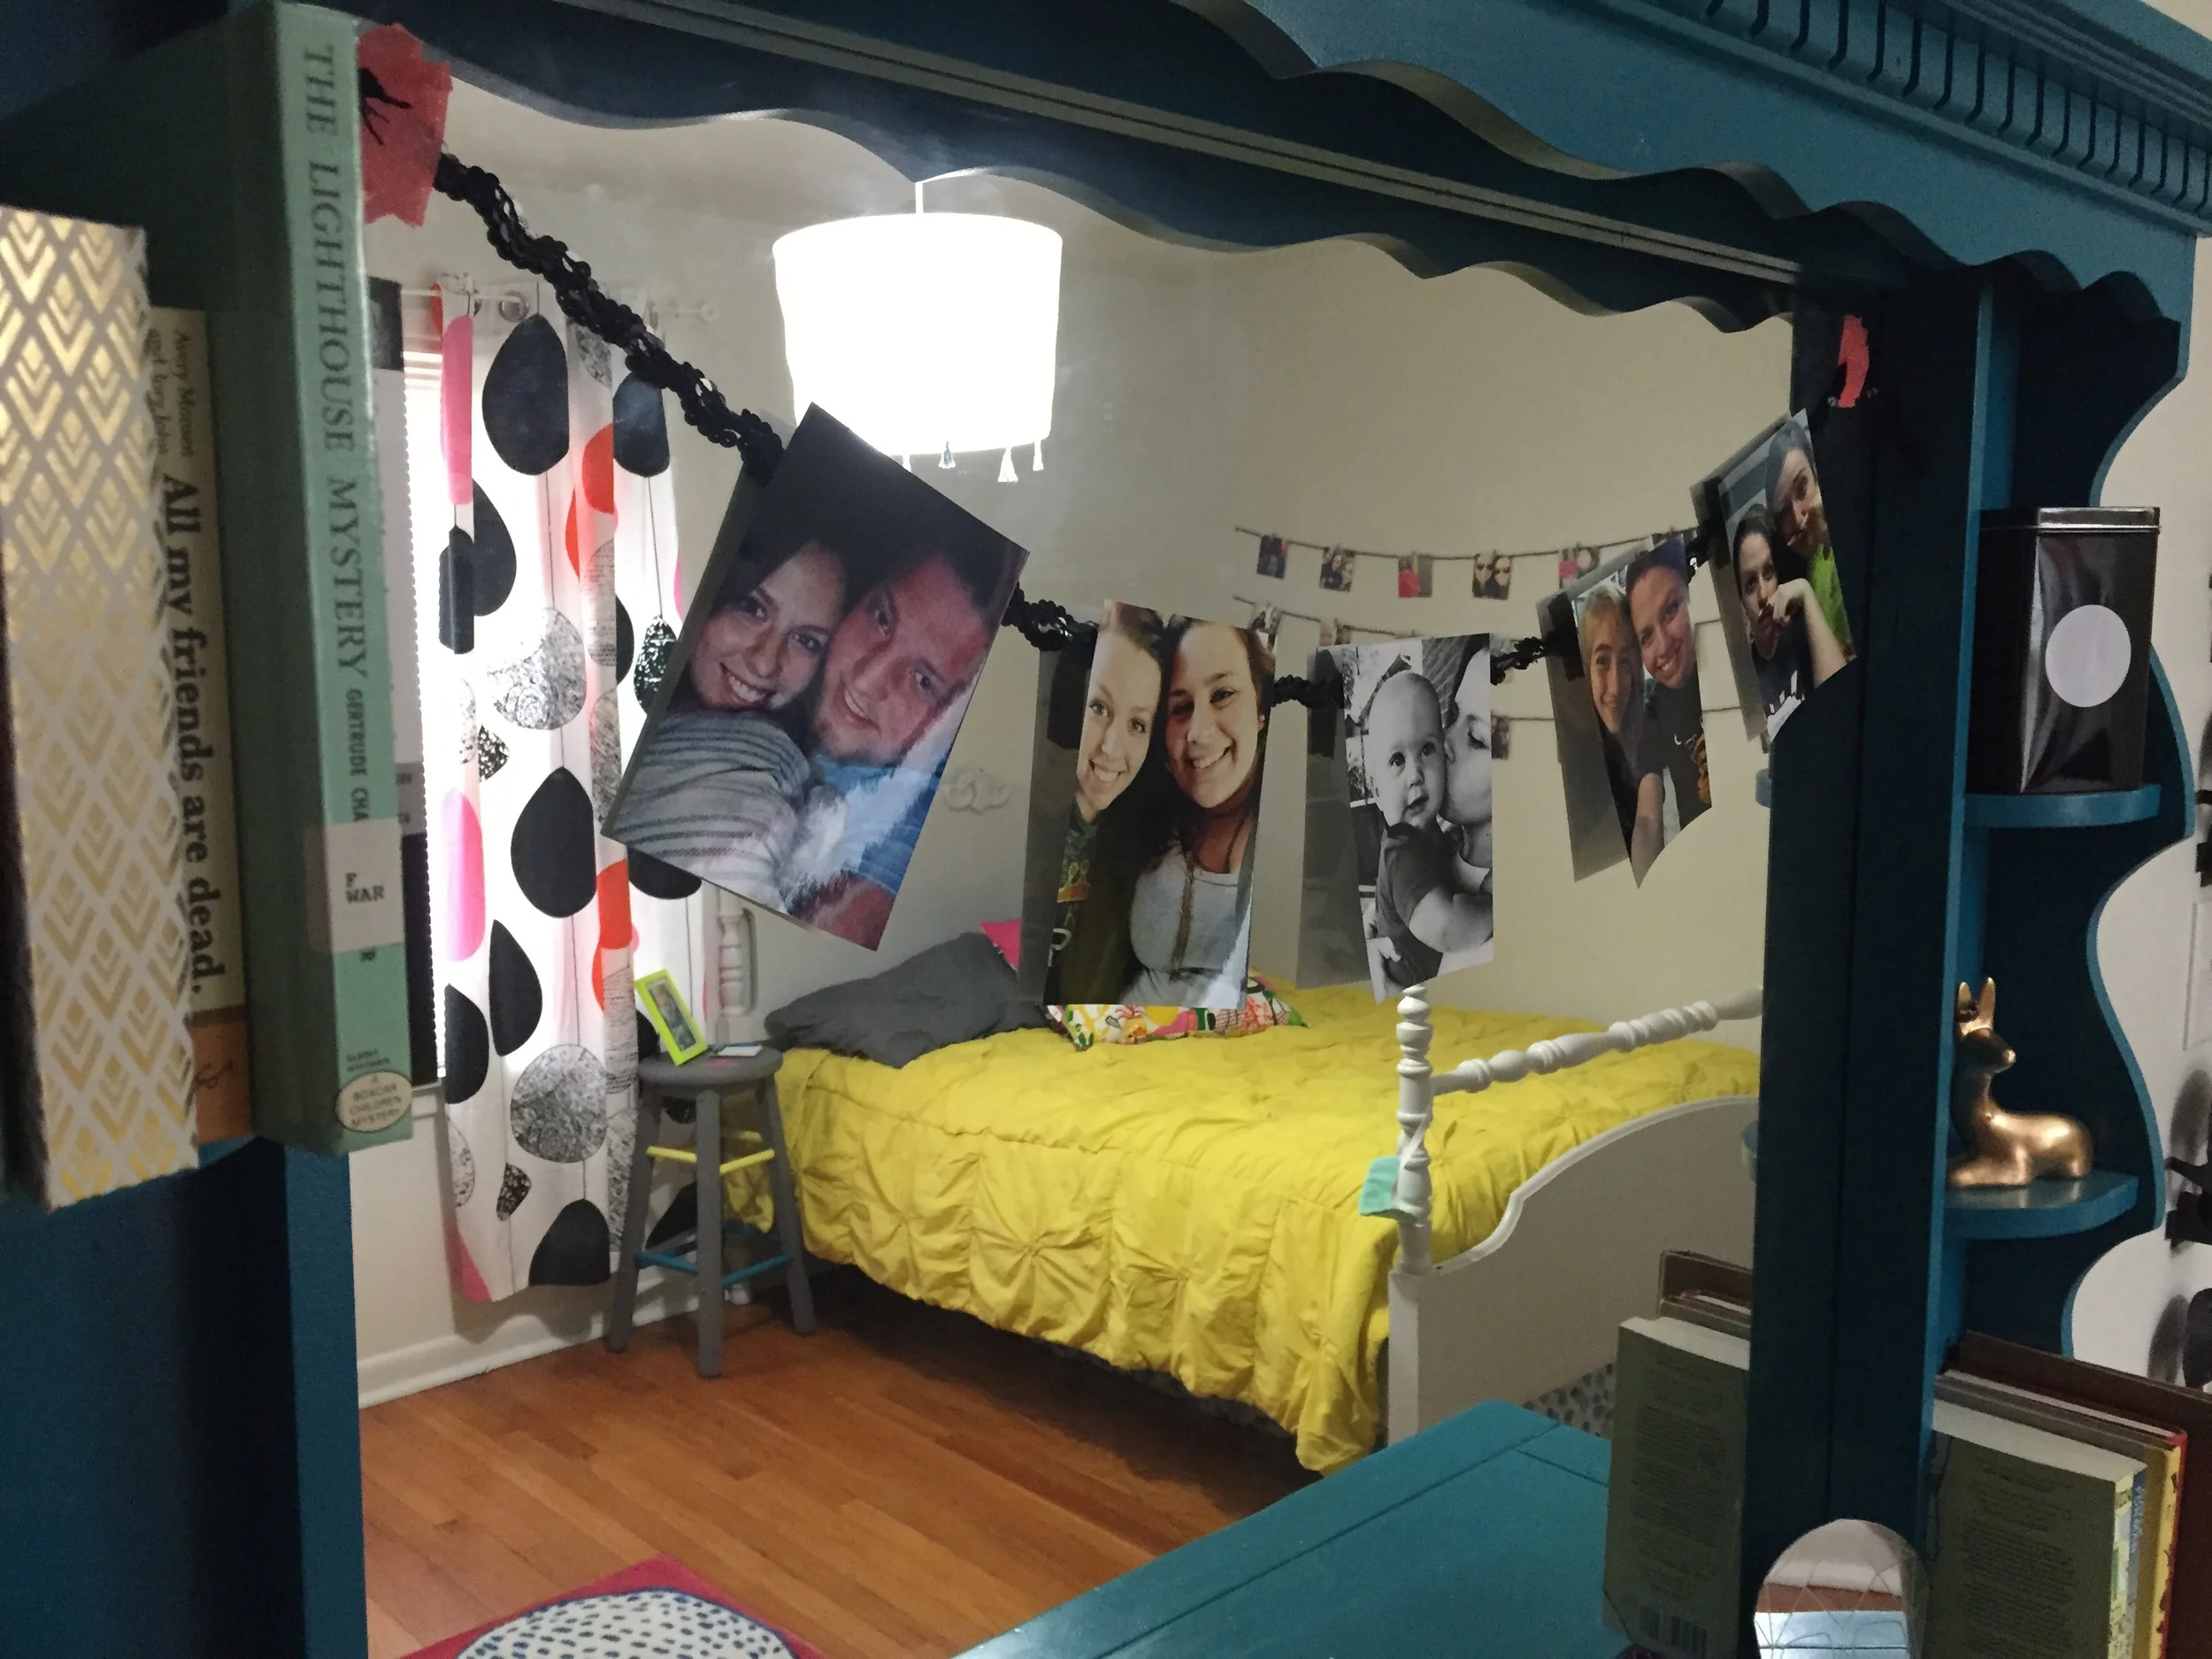
Skylar's room has been in process for quite some time now. Since like August of last year to be exact (that is terrible)! Anyway, we finally got all of the pieces done and we are really pumped to share them with you!

Tour: Skylar's Room (click through for tour)

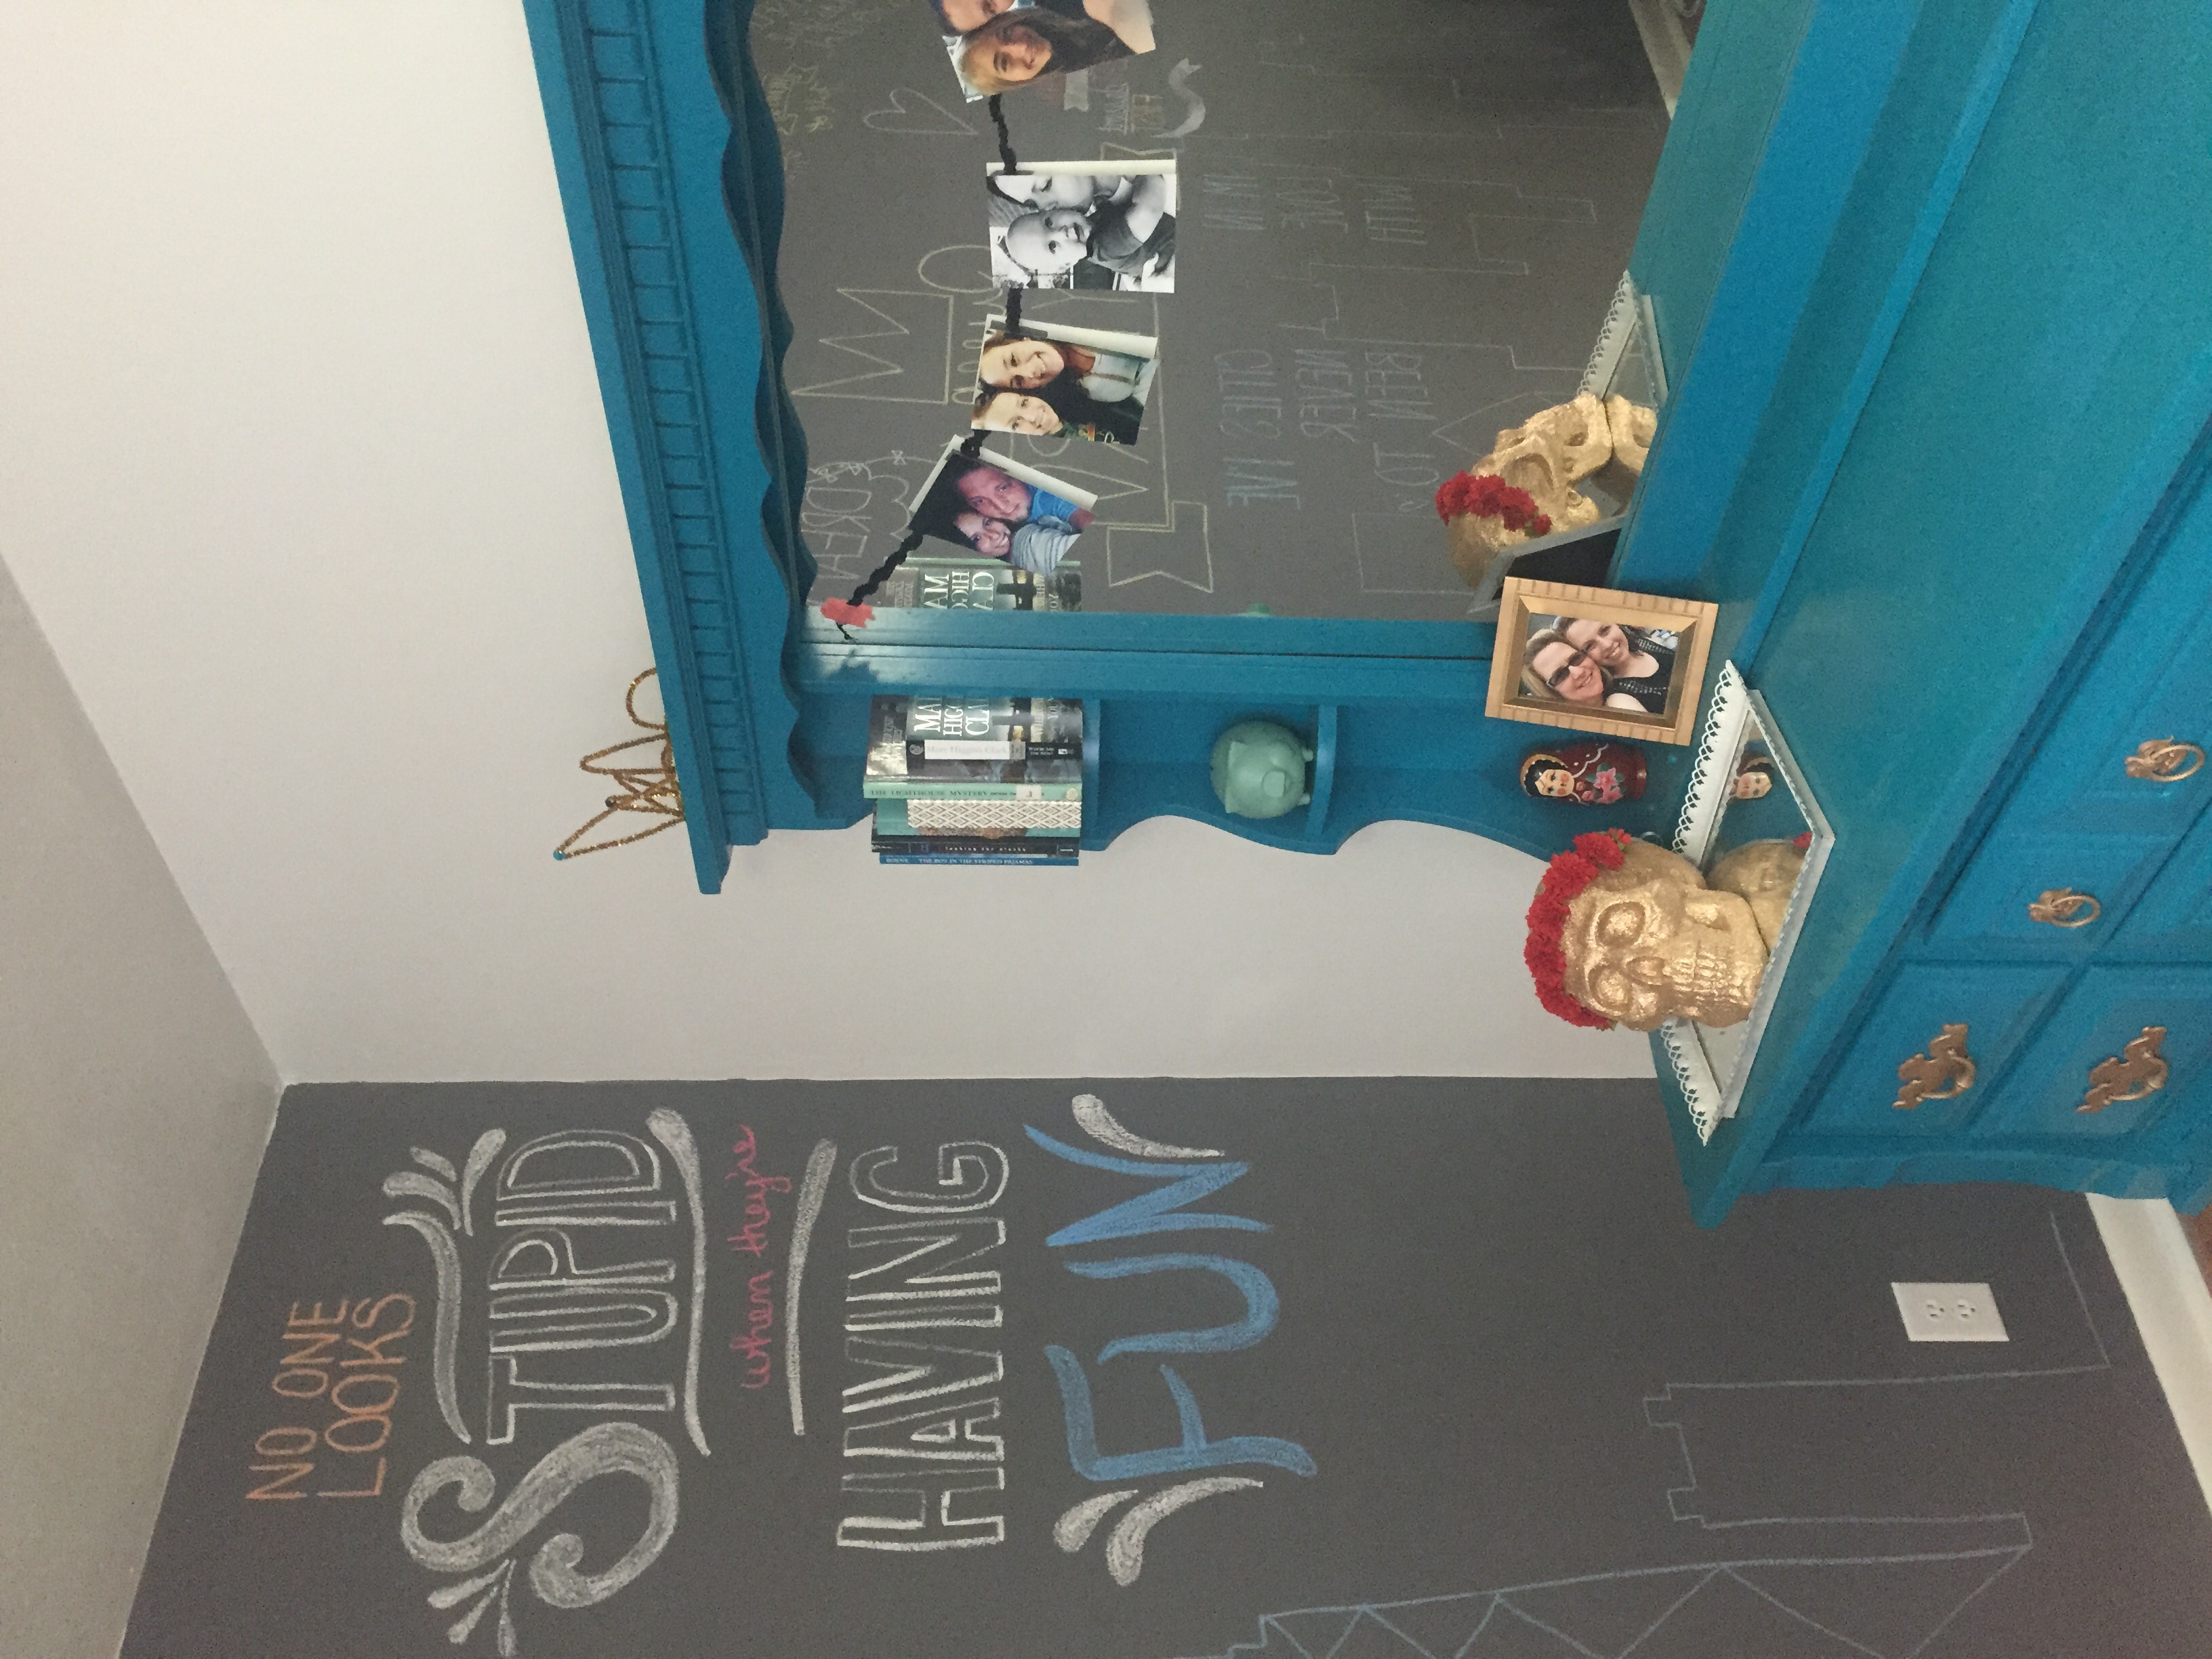
Skylar's favorite part: chalkboard wall! We had so much fun coming up with quotes and things to draw. She especially loves the "Queen Skylar" part :)

Most of the things you will see in Skylar's room are diys that we have done throughout working on her room. All of the furniture was either given to us or we got it at the thrift store. Most of the other stuff you will see is from Ikea or Target (we shop there A LOT).

You can find a few of these projects here:
- we repurposed the skulls from our use here
- we made the dreamcatcher here
- we weaved yarn in the chair here
- we made the lamp shade here
- the sleep mask hanging on the bed we made here
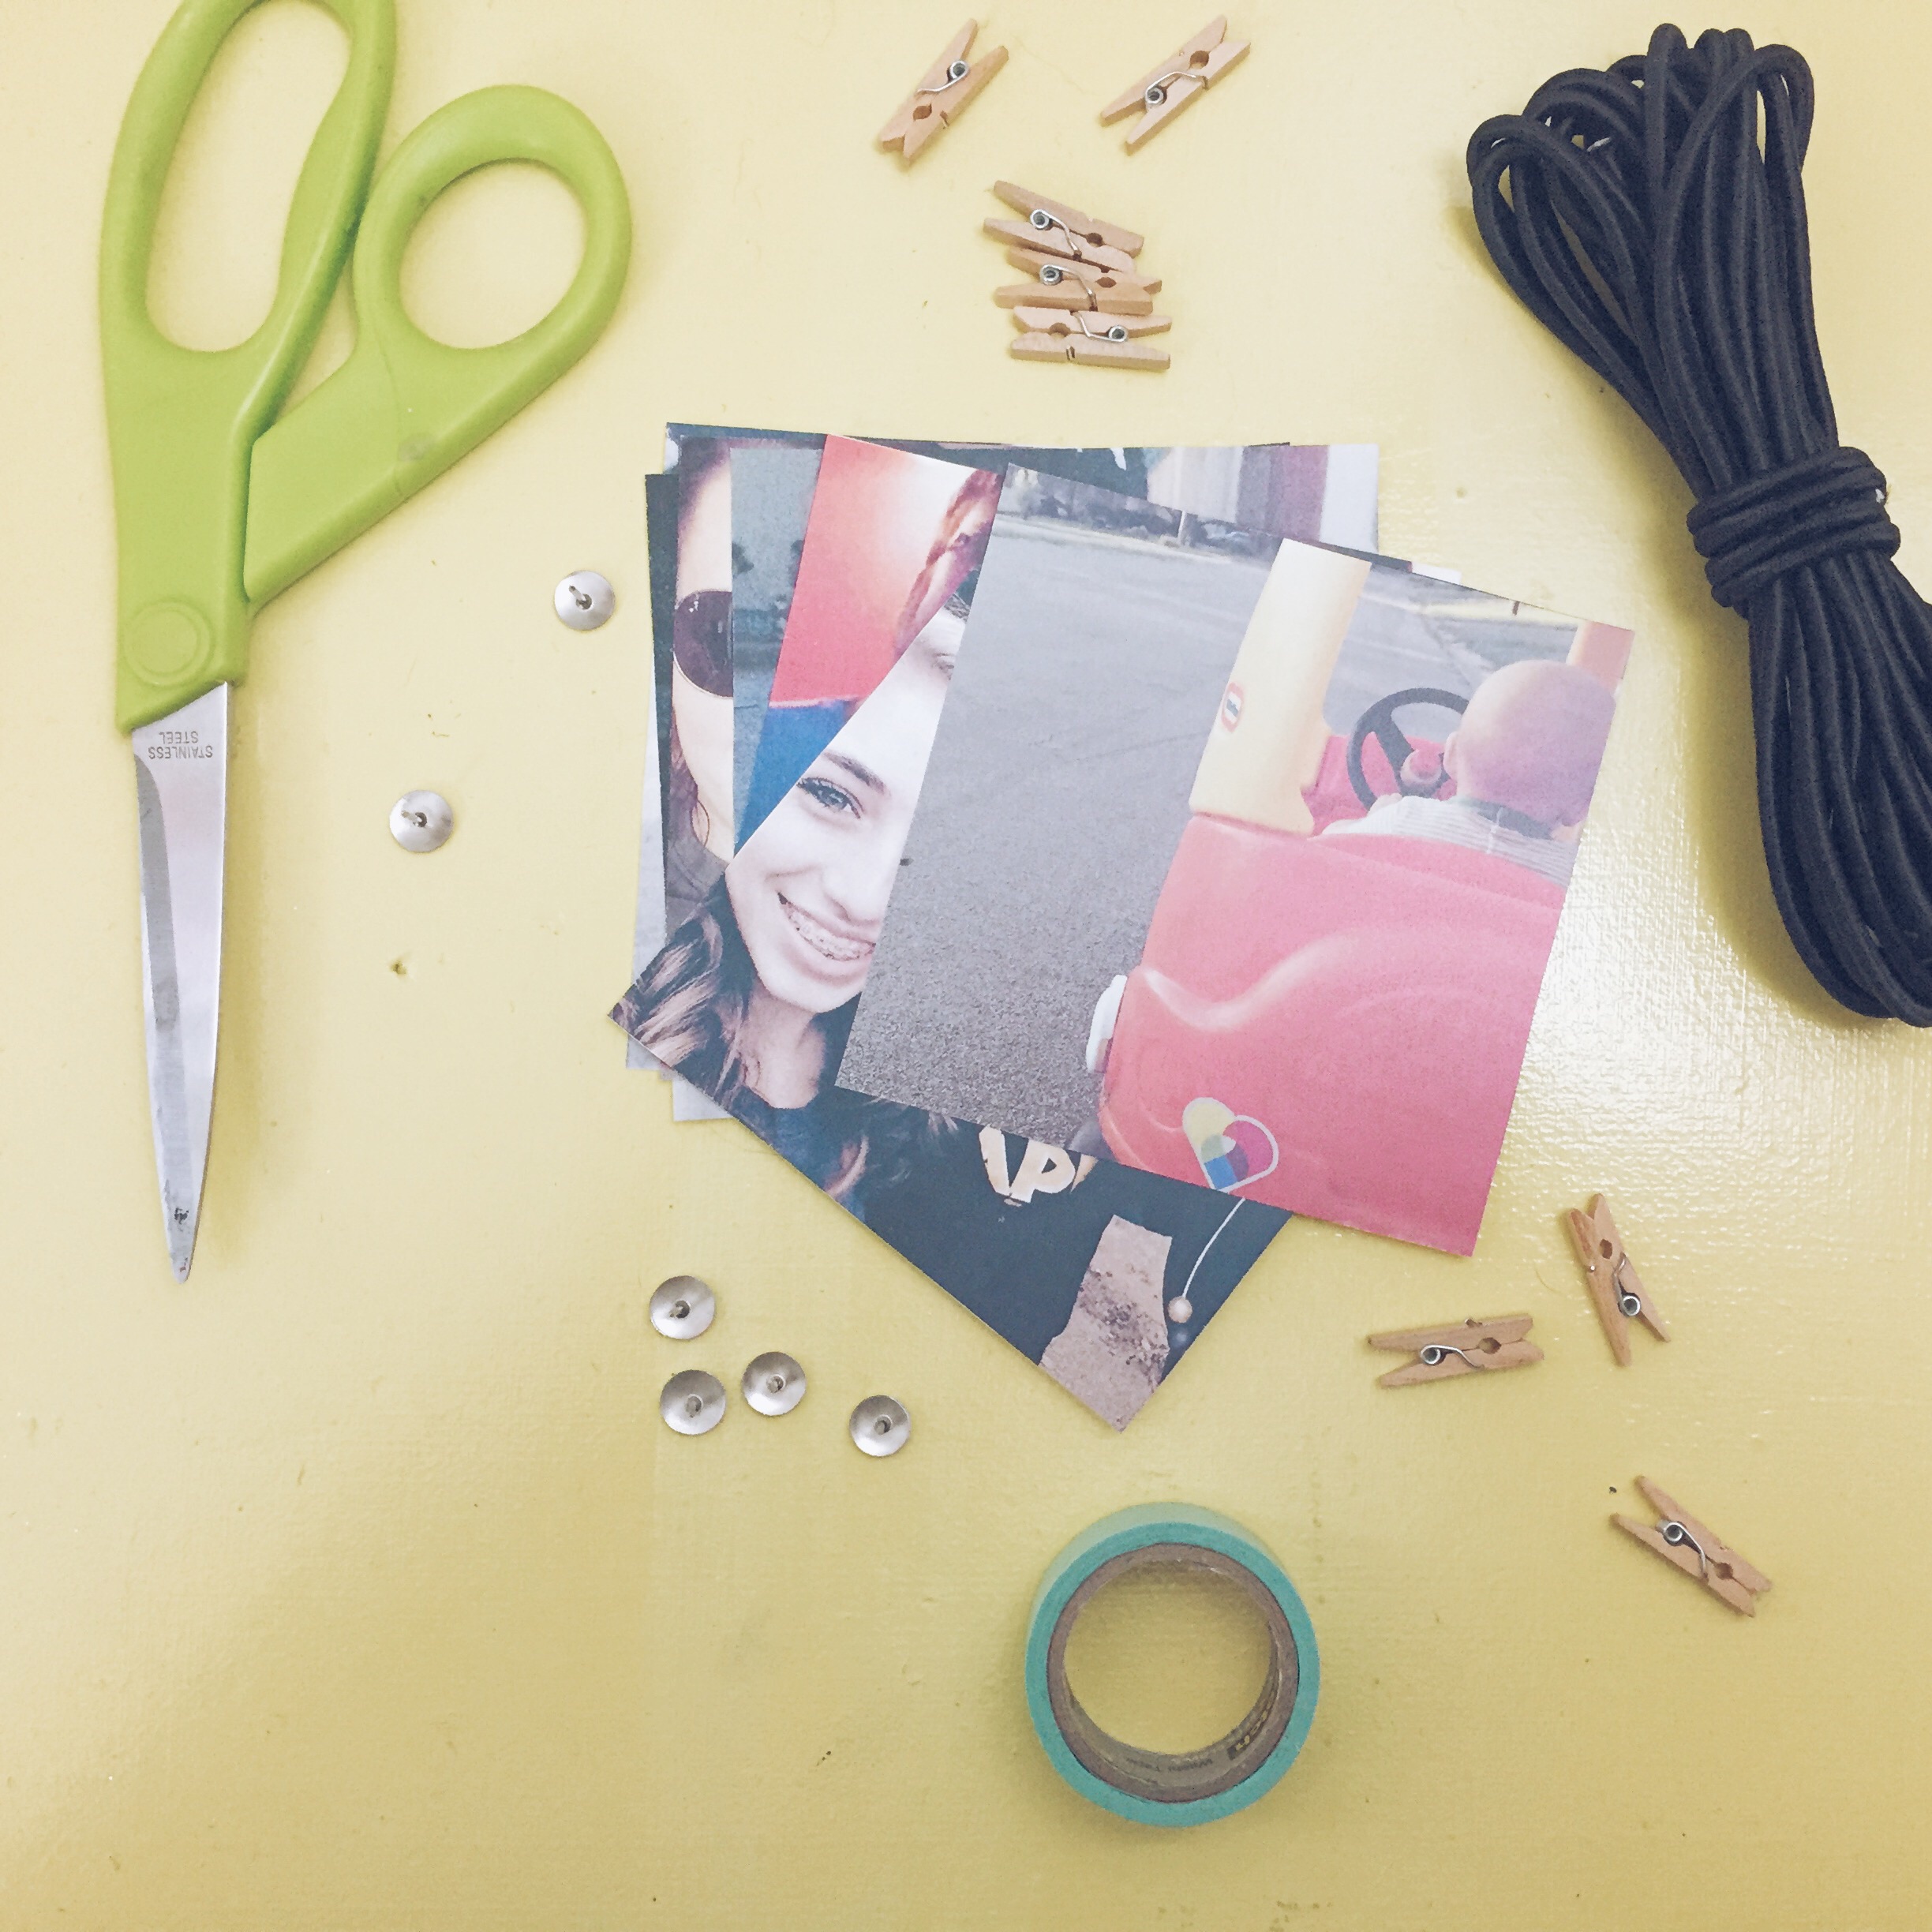
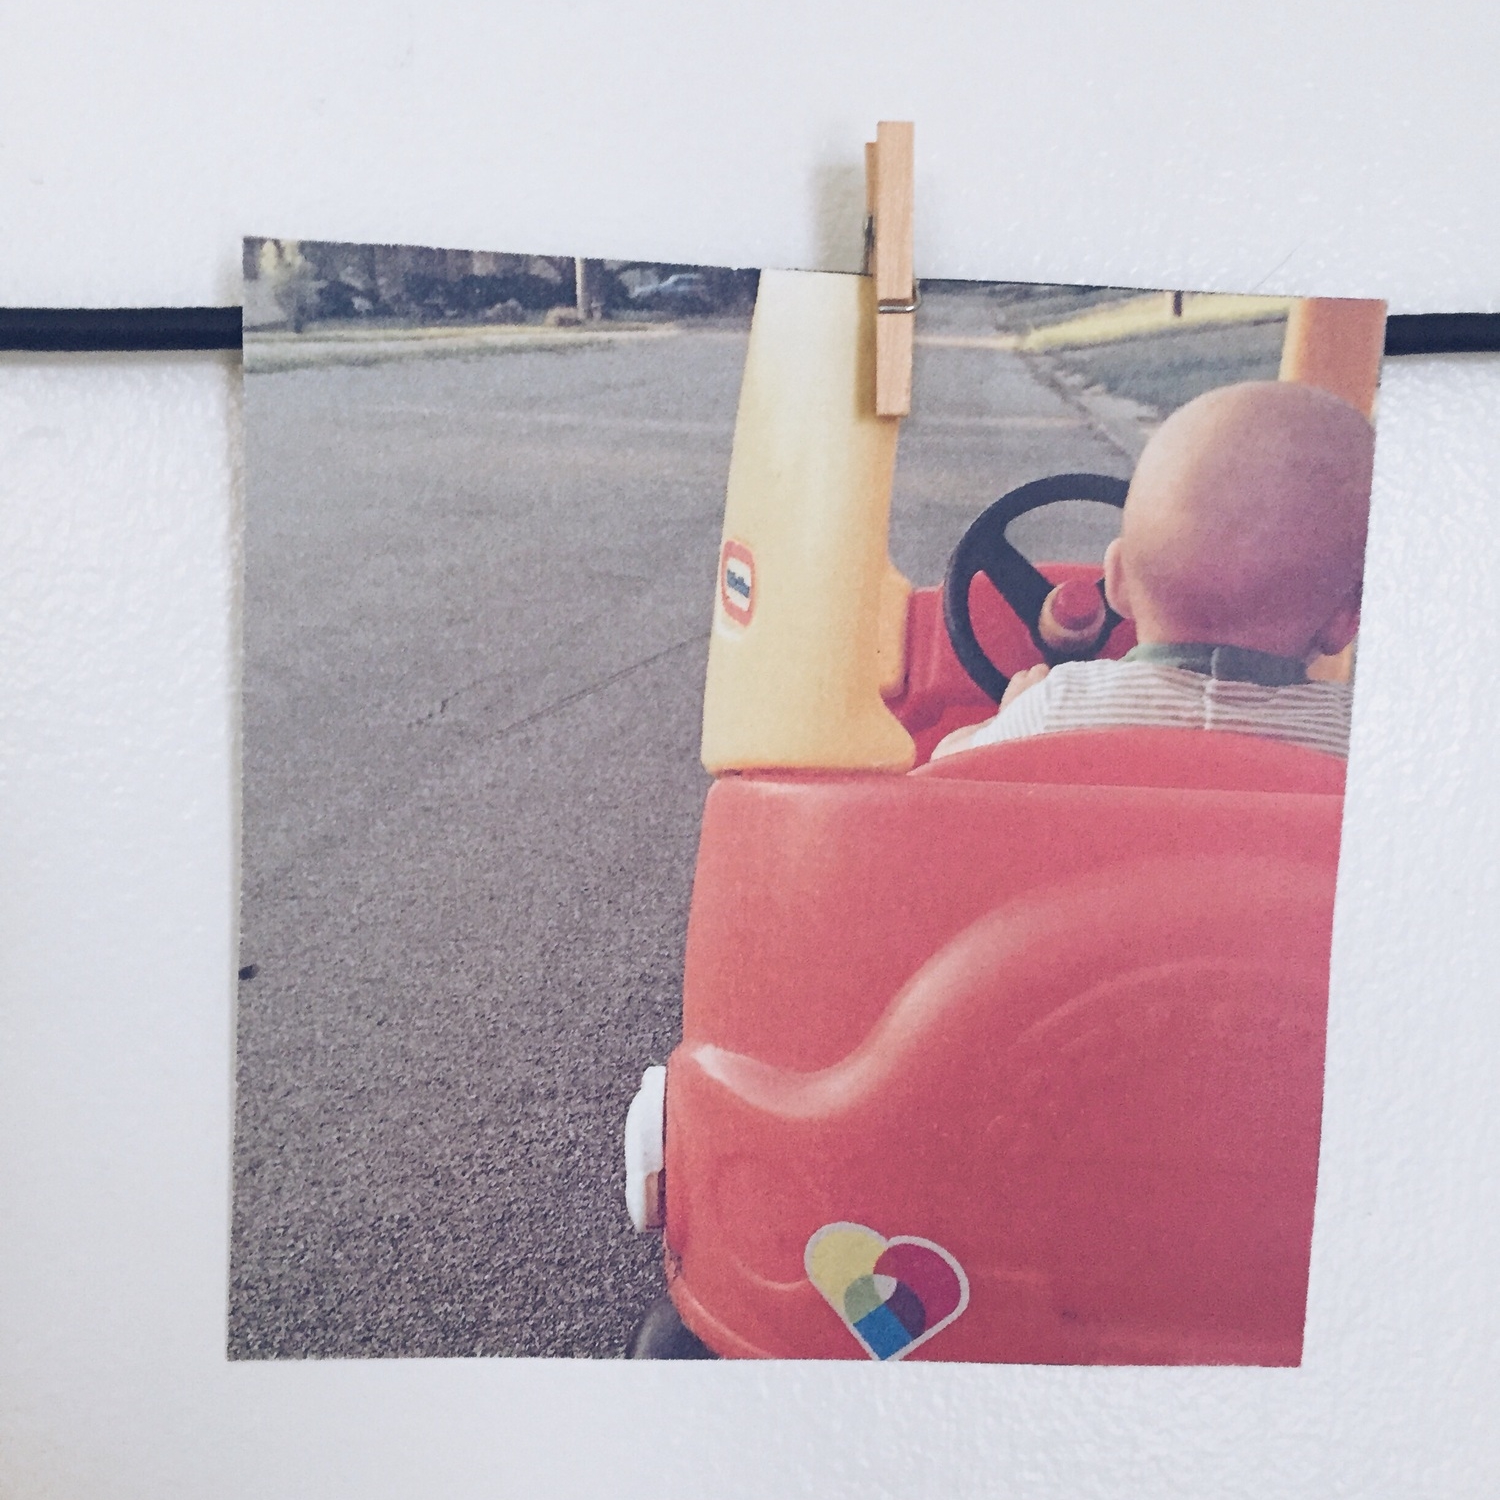
- we made the hanging photo display here
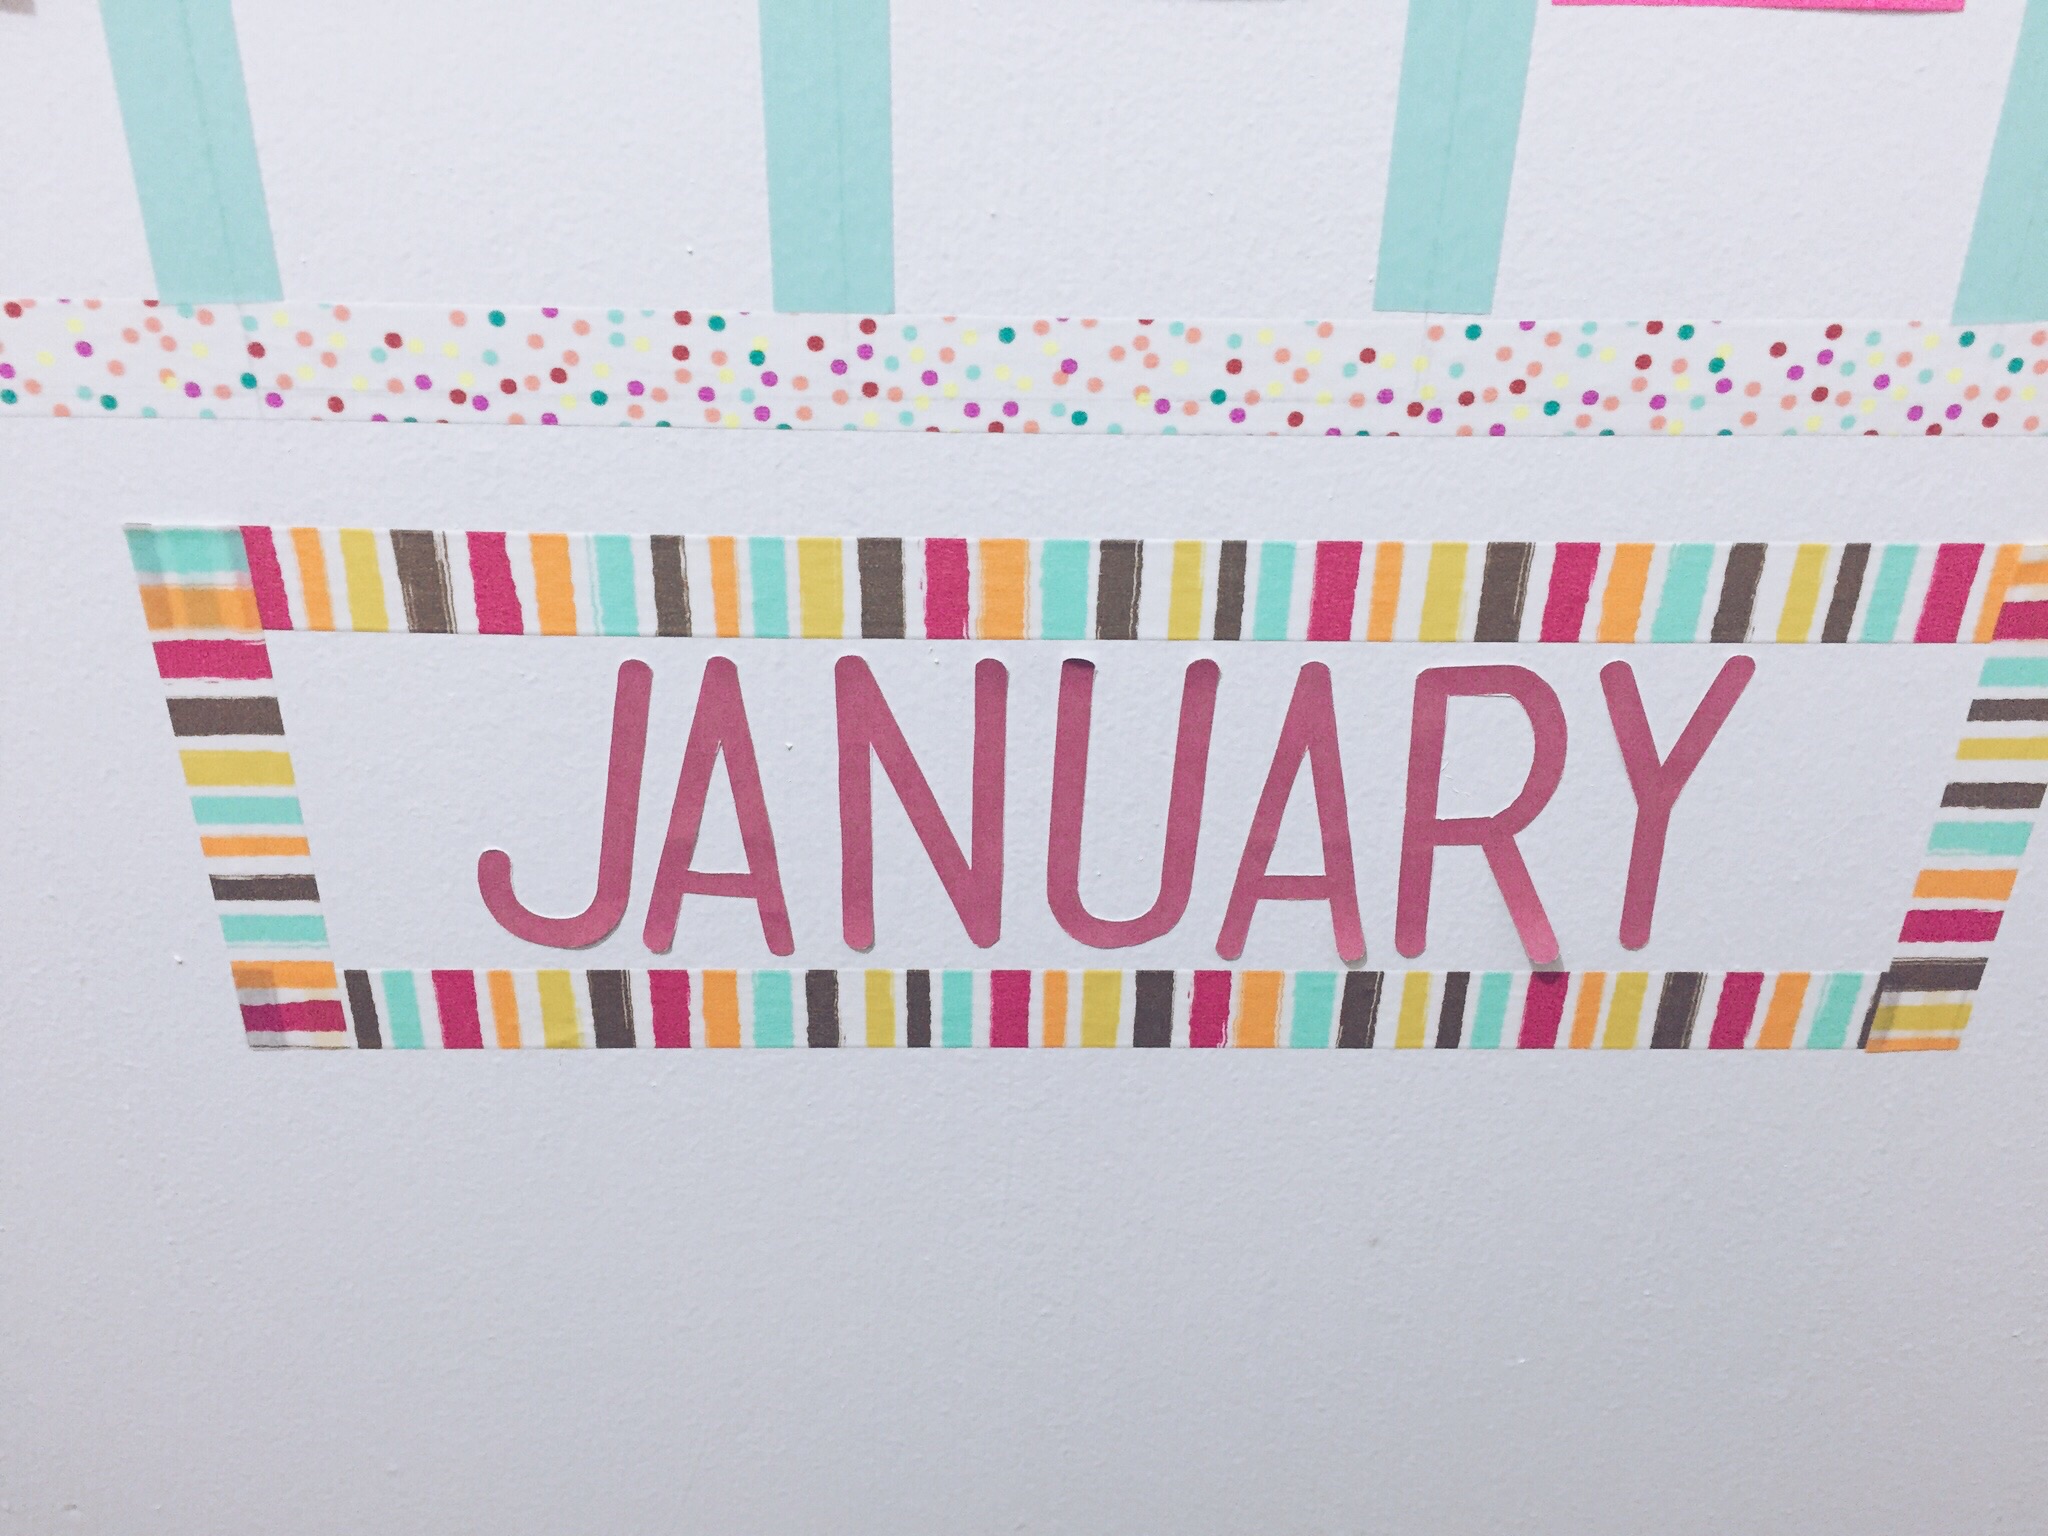
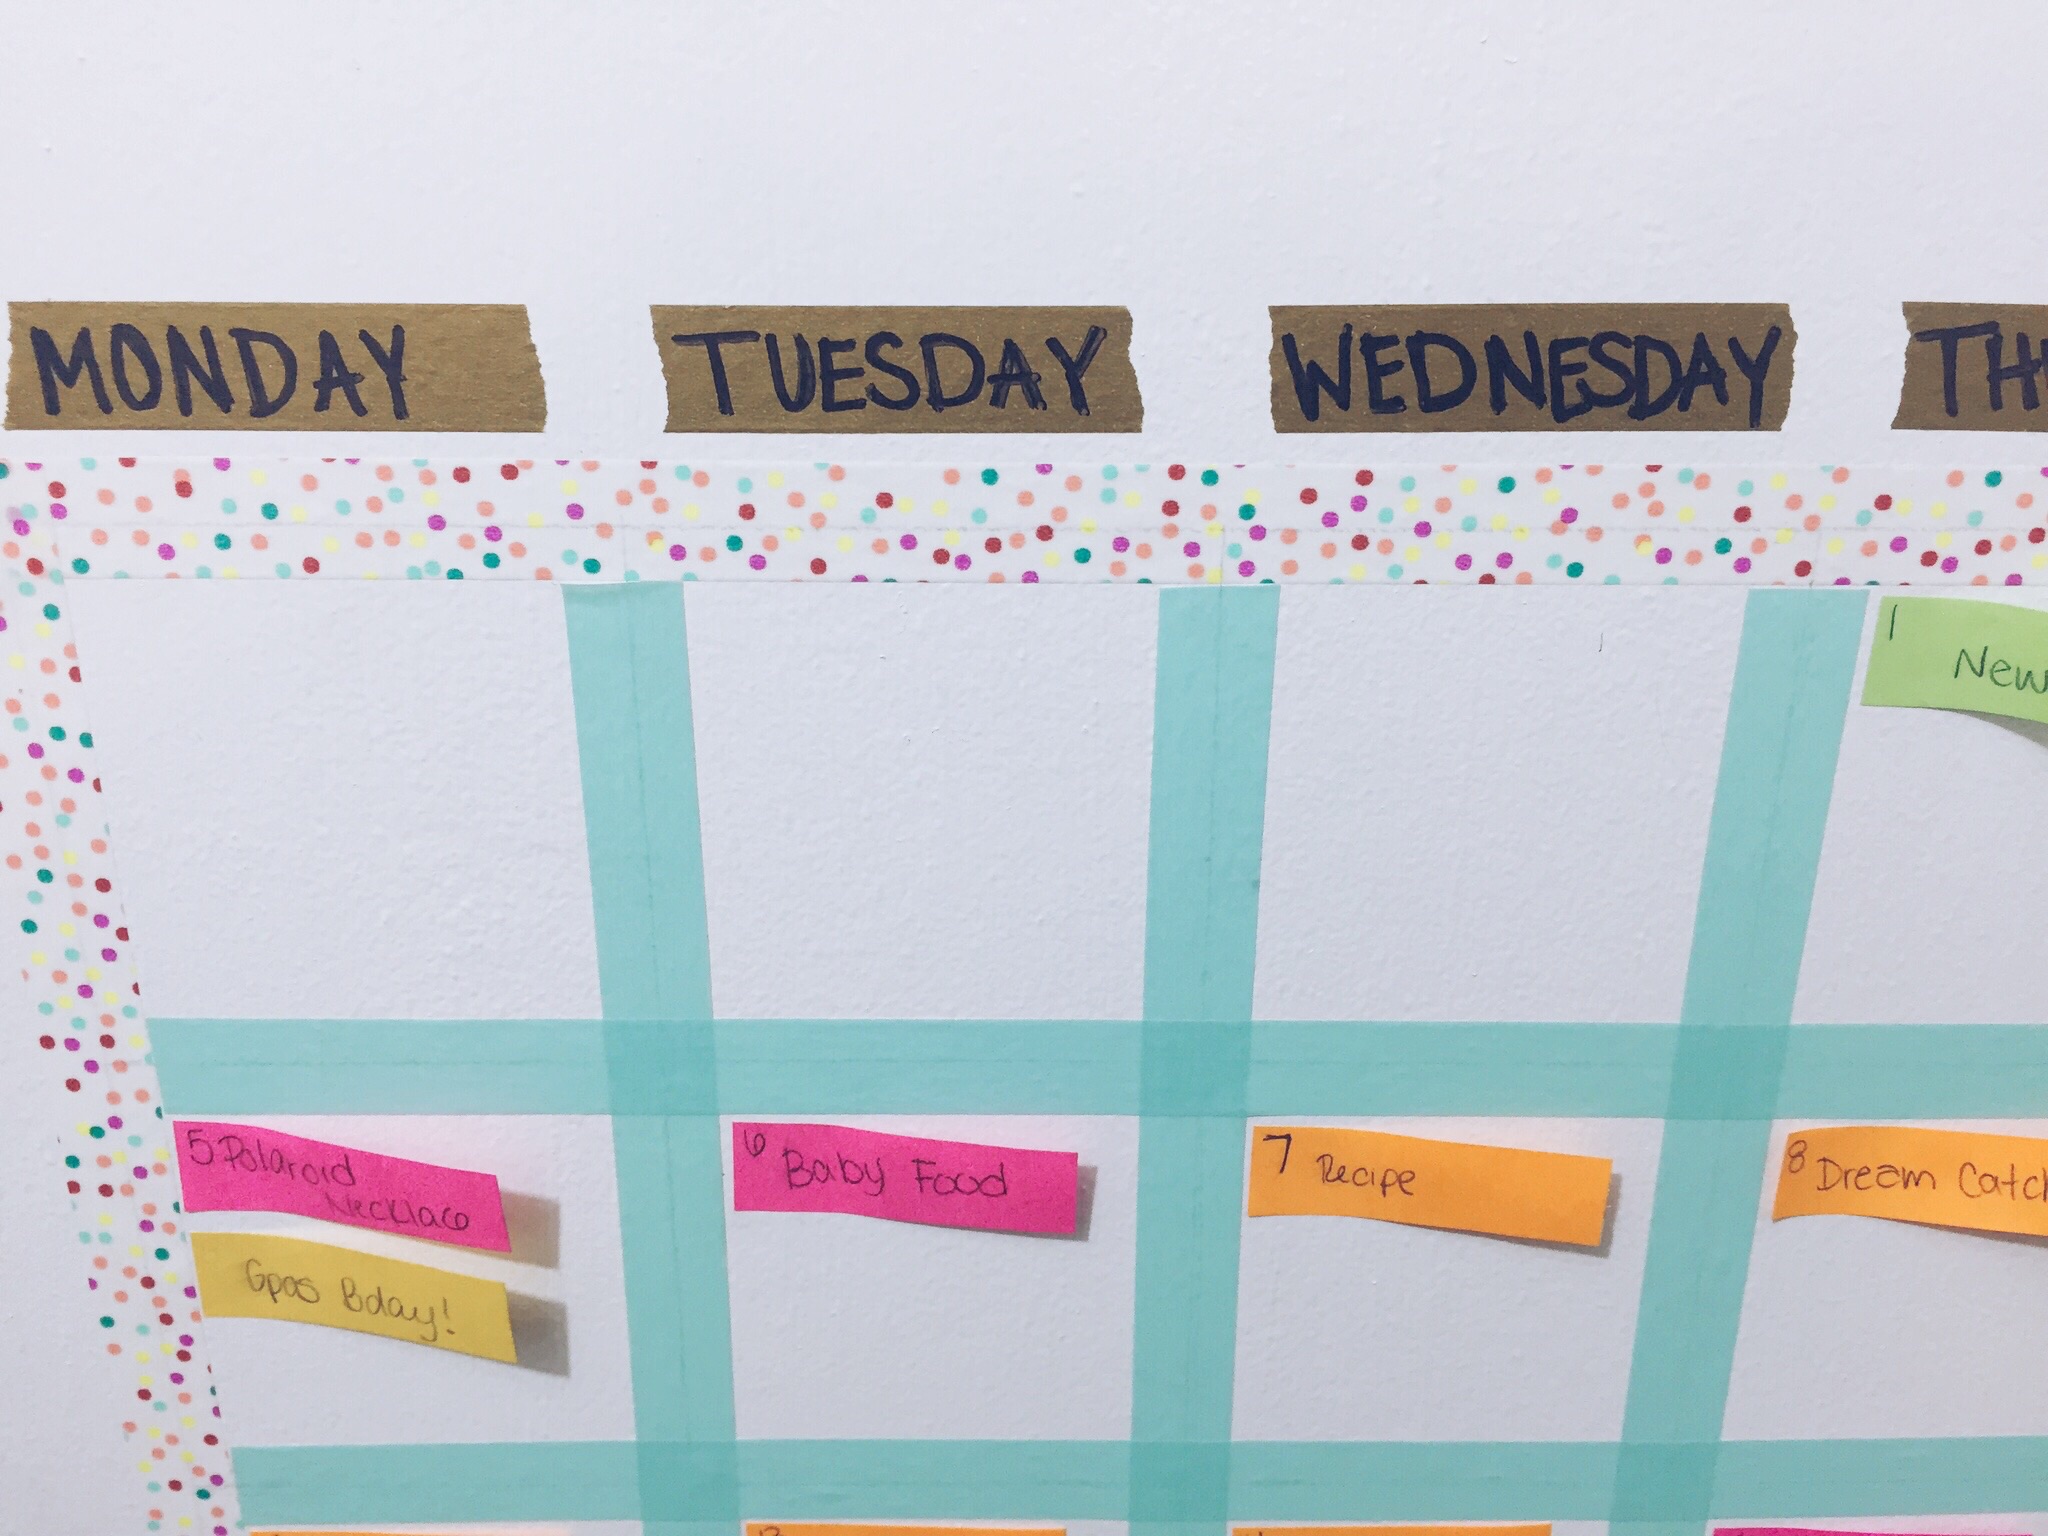
- we show you are fun washi tape calendars here

Let us know what you think in the comments! xoxo, Britt + Sky

Washi Tape Calendar Inspiration

Washi tape is amazing! It can basically be used for any project and there are so many patterns and colors that you can match it to almost any project. Our favorite part about washi tape is it sticks well, but it also doesn't ruin what you stick it to. Therefor, you can put it on your walls! This has made it easy for us to make cute calenders on our walls and doors. 

Today we have two cute washi tape calendars that will hopefully help inspire you to make your own! 

The first calendar we have has all seven days and room for five weeks. This is used as a personal calendar and we placed it on the back of door! 

Washi Tape Calender Inspiration. Click through for more details.

Everything on it is made of washi tape and permanent markers. Next month all we will have to do is turn January into February, move the numbered washi pieces, and cut new washi tape for our events on our calendar!

Washi Tape Calender Inspiration. Click through for more details.

For our second calendar we have our very own blog planning calendar! As you can see we only have five days on this one, this is because we only post during the week. But you can adjust it to fit all seven days. The calendar templet is made out of washi along with the box around the month.

Washi Tape Calender Inspiration. Click through for more details.

For the month, we just printed 'January' on sticky backed paper, printed it, cut it, and put it in the box! 

Washi Tape Calender Inspiration. Click through for more details.

For our content we used small sticky notes. We used the colored sticky notes to our advantage and color coded our blog posts, birthday, events, etc.! 

Washi Tape Calender Inspiration. Click through for more details.

These calendars are super easy and fun to make for any room of the house, office, etc. And the best part is if we want a new style or color, the washi tape easily comes up and we can start a new one. xoxo, Britt + Sky

DIY Sihlouette Box

We are constantly trying to think of fun things to make for Noah and his nursery. We thought it would be super cute to use Noah's silhouette ... well because, have you seen that kid! Ha! No but really. We thought it would be fun to have a little box that could be used for organizing some of Noah's things, but also be used as an art piece of sorts.

Here's what we used:

  • wooden contact paper
  • green contact paper
  • small box (we repurposed a gift box)
  • printer
  • paper
  • tape
  • scissors
  • silhouetted photo
DIY Sihlouette Accessories Box

Here's what we did:

1. First we measured and cut a piece of the wooden contact paper to cover our box. 

2. We took a photo of Noah's profile. Using photoshop, we cleaned up the silhouette. Then we printed it out on a regular piece of printer paper. 

DIY Sihlouette Accessories Box

3. Then we cut a piece of the green contact paper a little bit larger than our silhouette. We taped that piece over the printed area on the paper. 

DIY Sihlouette Accessories Box

4. Putting it back in our printer, we reprinted the silhouette. This gave us the ability to cut it out of the green. 

DIY Sihlouette Accessories Box

5. We cut out the silhouette.

DIY Sihlouette Accessories Box

6. And carefully placed it on the box. 

DIY Sihlouette Accessories Box

We LOVE how this turned out! We are already planning on continuing to use Noah's silhouette as he grows. xo, Britt + Sky

Hanging Photo Display

Today we have a quick and easy way to display all of your favorite pictures. This project is very inexpensive and can be adjusted to however many photos you have! 

DIY Hanging Photo Display (click through for tutorial)

Here's what you'll need:

  • twenty-one pictures
  • black cord 
  • six thumb tacks
  • twenty-one mini clothes pins
  • scissors
  • washi tape

1. Cut your cord into three equal pieces. (Approx. 5 feet each)

2. Using one tack on each end of the cord, tack them to the wall evenly spaced apart and in the center of the wall. (These distances will vary depending on the wall.)

DIY Hanging Photo Display (click through for tutorial)

3. Cut six triangles out of washi tape and use these to cover the tacks.

DIY Hanging Photo Display (click through for tutorial)

4. Evenly space out your pictures, seven on each row, and hang them with your mini clothes pins.

DIY Hanging Photo Display (click through for tutorial)

5. Take a step back and make sure all the pictures look evenly spaced out. And that's it. Now you have a cute picture display that only took a few minutes and under $10!

DIY Hanging Photo Display (click through for tutorial)

This display is great for any room in the house. The color of the washi tape and the string can be changed based on the area you choose to hang it. You can also make your string longer or add more rows if you are unable to choose only twenty-one photos. (Believe us! We know it's not easy!) xoxo, Britt + Sky

National Popcorn Day

Well if you didn't already know, today is National Popcorn Day! In honor of this awesome holiday we have came up with another popcorn ball recipe. In November, we posted about our yummy S'more Popcorn Balls. If you tried them you know how good they were. And if you didn't you are missing out! But you can make up for it by trying today's recipe, salted caramel pretzel popcorn balls. YUP, you read that correctly, salted caramel pretzel popcorn balls! Sounds delicious right? Well enough of that lets get started with what really matters, how you can make these things!

Ingredients:

Salted Caramel Pretzel Popcorn Balls. Click through for recipe.
  • 7-8 cups of popped popcorn
  • 2/3 cup caramel bits
  • 5 oz mini marshmallows (half a bag)
  • 1/4 cup of butter
  • 1 1/2 cup of pretzels
  • sea salt

Now lets get started:

  1. Heat your butter into a medium sauce pan, on low heat, until melted.
  2. While your butter is melting, break your pretzels into small pieces.
  3. Once your butter has melted, add in all your marshmallows. Stir until the marshmallows have all melted.
  4. Then add in your caramel bits and stir until every thing is melted together.
  5. Once everything is melted together, place your popcorn into a large bowl. (Or separate into a few smaller ones)
  6. Pour your caramel-marshmallow mixture over the popcorn. Stir until all popcorn is coated well. 
  7. Add in your pretzels pieces and mix well.
  8. Next lay out a piece wax paper. With your hands, form your popcorn mixture into balls. (Spraying your hands with non-stick pan spray will help the mixture not stick to your hands.)
  9. Lay your popcorn balls out on your wax paper, sprinkle your sea salt on top, and let them cool for thirty minutes to an hour. 
  10. Once they have hardened, enjoy!
Salted Caramel Pretzel Popcorn Balls. Click through for recipe.

These turned out awesome and we reccomend you try them. You can make them for your next party or just for yourself, we don't judge! :)

xoxo,

Britt + Sky