Tour: Skylar's Room

Skylar's room has been in process for quite some time now. Since like August of last year to be exact (that is terrible)! Anyway, we finally got all of the pieces done and we are really pumped to share them with you!

Tour: Skylar's Room (click through for tour)

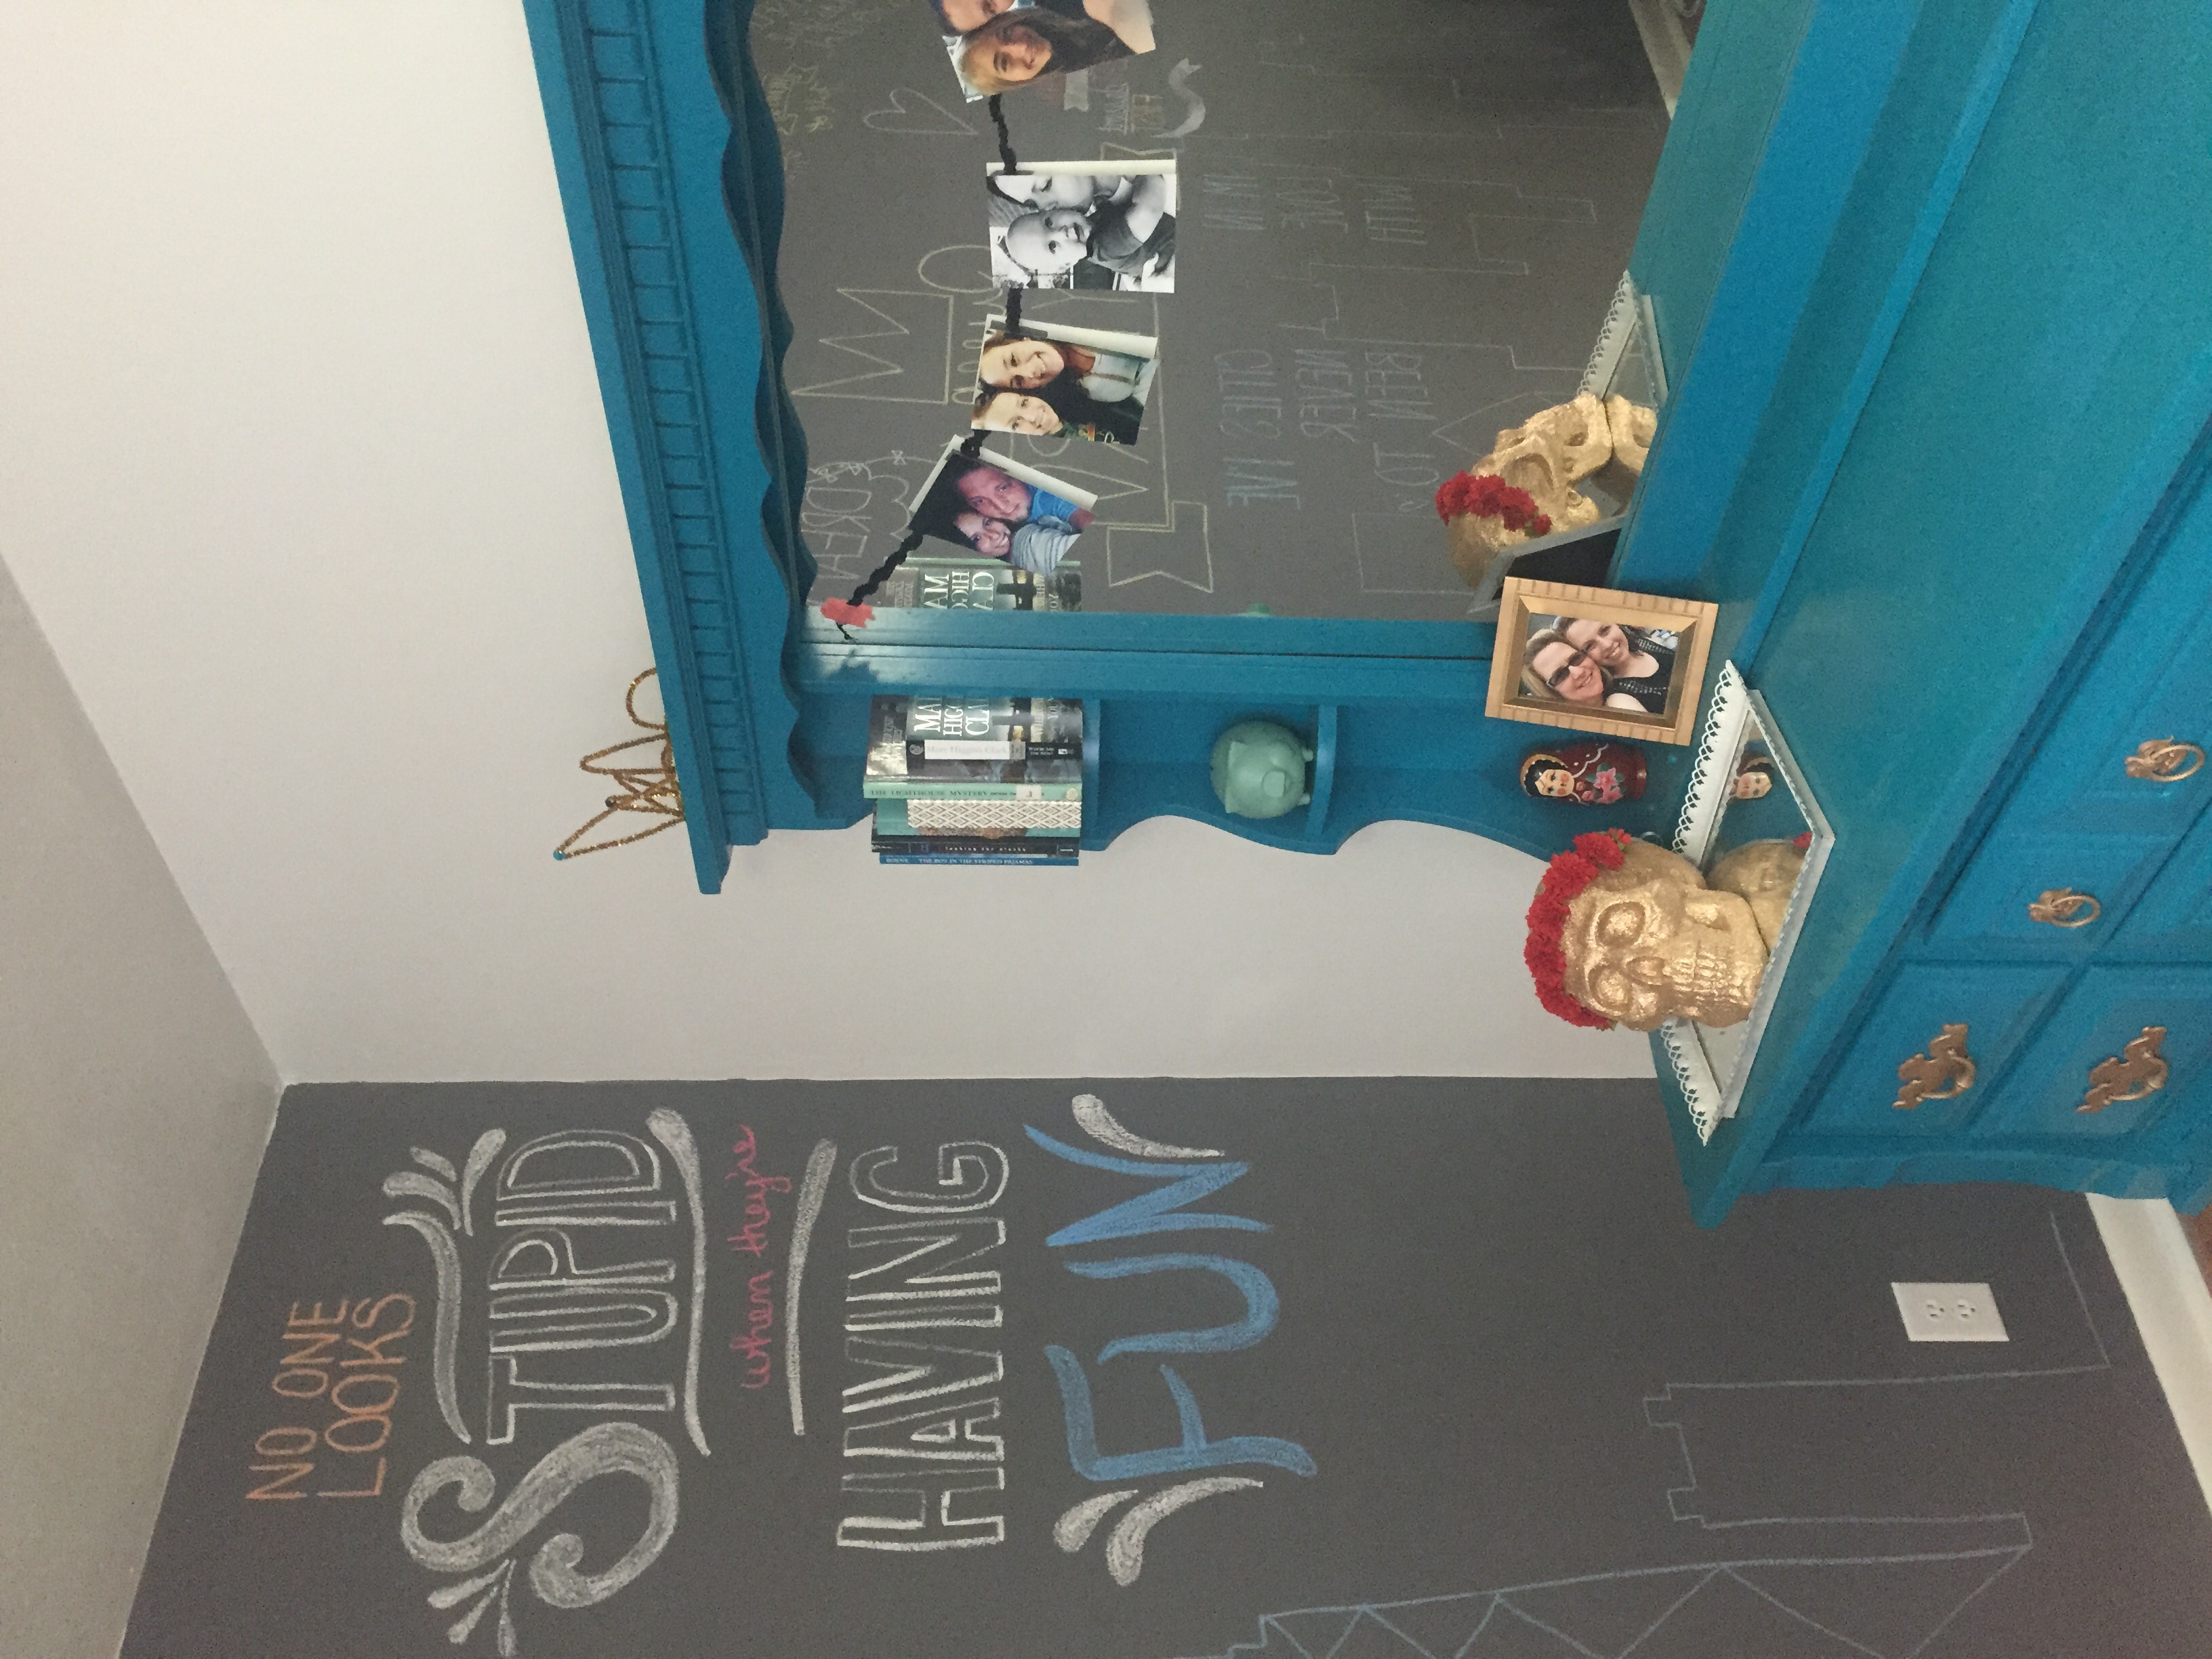
Skylar's favorite part: chalkboard wall! We had so much fun coming up with quotes and things to draw. She especially loves the "Queen Skylar" part :)

Most of the things you will see in Skylar's room are diys that we have done throughout working on her room. All of the furniture was either given to us or we got it at the thrift store. Most of the other stuff you will see is from Ikea or Target (we shop there A LOT).

You can find a few of these projects here:
- we repurposed the skulls from our use here
- we made the dreamcatcher here
- we weaved yarn in the chair here
- we made the lamp shade here
- the sleep mask hanging on the bed we made here
- we made the hanging photo display here
- we show you are fun washi tape calendars here

Let us know what you think in the comments! xoxo, Britt + Sky

Home Office Inspiration

We have a lot of big things in the works over here. One of which is our office redesign. We have just had a room full of stuff that we can't use for too long now. So it's time to go to work. 

We have been coming up with so many plans. We have a small budget for this redo so we plan on having lots of DIY projects and plenty of thrift store pieces.  

Our trip to IKEA really got us dreaming so we put together a board of inspiration from our favorites that we found. Being on a budget we know we can't have all of these things but we know at least a couple that will for sure be showing up in our office. Check it out! 

My Only Sunshine Blog || Home Office Inspiration

Poster || Plants || Clock || Desk || Pillow || Rug || Chair || Cork || Storage


And below are a few more inspirations that we found on Pinterest. There are links to the blogs that they can be found on. They are so lovely!

We are loving everything about this office from The Everygirl Blog.

We are loving everything about this office from The Everygirl Blog.

And these accessories we also found at The Everygirl Blog are amazing!

And these accessories we also found at The Everygirl Blog are amazing!

We are loving the stark whites with the pops of color from this In My Own Style Blog office.

We are loving the stark whites with the pops of color from this In My Own Style Blog office.

We are so ready to get this project going so we can share it with you! Have an awesome Tuesday!! xo, Britt + Sky

DIY Decorative Hanging Light

We have currently been redecorating Skylar's room (a room tour isn't too far away). One of our favorite projects was decorating her hanging light. All we used to make this cute, hanging light was:

  • Hanging Light (we got this one at Lowe's)
  • Lampshade (from Target)
  • Tassels (learn how to make them on yesterday's blog post)
  • Decorative ceiling medallion (you can get them at the hardware store)
  • Spray paint
  • Hot glue gun

First, we spray painted the ceiling medallion to match the rest of the room. We used double sided tape to hold the medallion while we screwed the light fixture into place. This held the medallion tightly in place so that Jake could wire the light.

My Only Sunshine || DIY Decorative Hanging Light

Next, we made our tassels. Make however many you think will fit and look good on the shade, we chose six tassels. We then divided the circumference of the bottom of the shade into six sections and hot-glued the tassels at each section. You can add more or less depending on the size of the shade or the look you are wanting. And that's it! It's a simple project that adds a special touch to the room.

My Only Sunshine || DIY Decorative Hanging Light

As always, we would love to see anyone's version of our diy project! And always remember to tag us at Instagram, Twitter, and Facebook!

Britt & Sky

DIY Back of Door Organizer

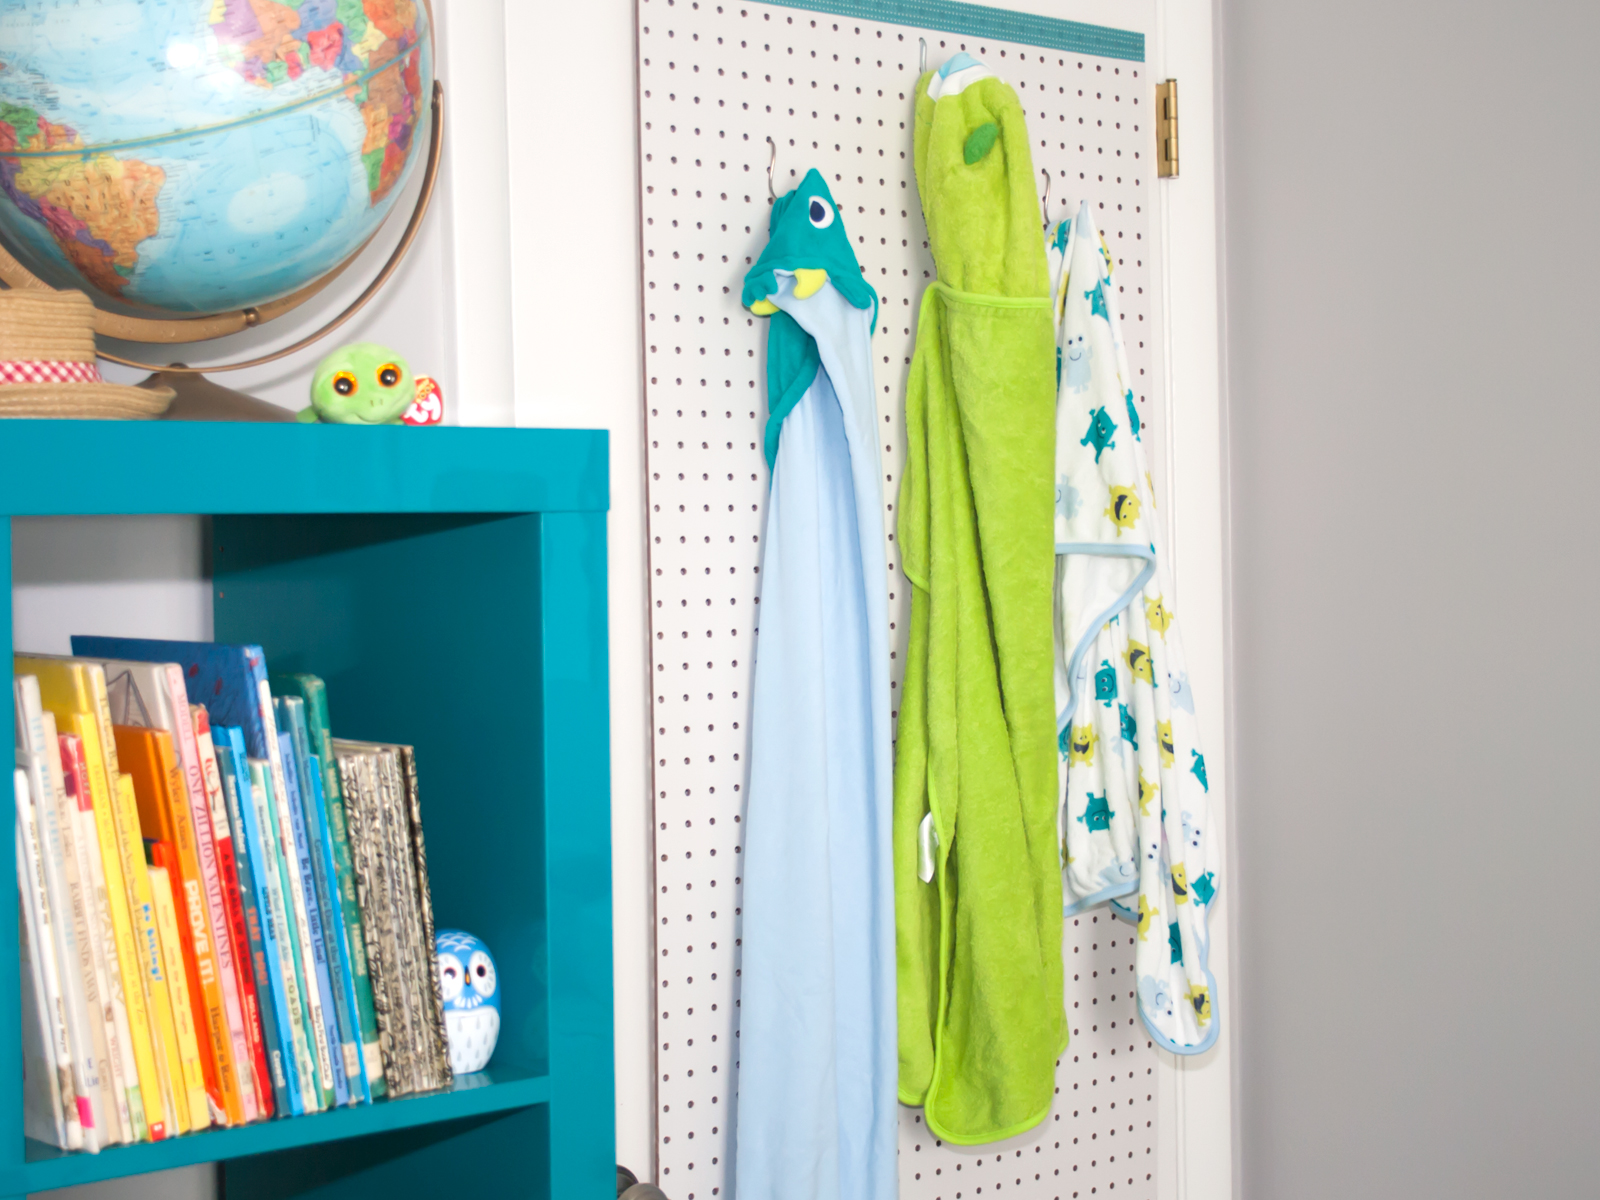
For Noah's nursery we decided it would be nice to have a place to hang his towels after bath time. We made this organizer so it could fit behind Noah's door, out of the way. This is a simple project that can be used in any room!

DIY Back of Door Organizer || from myonlysunshineblog #diy #organized #nursery

All you need is:

  • Peg Board
  • Wood Glue
  • 1/4" trim
  • Peg Board Hooks
  • Washi Tape
  • Command Strips
  • Hand Saw
DIY Back of Door Organizer || from myonlysunshineblog


This project only took us about an hour total, including the time it took the glue to dry. If you have a space that could use this organizer, all you need to do are these simple steps:

  1. Measure the back of your door.
  2. Cut peg board if needed.
  3. Cut trim to width of peg board.
  4. Use the wood glue to attach the trim to the top and bottom edges of the back of the peg board. Make sure to let the glue dry completely before moving to next step.
  5. I added washi tape to the top and bottom edges of the front of the peg board just to cover up the holes that had the trim behind them. Plus to give it a little color.
  6. Attach command strips to all four corners on the back side of the peg board.
  7. Attach to your door.
  8. Add the hooks to the peg board.
  9. Then just hang up your towels! (Or anything else you could use it for)
IMG_0208.jpg
DIY Back of Door Organizer || from myonlysunshineblog
IMG_0255.jpg

Noah's new organizer fits great behind his door. The washi tape helped make it tie into the colors in his room. Now we have a place we can put his towels to dry. Making this organizer was a fun and easy project that really came in use. Anyone can make this if they just follow our steps. We would love to see if any of you have any ways to add to our project. If you have any new ideas on how to decorate it or new uses for it just upload it and tag us on either instagram, twitter, or facebook.

Happy Monday! xoxo, Britt + Sky

Tour: Noah's Nursery

As promised you get an inside look at Mr. Noah's nursery!

Noah's Nursery Tour #myonlysunshineblog

Decorating Noah's nursery has been so fun for me. Since he surprised us and came seven and a half weeks early, I did not have it ready when he arrived, but five months after his arrival it is done ... for the most part :)

I tried to find fun pieces that worked for a nursery, but would also work for Noah as he gets older. I like to mix a variety of new and old and handmade things. I really enjoyed finding and making all of the different pieces to go in his room.

Noah's Nursery Tour #myonlysunshineblog

I adore Noah's gallery wall! It is probably my favorite part of the nursery. I love that when I change Noah's diaper he just lays there and smiles at his wall. He is especially a fan of the Heroes & Villains poster. (find it here) You can find a tutorial for the moon phase print here and our gold frame post here.

IMG_8563.jpg
IMG_8534.jpg
Noah's Nursery Tour #myonlysunshineblog
IMG_8564.jpg

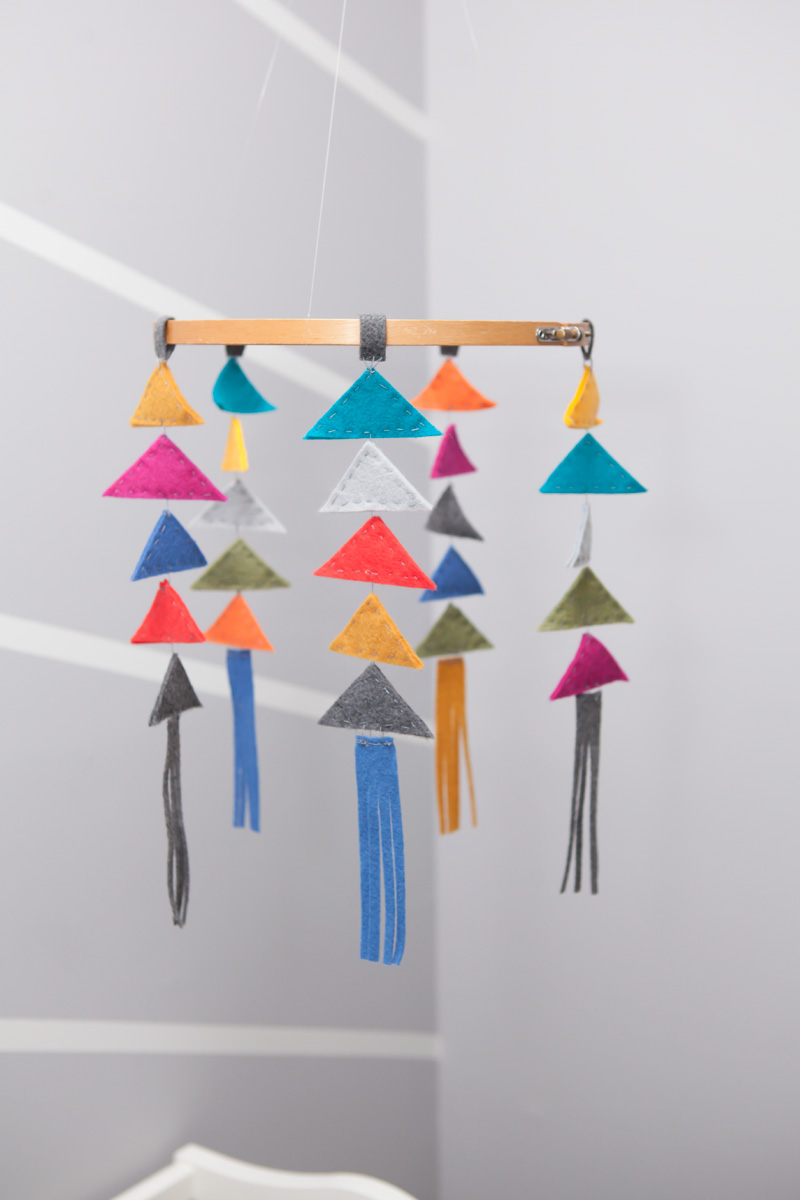
This is a mobile I made. My inspiration came from Alison's mobile at thealisonshow.com.

Noah's Nursery Tour #myonlysunshineblog
IMG_8569.jpg
IMG_8572.jpg

Even before Noah was born, I had already decided that he needed a teepee. This is one of those things that is really more for me than him at this point, (shhh don't tell) but I can not wait for us to read in there. 

I hope you loved your tour! xo, Britt


Source: photography || Robin Nichols @ robinnicholsphotography.com; dresser, cart, shelf, & crib || Ikea; chair & pouf || Target; cardboard deer head || Cardboard Safari