Friday Fun: Free "Fries Before Guys" Printable

Sophie's gallery wall is basically my favorite part of her room. After sharing her nursery, the "fries before guys" print has proven to be very popular.

Friday Fun: Free "fries before guys" Printable | my only sunshine

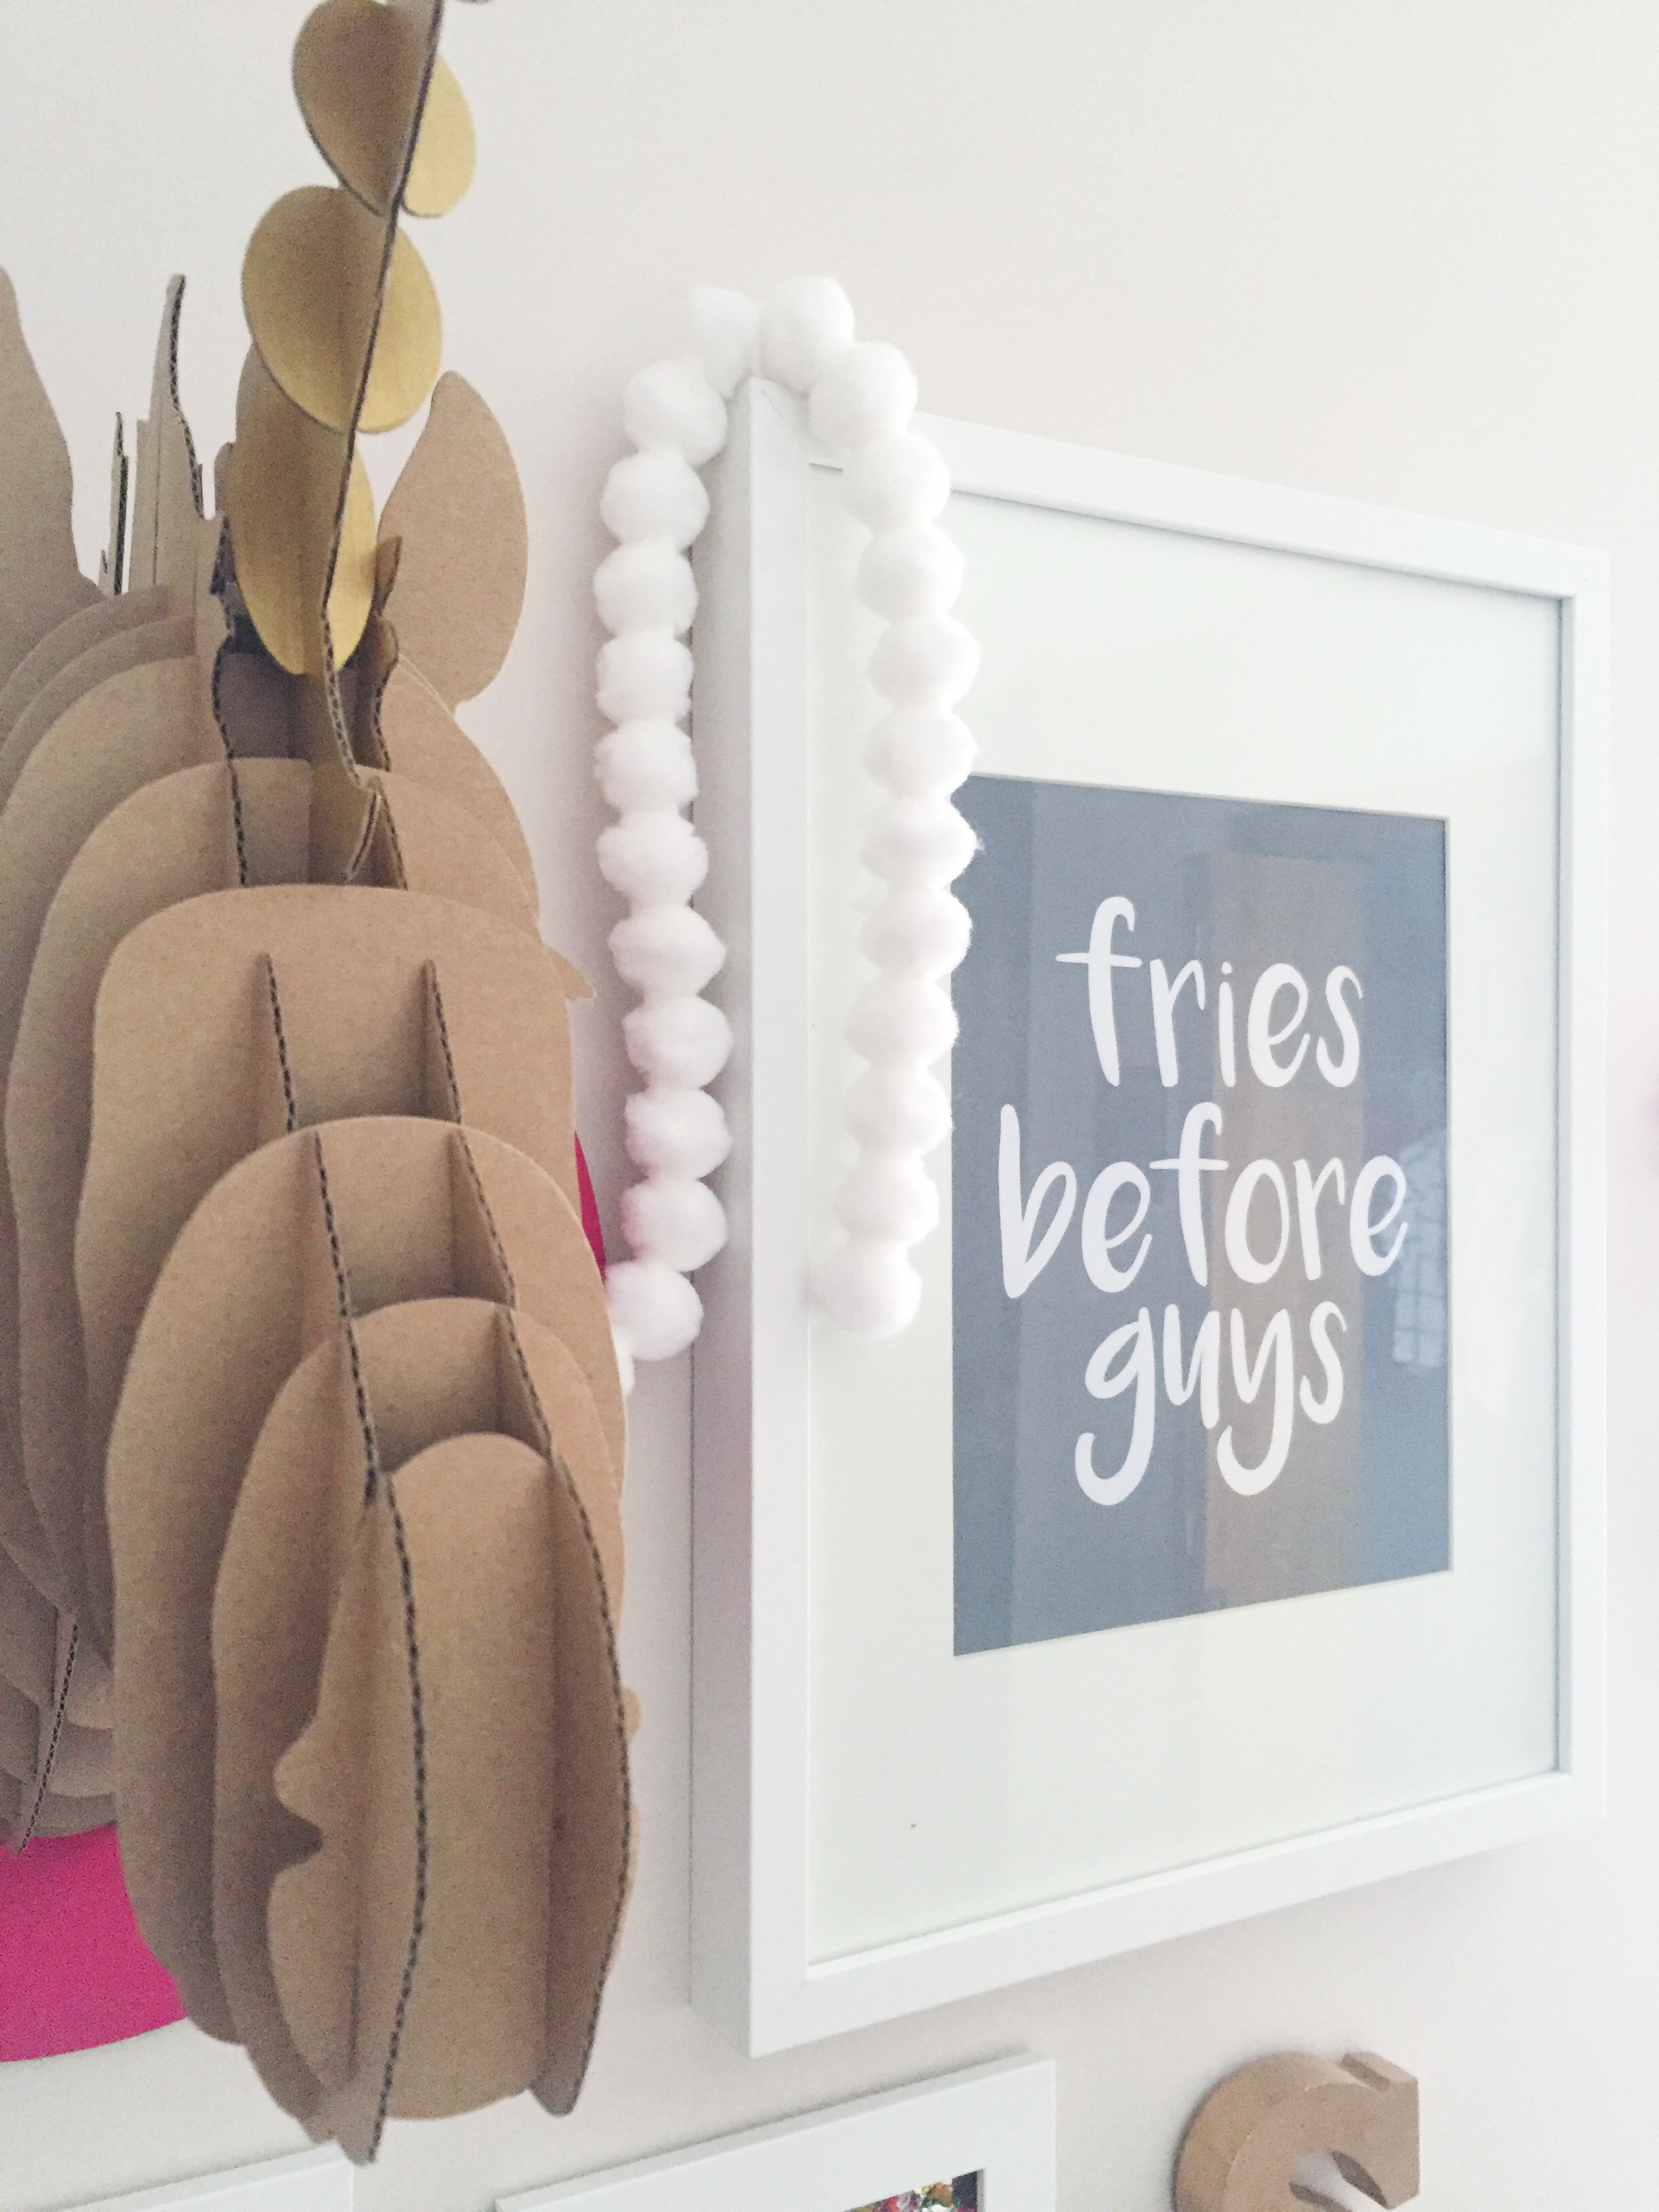
 So I decided that I should share it with you! It's super simple, but so cute to put in your little lady's nursery. Or heck put it in your craft room or office, I think its a good anthem for ladies of all ages. Hahaha! :) 

Friday Fun: Free "fries before guys" Printable | my only sunshine

I made a few different colors for you to choose from, in case the gray isn't for you. Just click the links below the photos to download. All colors are 8x10. 

Happy Friday! xo, Britt

Friday Fun: Free "fries before guys" Printable | my only sunshine

Tour: Sophie's Nursery

So Sophie's nursery ... when she was first born, Skylar still lived with us and stayed in our second bedroom, and Sophie lived in our room. When Skylar moved out in December to head off to school (let's not talk about it, it's still a sensitive subject) we moved Sophie to her own room. I was so excited to decorate, I finished her room in about 2 days. There were a few things that I still needed to figure out, but for the most part it was done. 

After dragging my feet about posting until it was absolutely perfect (I have issues, but we can discuss that another day) I decided it was time. Plus my friend Danielle wouldn't stop bugging me about it! hahaha :) So I am so pumped to finally be sharing this with you all today!

Tour: Sophie's Nursery | my only sunshine

There are so many things about her room that I absolutely love! Be sure to comment with your favorites! xo, Britt

Tour: Sophie's Nursery | my only sunshine

DIY Sihlouette Box

We are constantly trying to think of fun things to make for Noah and his nursery. We thought it would be super cute to use Noah's silhouette ... well because, have you seen that kid! Ha! No but really. We thought it would be fun to have a little box that could be used for organizing some of Noah's things, but also be used as an art piece of sorts.

Here's what we used:

  • wooden contact paper
  • green contact paper
  • small box (we repurposed a gift box)
  • printer
  • paper
  • tape
  • scissors
  • silhouetted photo
DIY Sihlouette Accessories Box

Here's what we did:

1. First we measured and cut a piece of the wooden contact paper to cover our box. 

2. We took a photo of Noah's profile. Using photoshop, we cleaned up the silhouette. Then we printed it out on a regular piece of printer paper. 

DIY Sihlouette Accessories Box

3. Then we cut a piece of the green contact paper a little bit larger than our silhouette. We taped that piece over the printed area on the paper. 

DIY Sihlouette Accessories Box

4. Putting it back in our printer, we reprinted the silhouette. This gave us the ability to cut it out of the green. 

DIY Sihlouette Accessories Box

5. We cut out the silhouette.

DIY Sihlouette Accessories Box

6. And carefully placed it on the box. 

DIY Sihlouette Accessories Box

We LOVE how this turned out! We are already planning on continuing to use Noah's silhouette as he grows. xo, Britt + Sky

Nursery Poster

If you couldn't already see, we LOVE making new things for Mr. Noah's nursery. Today we used one of Papersource's wrapping papers for a poster. They have so many great designs. The papers are great for cutting up and putting in frames or even just hanging up like we did in Noah's nursery. Or you could even use them as actual wrapping paper. :) Instead of just having the plain paper on the wall, we wanted to add trim on the bottom and top to make a sort of frame. I got this idea after watching a video (here) from thealisonshow.com, I love her blog. She has so many ideas.

DIY Nursery Poster || from myonlysunshineblog #blog #nursery #diy #poster #papersource

Supplies:

  • Poster
  • 1/4" trim
  • Paint
  • Hand saw
  • Pencil
DIY Nursery Poster || from myonlysunshineblog #blog #nursery #diy #poster #papersource

And here is how we put it together:

  • Cut your trim to the width of your poster. Line your trim up to the edge of your poster and mark it.
  • Then use a hand saw to cut your first piece.
  • Using the first piece as a guide, cut your second piece.
  • Paint the trim a color that matches the poster.
  • Hang your poster on the wall with double-sided tape.
  • Then using double-sided mounting tape, adhere your trim at the top and bottom of your poster.
DIY Nursery Poster || from myonlysunshineblog #blog #nursery #diy #poster #papersource

See how plain this looks before adding the trim.

DIY Nursery Poster || from myonlysunshineblog #blog #nursery #diy #poster #papersource

This poster really helped finish up Noah's nursery. Not only does it go with the nursery, Noah also enjoys looking at the colorful bugs. We are so happy with the paper, you can find it here. We also used several of their wrapping papers for Noah's gallery wall, here. You can use it in any room of the house if the paper you choose matches. You can also use things such as movie or book posters if you want, you would just have to adjust the size of your trim to fit whatever size poster you chose.

Happy Crafting!

Britt & Sky

DIY Back of Door Organizer

For Noah's nursery we decided it would be nice to have a place to hang his towels after bath time. We made this organizer so it could fit behind Noah's door, out of the way. This is a simple project that can be used in any room!

DIY Back of Door Organizer || from myonlysunshineblog #diy #organized #nursery

All you need is:

  • Peg Board
  • Wood Glue
  • 1/4" trim
  • Peg Board Hooks
  • Washi Tape
  • Command Strips
  • Hand Saw
DIY Back of Door Organizer || from myonlysunshineblog


This project only took us about an hour total, including the time it took the glue to dry. If you have a space that could use this organizer, all you need to do are these simple steps:

  1. Measure the back of your door.
  2. Cut peg board if needed.
  3. Cut trim to width of peg board.
  4. Use the wood glue to attach the trim to the top and bottom edges of the back of the peg board. Make sure to let the glue dry completely before moving to next step.
  5. I added washi tape to the top and bottom edges of the front of the peg board just to cover up the holes that had the trim behind them. Plus to give it a little color.
  6. Attach command strips to all four corners on the back side of the peg board.
  7. Attach to your door.
  8. Add the hooks to the peg board.
  9. Then just hang up your towels! (Or anything else you could use it for)
IMG_0208.jpg
DIY Back of Door Organizer || from myonlysunshineblog
IMG_0255.jpg

Noah's new organizer fits great behind his door. The washi tape helped make it tie into the colors in his room. Now we have a place we can put his towels to dry. Making this organizer was a fun and easy project that really came in use. Anyone can make this if they just follow our steps. We would love to see if any of you have any ways to add to our project. If you have any new ideas on how to decorate it or new uses for it just upload it and tag us on either instagram, twitter, or facebook.

Happy Monday! xoxo, Britt + Sky