Skylar's Sugar Skull Fiesta

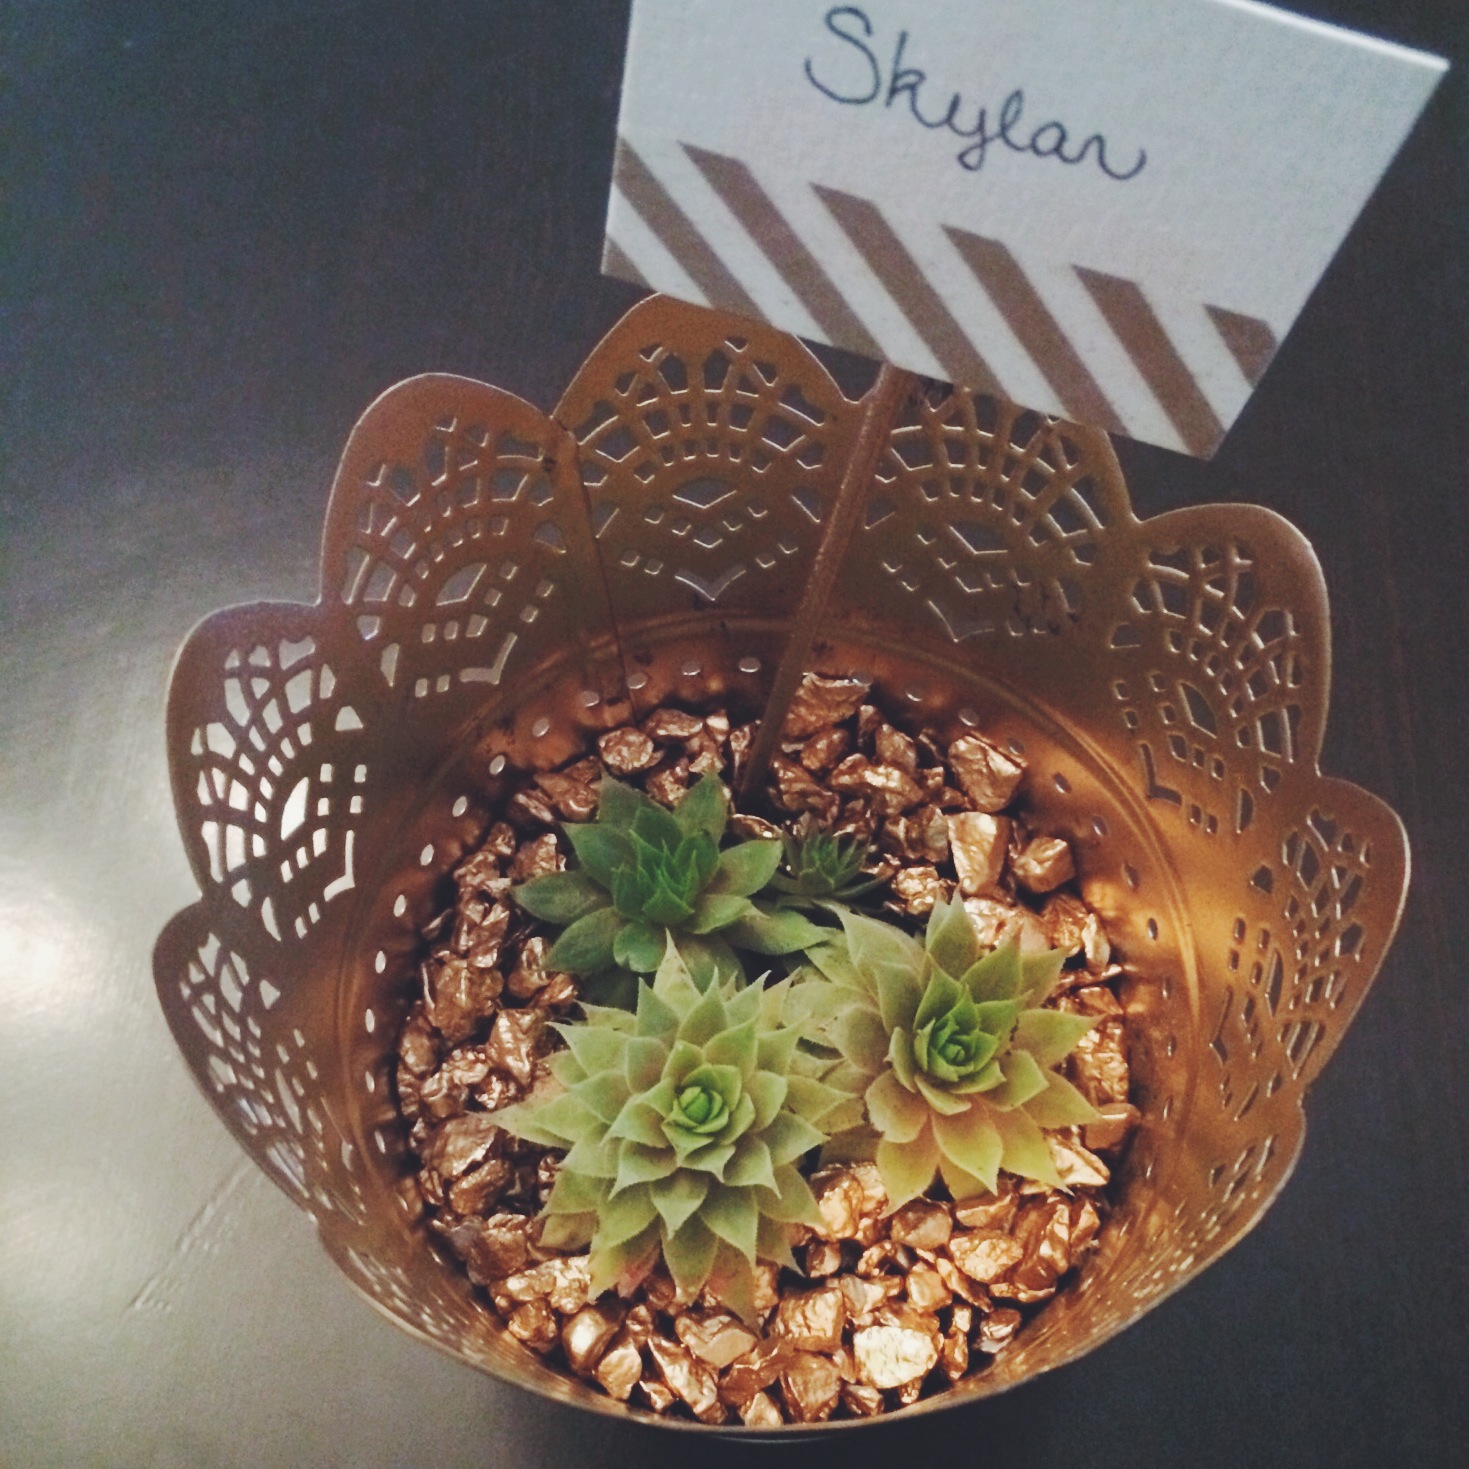
Before things got super crazy with all of our holiday shindigs we had a little birthday celebration for Skylar. We were already posting all about Thanksgiving and Christmas, so we had to put off posting these photos. But now here we are!! 

Skylar's Sugar Skull Fiesta (click through for more)

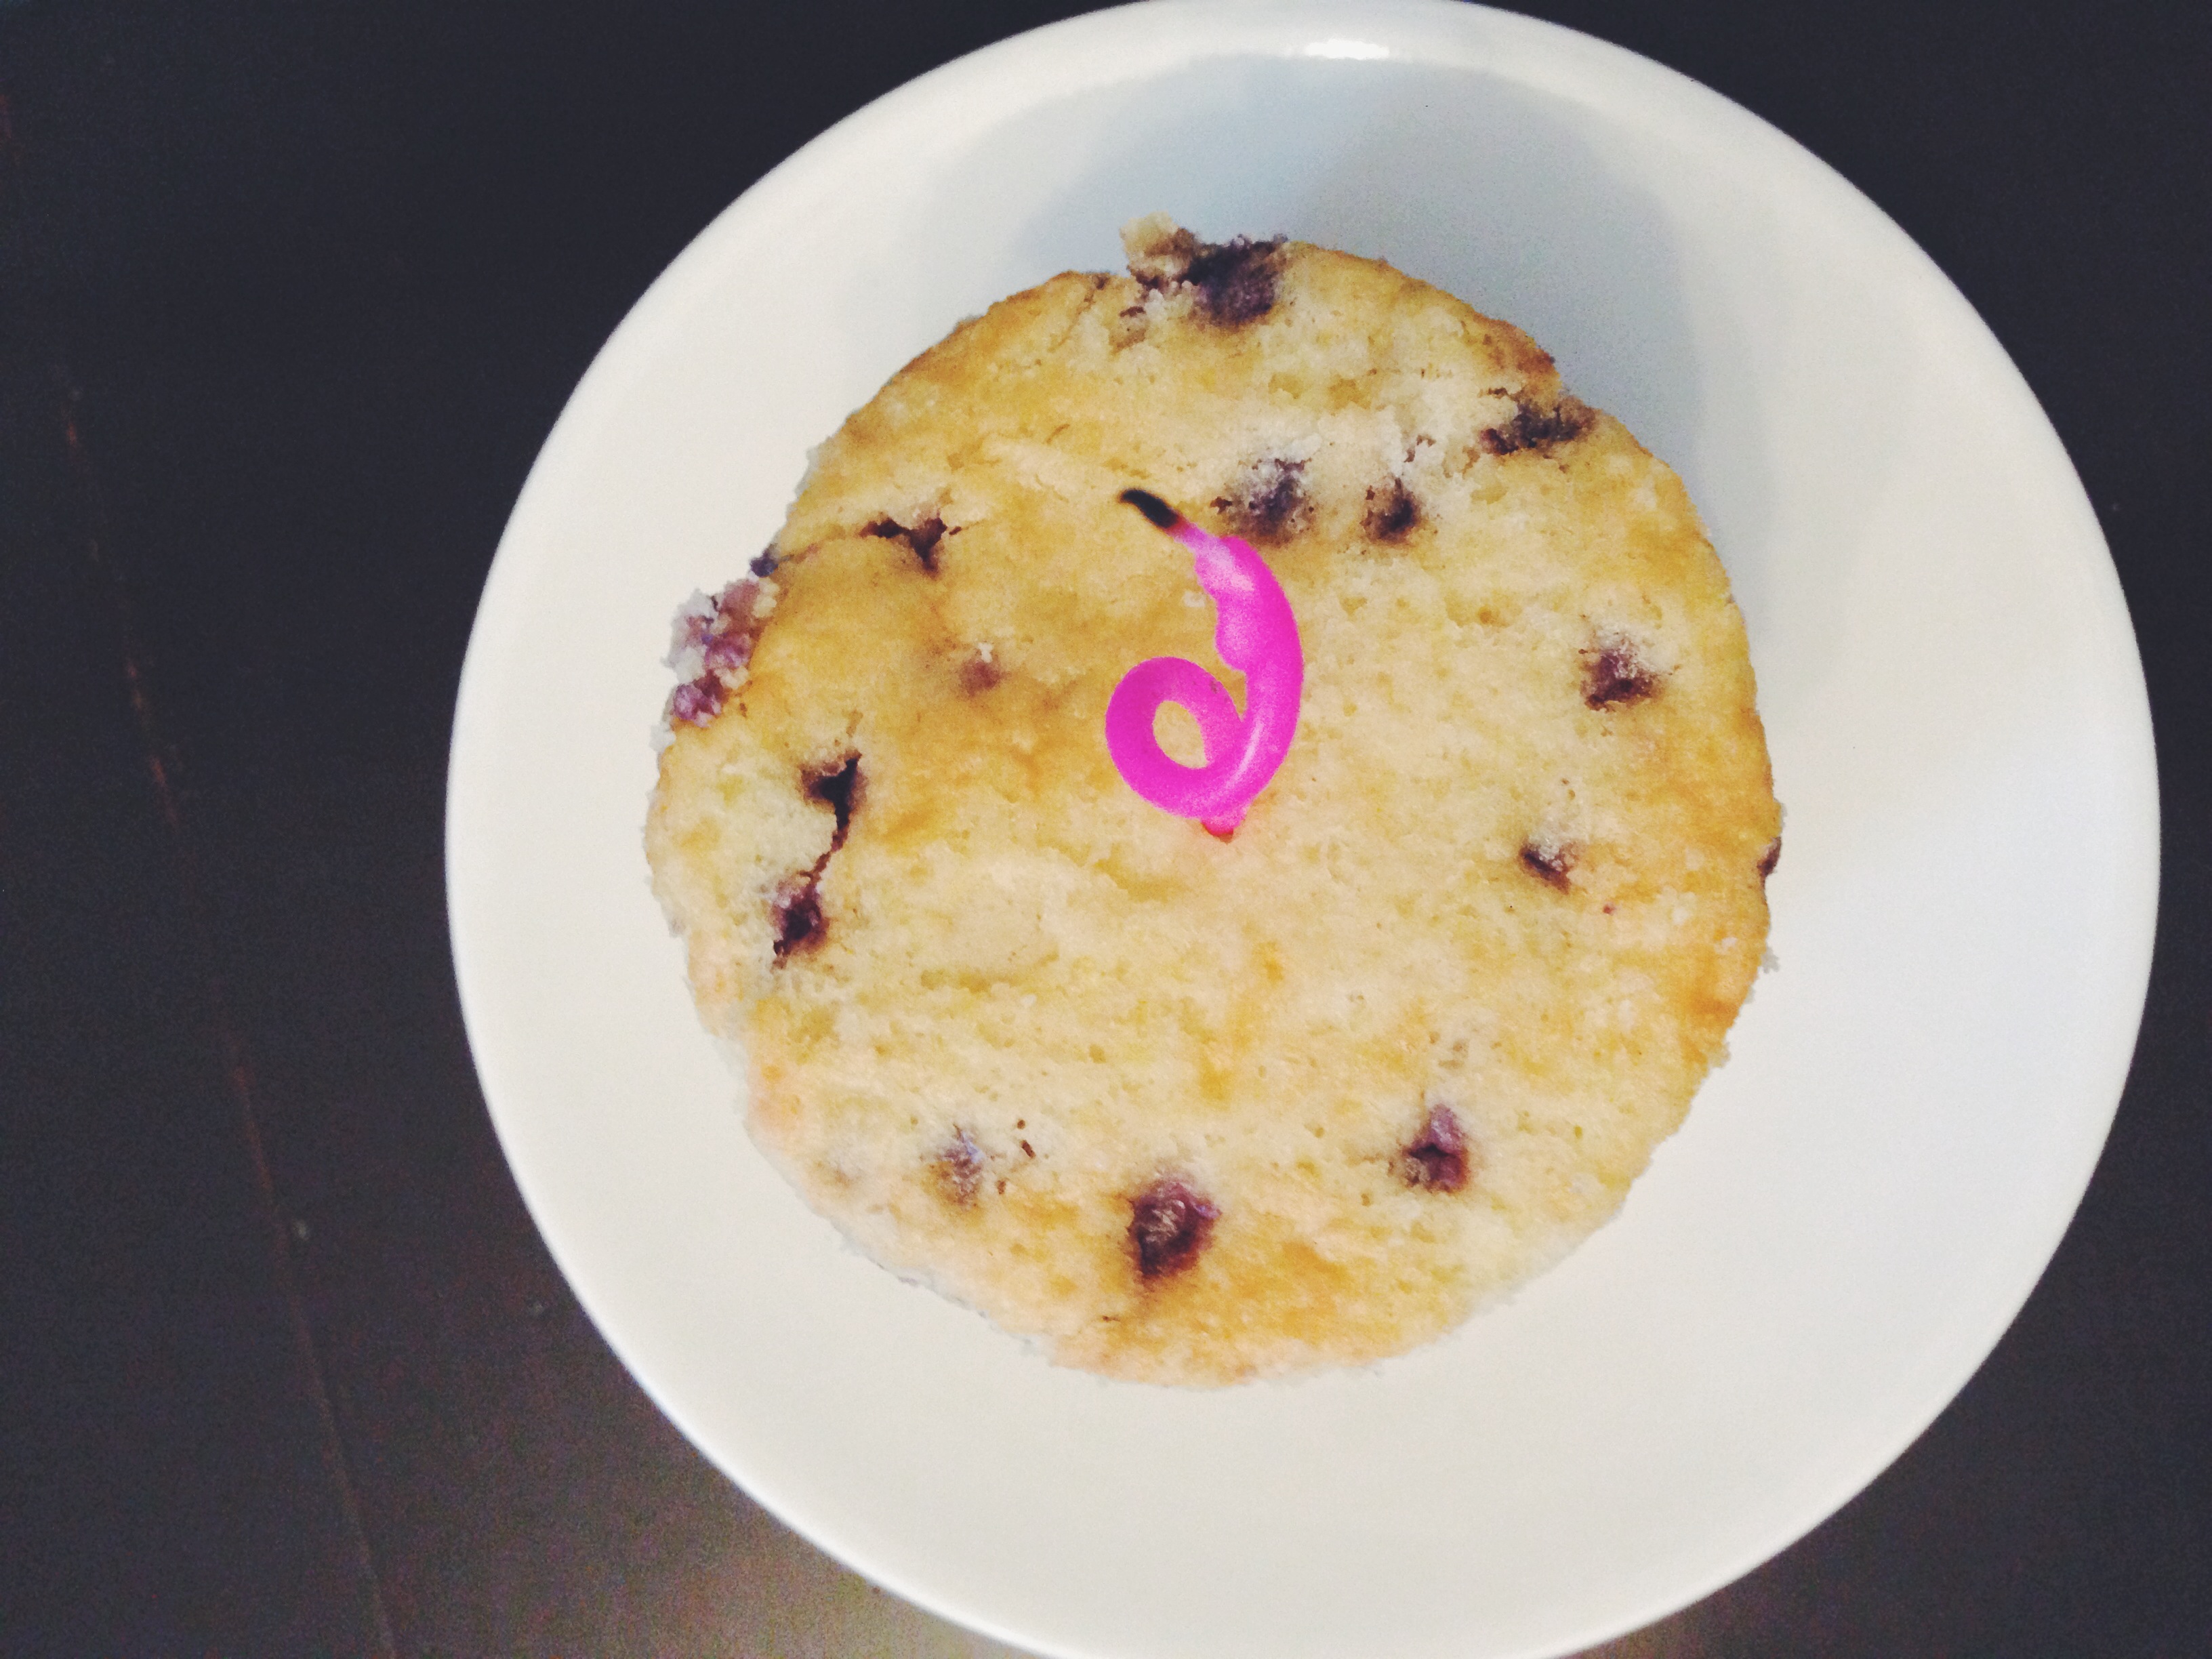
The lovely cupcakes are by Laura McGregor. Find more of her cakes here

Skylar's Sugar Skull Fiesta (click through for more)

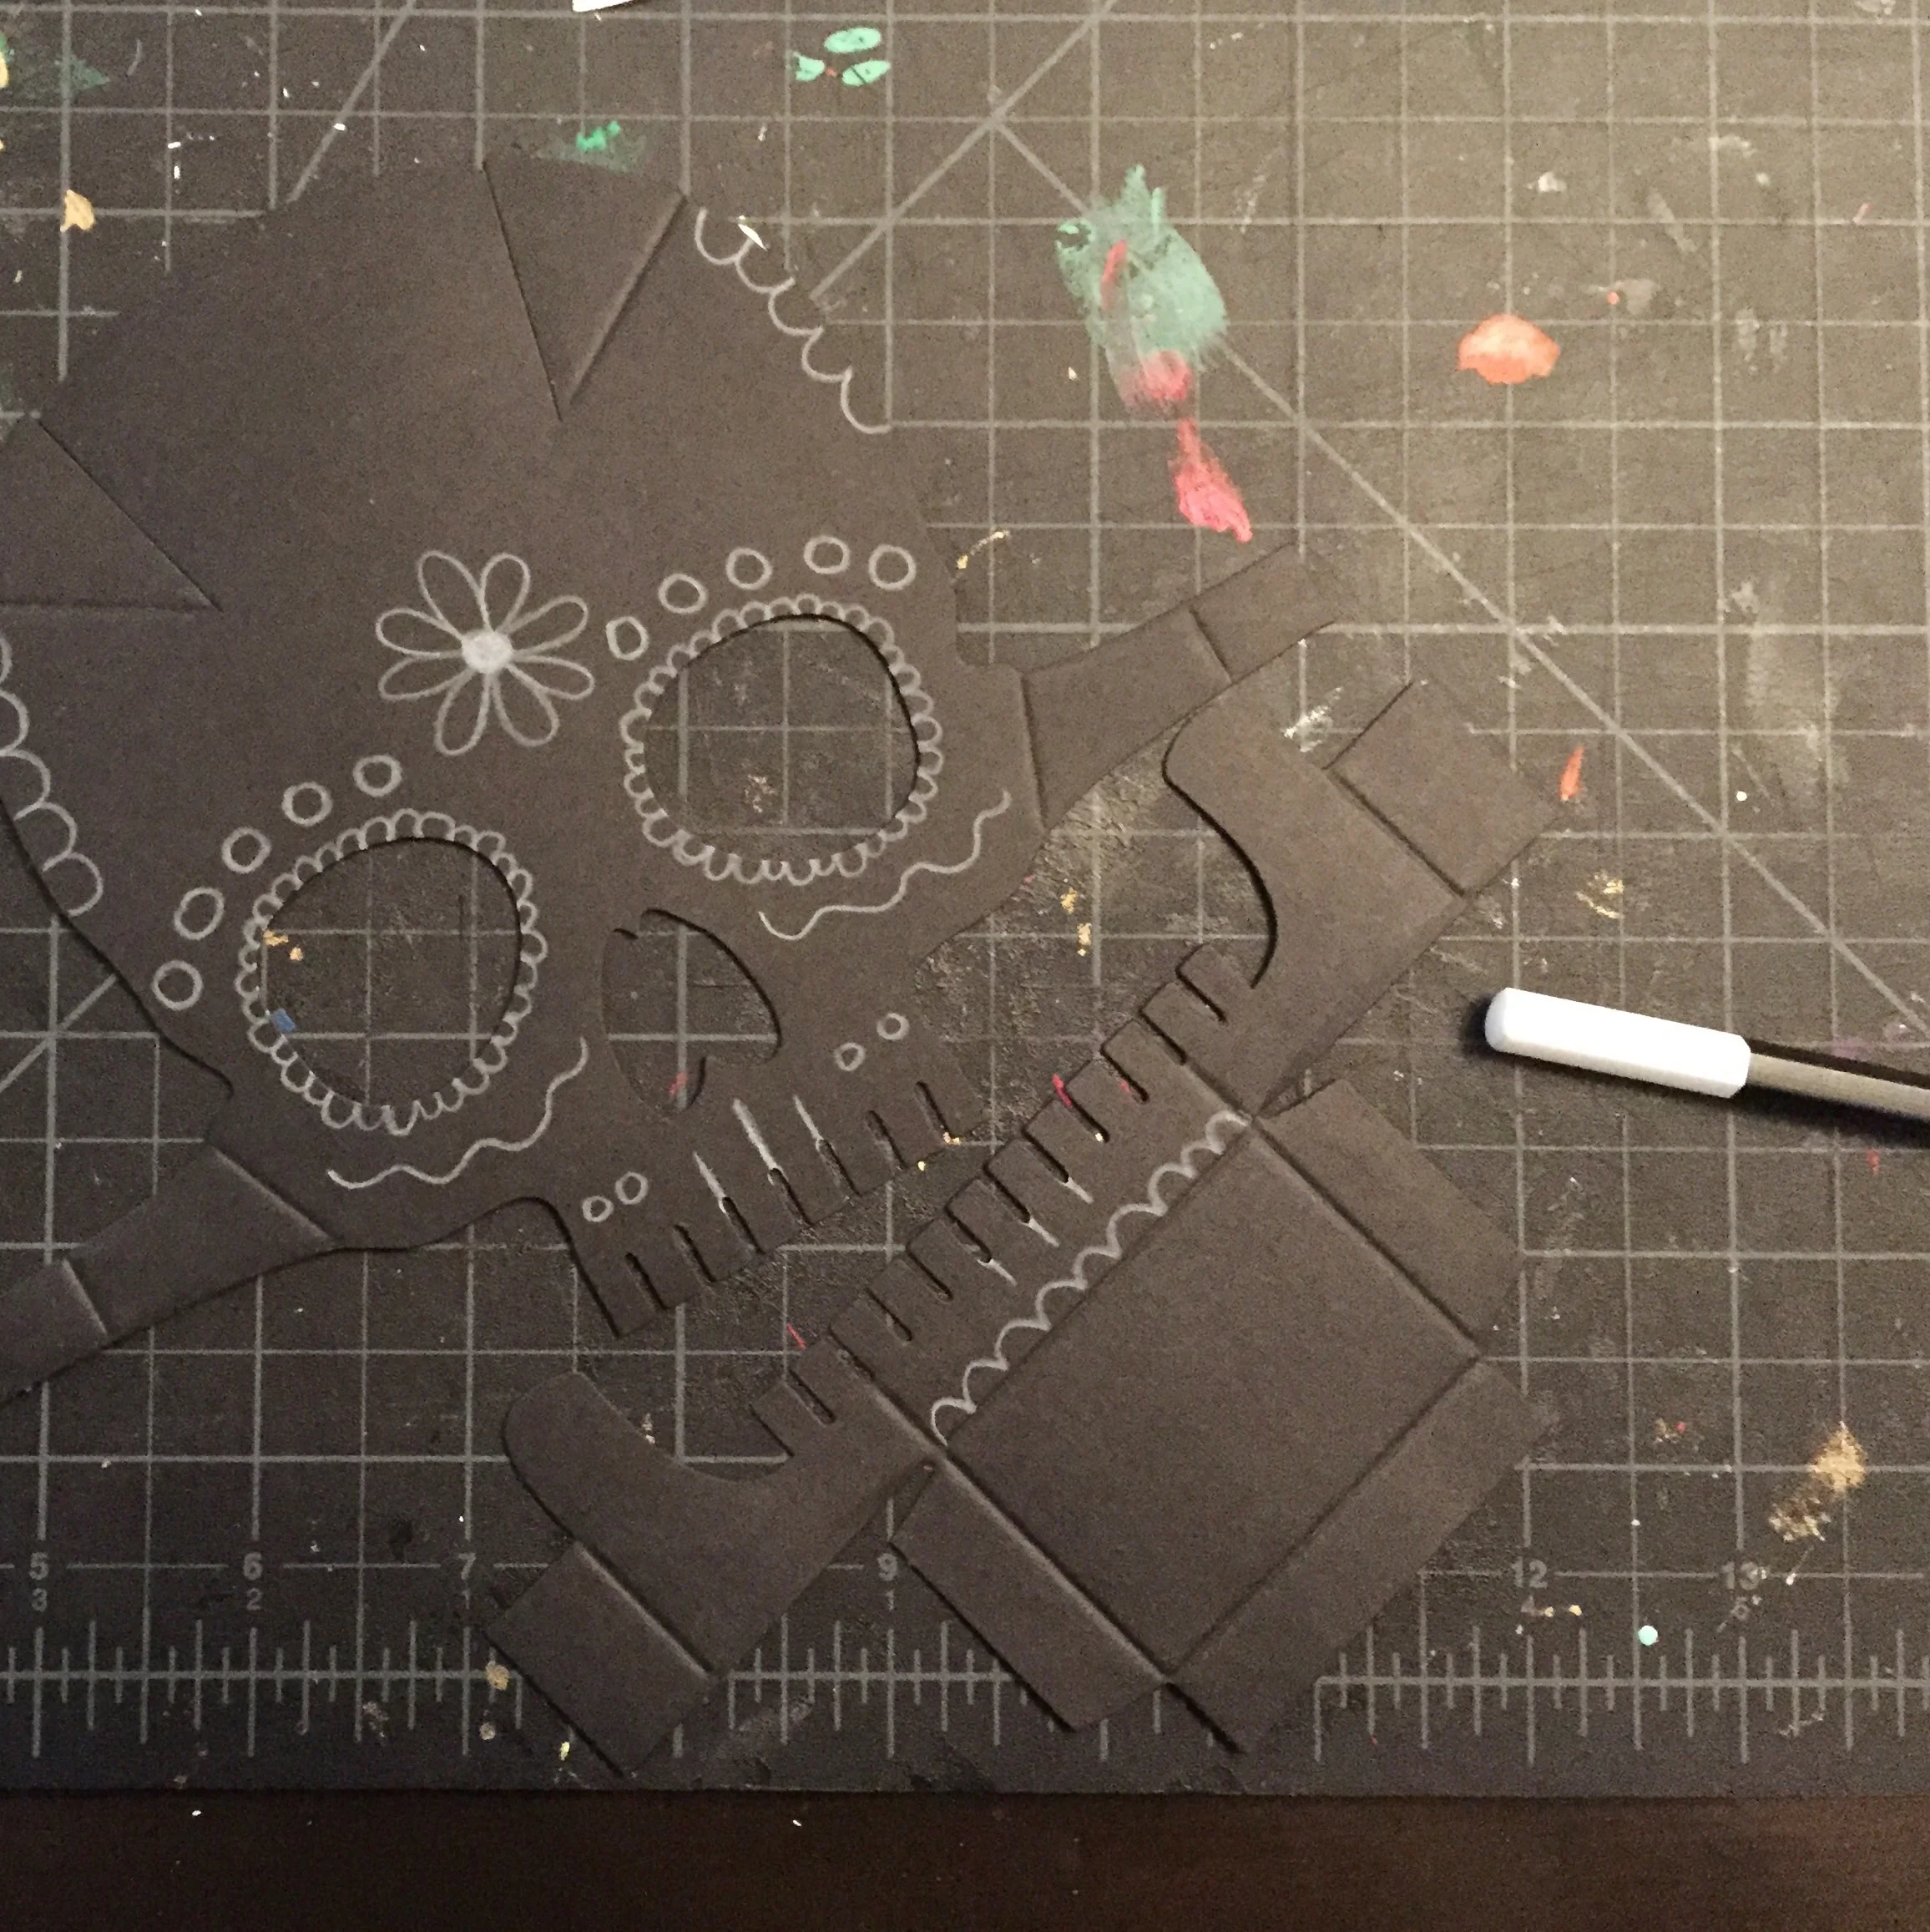
I got these super cute Martha Stewart skulls on clearance at the craft store after Halloween. I used a white colored pencil to add decorative shapes and lines. These made super cute hanging sugar skulls.

1
Skylar's Sugar Skull Fiesta (click through for more)

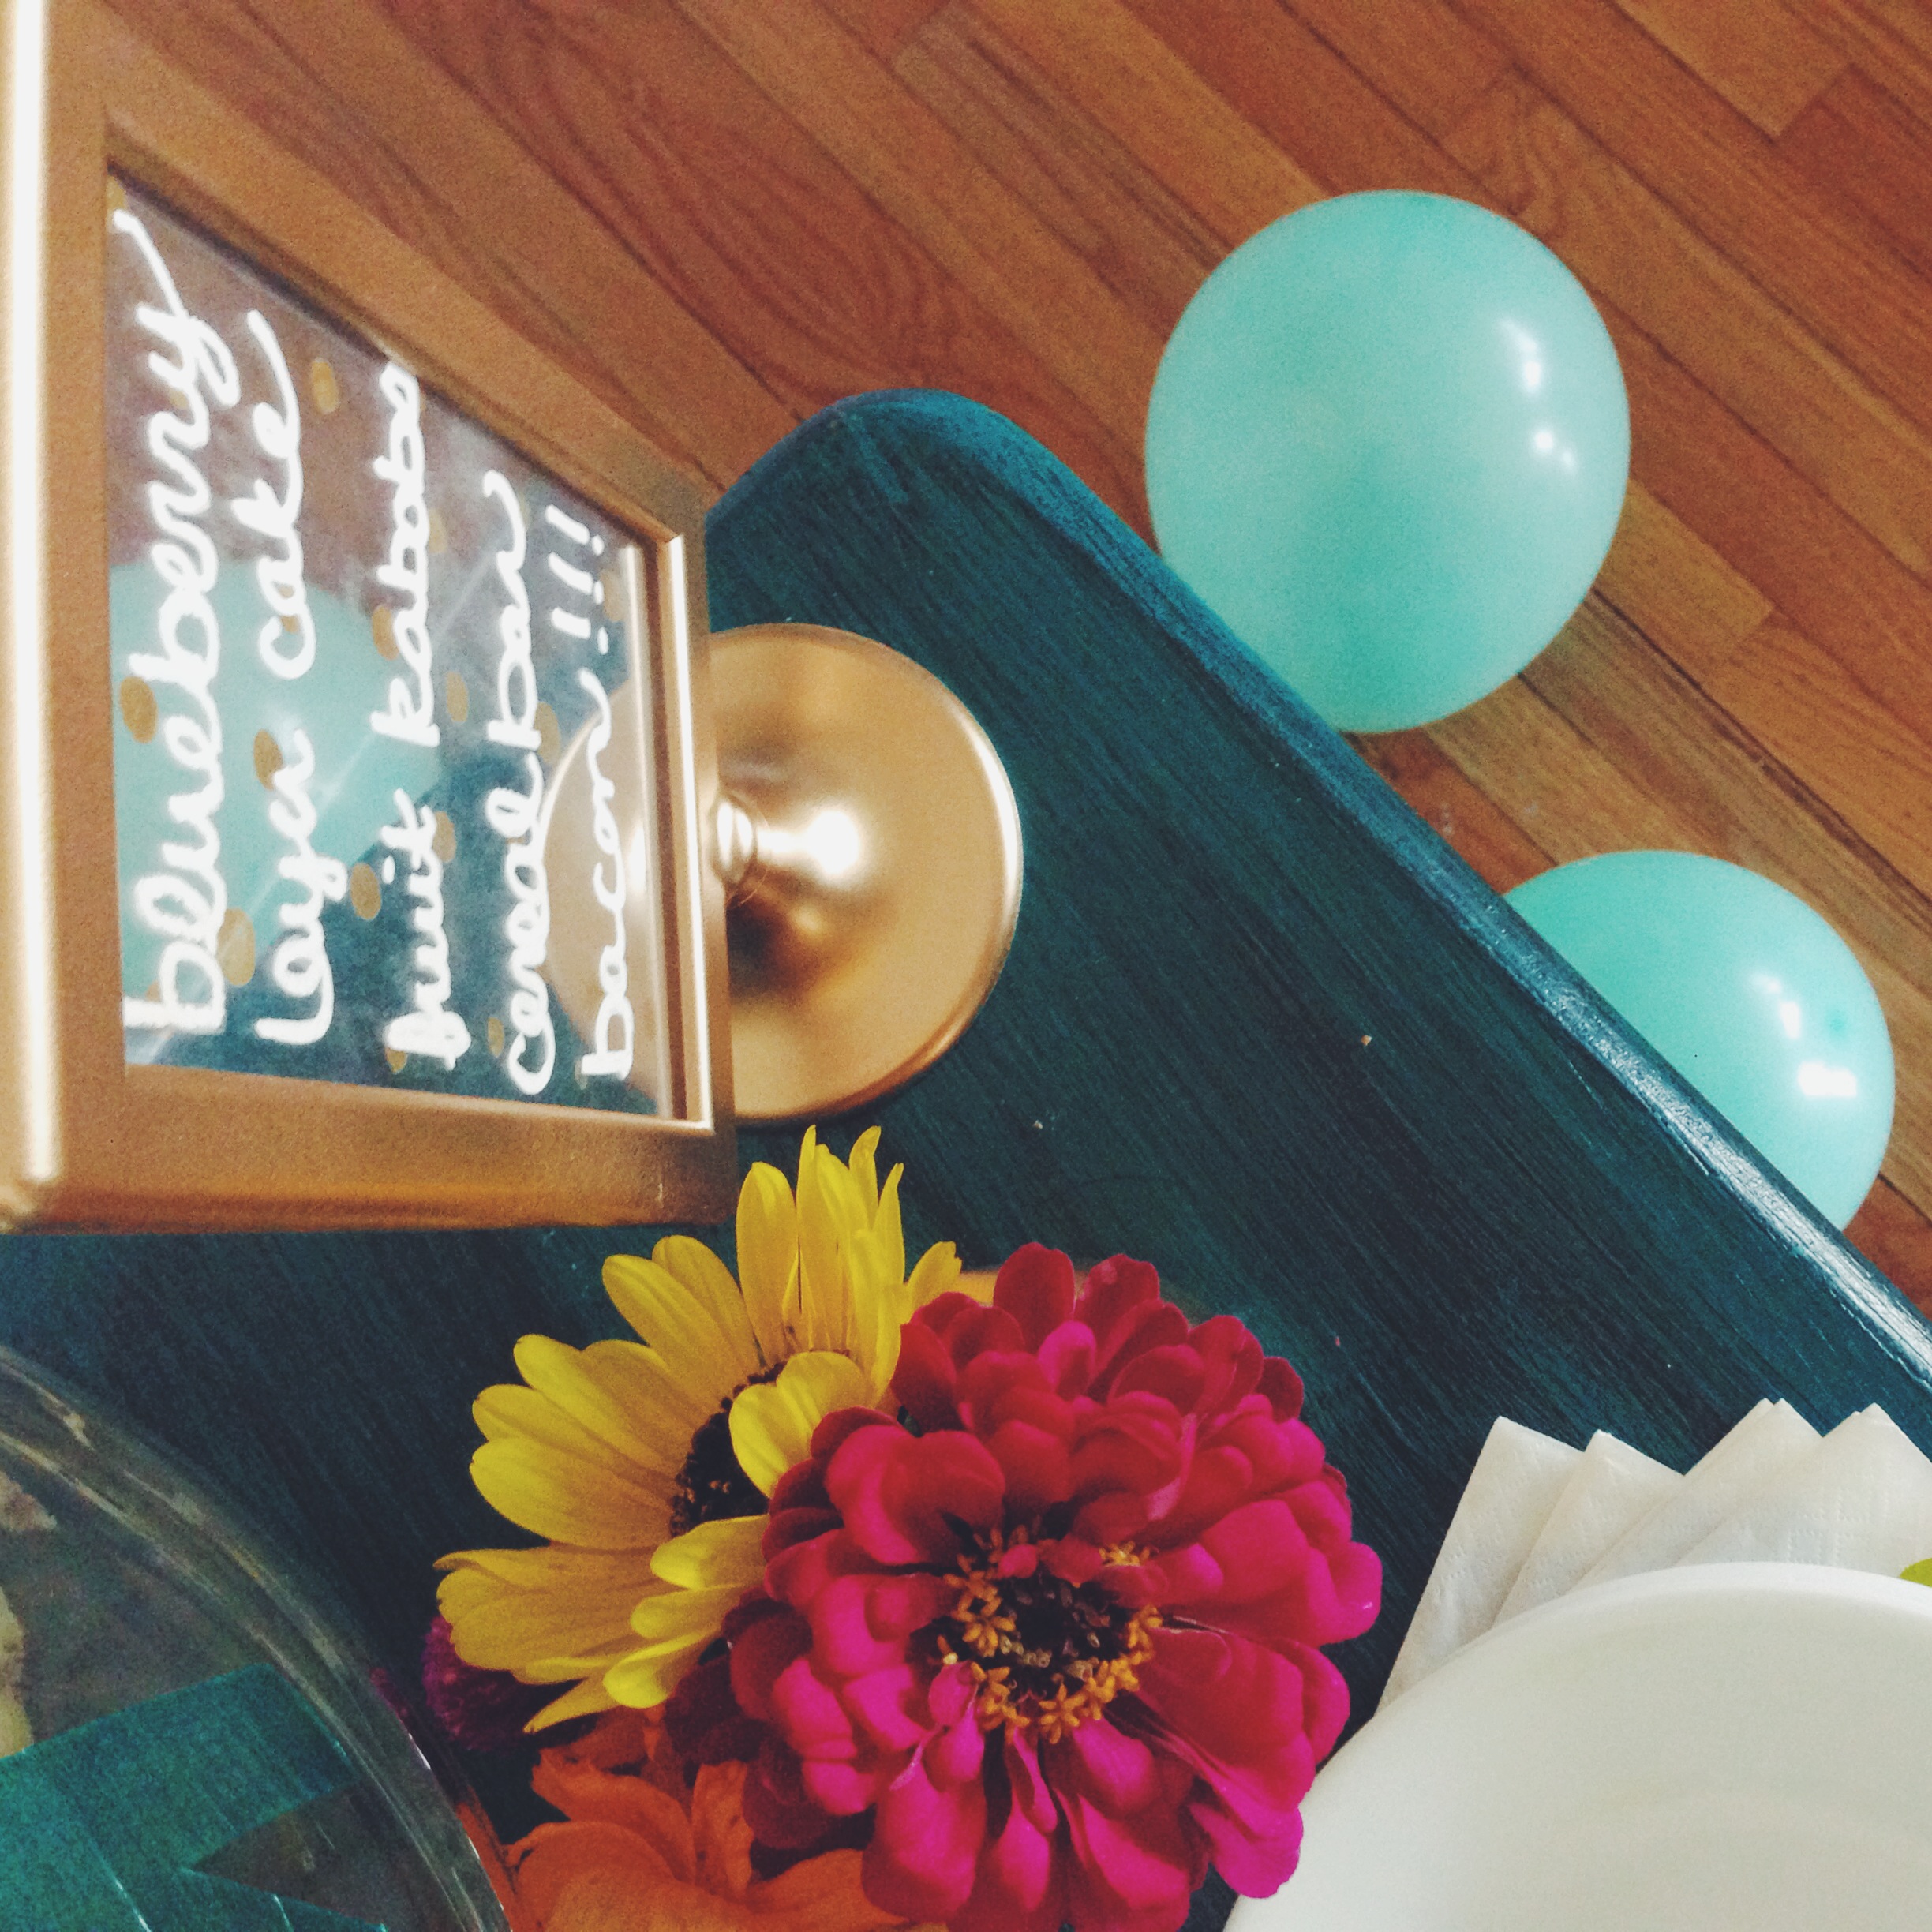
Here is our popcorn bar. We had lots of fun things to put on top. 

Skylar's Sugar Skull Fiesta (click through for more)

And of course we had to have a photo booth! We found these super cute printable skulls here. I printed them out and my cousin Brooklynn colored them in. Then we added glitter to one. It was messy but we love glitter :)

Skylar's Sugar Skull Fiesta (click through for more)

Happy Friday! xoxo, Britt

DIY Tissue Garland

When decorating for Brittnee's brunch we wanted to have elegant decorations. One of the decoration pieces we made was the Tissue Garland. It's a simple project that can really add to a party but won't take up a lot of your time our cost a fortune!

My Only Sunshine Blog || DIY Tissue Garland

All you need to get started is:

  • Tissue paper
  • String
  • Washi tape
  • Scissors

1.Take one piece of tissue paper, fold it in half and then half again.

2.Starting from the open end of the tissue paper (the end that doesn't have a fold) cut strips, leaving a few inches at the top.

3.Unfold your tissue paper out all the way.

4. Lay tissue paper out with the strips on the left and right sides, then begin tightly rolling.

5.Once you have completely rolled it up, start twisting it.

6. Once your tissue paper is tightly twister, loop the top.

7.Take a piece of washi tape and tightly secure the loop.

8. Take your string and tie on your first piece of garland!

9. Repeat these steps as many times as you need. You can use different colors of tissue paper depending on the use of your garland.

My Only Sunshine Blog || DIY Tissue Garland

You can adjust the garland to be bigger or smaller, you'll just need different sized tissue paper. You can also make more/ or less to stretch across whatever wall you will be hanging it on. There is so many different color schemes you could make with this cute garland. It's great for parties or you could even use it in a little ones room!

And don't forget, we love to hear from you and see your fun projects. So make sure to follow us and tag us on Instagram, Twitter, or Facebook!

xoxo

Britt & Sky

Birthday Brunch: Part 1

Brittnee's birthday brunch was a HUGE success! Soon we will have tutorials and recipes for all of our party essentials. But for now we wanted to give you a sneak peak of the festivities.

Birthday Brunch Invitation
BirthdayBrunch_MyOnlySunshineBlog_Cake
BirthdayBrunch_MyOnlySunshineBlog_Decorations
1410836282_664378_IMG_5695.JPG
BirthdayBrunch_MyOnlySunshineBlog_Decorations
BirthdayBrunch_MyOnlySunshineBlog_PartyFavors
BirthdayBrunch_MyOnlySunshineBlog_Decorations

Everything we made for the brunch coordinated, with pops of gold and floral, even down to the tiny details. After a couple long nights of work and a whole lot of gold spray paint everything turned out perfect. We are excited to be able to share this with you and can't wait to post the tutorials. Be looking out for our decoration, food, and favor diys on the blog soon.

xoxo

Britt & Sky